 Save
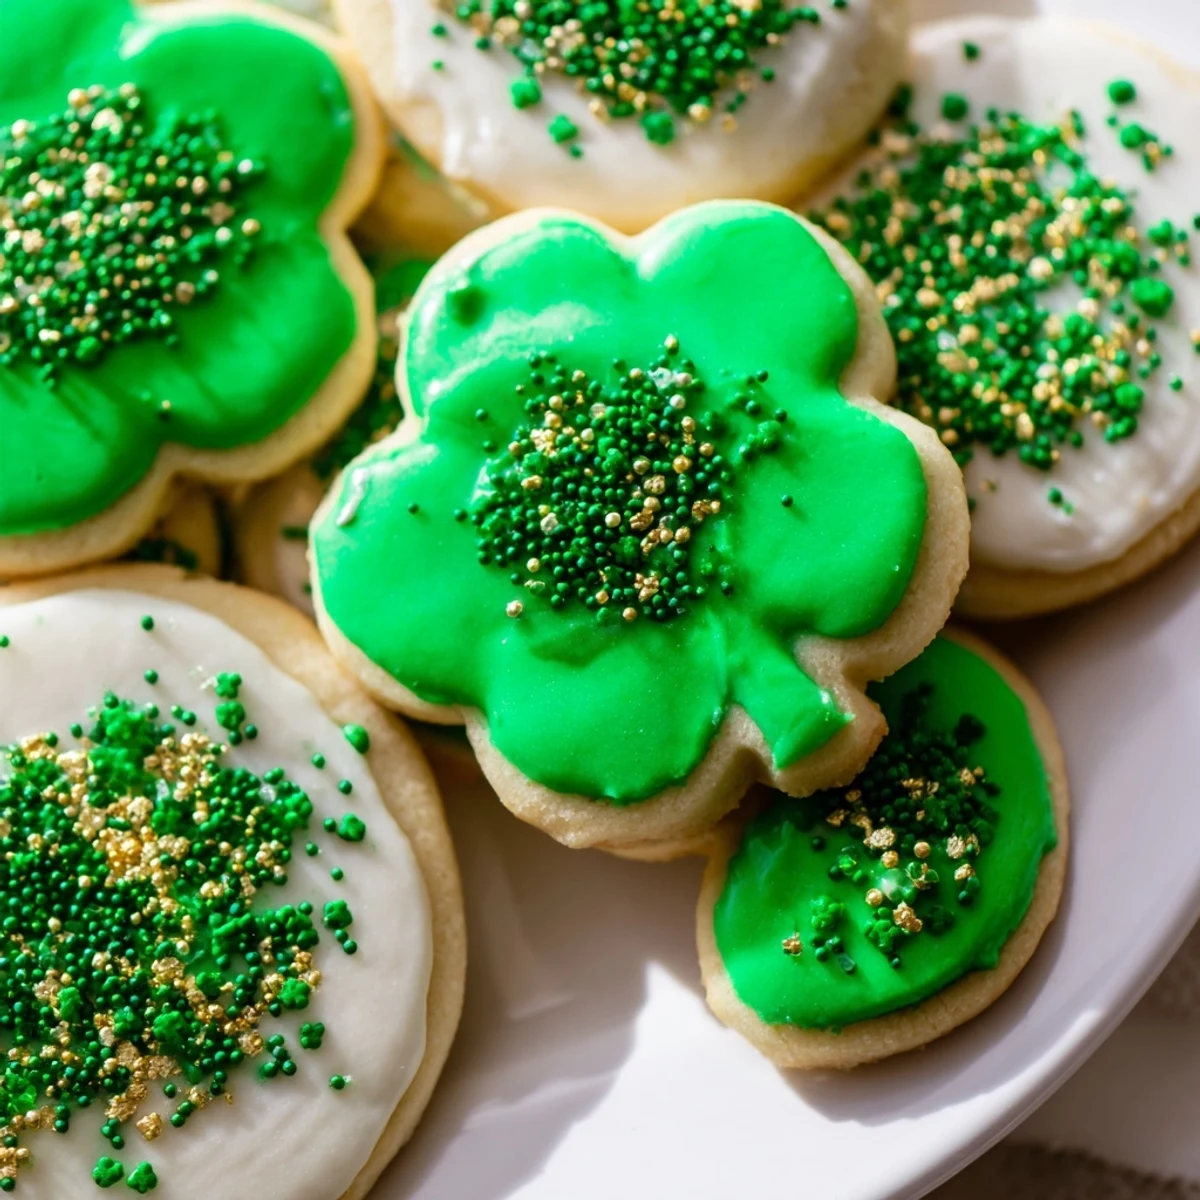
Save Create tender, melt-in-your-mouth sugar cookies dressed in vibrant green icing and golden sprinkles. These festive treats capture the spirit of St. Patricks Day with their cheerful appearance and buttery vanilla flavor. The dough comes together quickly and requires chilling for easy rolling, while the simple icing transforms them into celebration-ready sweets. Perfect for classroom parties, office gatherings, or family dessert tables.
My youngest daughter came home from school last March already planning our St. Patrick's Day baking adventure. She'd drawn shamrocks on construction paper and announced we needed green cookies for the leprechauns who might visit. That afternoon we made our first batch together, flour dusting everything including the cat, and she took such pride in spreading that bright green icing herself.
Last year I made three dozen for our neighborhood gathering and watched adults fight over the last shamrock. My neighbor's husband actually asked if I'd consider making them year round in different colors because they were that good. Now they're the first thing anyone asks about when March approaches.
Ingredients
- All-purpose flour: This creates the structure for your cookies but don't pack it down when measuring or they'll be tough
- Unsalted butter: Softening it properly makes all the difference between cookies that spread beautifully and ones that hold their shape
- Granulated sugar: Cream this thoroughly with the butter until it looks pale and fluffy for that melt in your mouth texture
- Almond extract: Even just a half teaspoon elevates the whole flavor profile but you can leave it out for nut allergies
- Powdered sugar: Sifting this before making icing prevents those annoying lumps that clog your piping bags
Instructions
- Whisk the dry foundation:
- Combine your flour baking powder and salt in a medium bowl making sure there are no clumps hiding at the bottom
- Cream butter and sugar:
- Beat them together for a full two to three minutes until the mixture looks pale and fluffy like clouds
- Add the wet ingredients:
- Drop in your egg and extracts mixing until everything is incorporated and the batter looks smooth
- Combine everything gently:
- Gradually mix in those dry ingredients on low speed stopping as soon as the flour streaks disappear to keep cookies tender
- Chill the dough:
- Shape into disks wrap tightly and let them rest in the fridge for at least an hour so they're easier to roll and cut
- Prep your baking space:
- Heat your oven to 350°F and line your baking sheets with parchment paper for easy cleanup later
- Roll and cut:
- On a floured surface roll dough to quarter inch thickness and cut into shamrocks or whatever shapes make you smile
- Bake to perfection:
- Cook for eight to ten minutes watching for that moment when edges just start turning golden then let them rest on the hot pan for two minutes
- Make the magic green icing:
- Whisk powdered sugar milk and vanilla until smooth then add food coloring drop by drop until you reach that perfect festive shade
- Decorate with joy:
- Spread that green icing on cooled cookies and add sprinkles while it's still wet so they stick around
 Save
Save The year my daughter turned eight she insisted on teaching her little cousin how to decorate these. I watched from the doorway as green icing ended up on noses and sprinkles decorated the floor more than the cookies. Those imperfect cheerful shamrocks were somehow the most beautiful batch we ever made.
Making Ahead For Your Party
You can make the dough up to three days ahead and keep it wrapped tightly in the refrigerator. The flavors actually develop better with that extra chilling time and it makes baking day feel so much more relaxed when you're not rushing through everything at once.
Getting That Perfect Green Color
Start with just one drop of food coloring and mix thoroughly before adding more. I've learned the hard way that it's easier to deepen the color than to fix icing that's gone completely neon. Gel food coloring gives you more intense shades without thinning the icing like liquid drops can.
Storage And Freshness
Once decorated these cookies stay perfect for five days in an airtight container at room temperature. Layer them between parchment paper so the icing doesn't stick to the bottoms of other cookies. Undecorated baked cookies freeze beautifully for up to three months.
- Place a slice of white bread in the container if they start getting too crisp
- Never stack cookies until the icing is completely dry or you'll ruin all your decorating work
- These ship surprisingly well if packed snugly with plenty of cushioning material
 Save
Save May your kitchen be filled with laughter flour dust and the sweetest green cookies this March. These little shamrock treats have become such a happy tradition in our house and I hope they bring joy to yours too.
Recipe Questions & Answers
- → How long should I chill the cookie dough?
-
Chill the dough for at least 1 hour. This step is crucial as it firms the butter, making the dough easier to roll and cut without sticking. It also helps cookies hold their shape during baking and prevents spreading in the oven.
- → Can I make these cookies ahead of time?
-
Yes, you can prepare the dough up to 3 days in advance and store it wrapped in the refrigerator. Alternatively, freeze the dough disks for up to 3 months. Thaw overnight in the refrigerator before rolling and baking.
- → What's the best way to color the icing?
-
Use gel food coloring for the most vibrant green shade without thinning the icing. Start with a small amount and add gradually until you reach your desired color. Liquid coloring works but may require additional powdered sugar to maintain consistency.
- → How do I know when the cookies are done baking?
-
The cookies are ready when the edges just begin to turn golden, about 8-10 minutes. The centers should still look slightly soft. They'll continue firming up on the hot baking sheet during the 2-minute cooling period before transfer.
- → Can I use royal icing instead of the simple glaze?
-
Absolutely! Royal icing creates a smooth, professional-looking finish and sets harder than the milk-and-powdered-sugar glaze. It's ideal if you plan to stack or transport the cookies. Just note it requires egg whites or meringue powder and longer drying time.
- → Why did my cookies spread too much?
-
Over-spreading usually happens when the dough is too warm before baking. Ensure proper chilling time, work quickly when rolling and cutting, and avoid overcrowding the baking sheets. Using room-temperature (not melted) butter also helps maintain structure.
