 Save
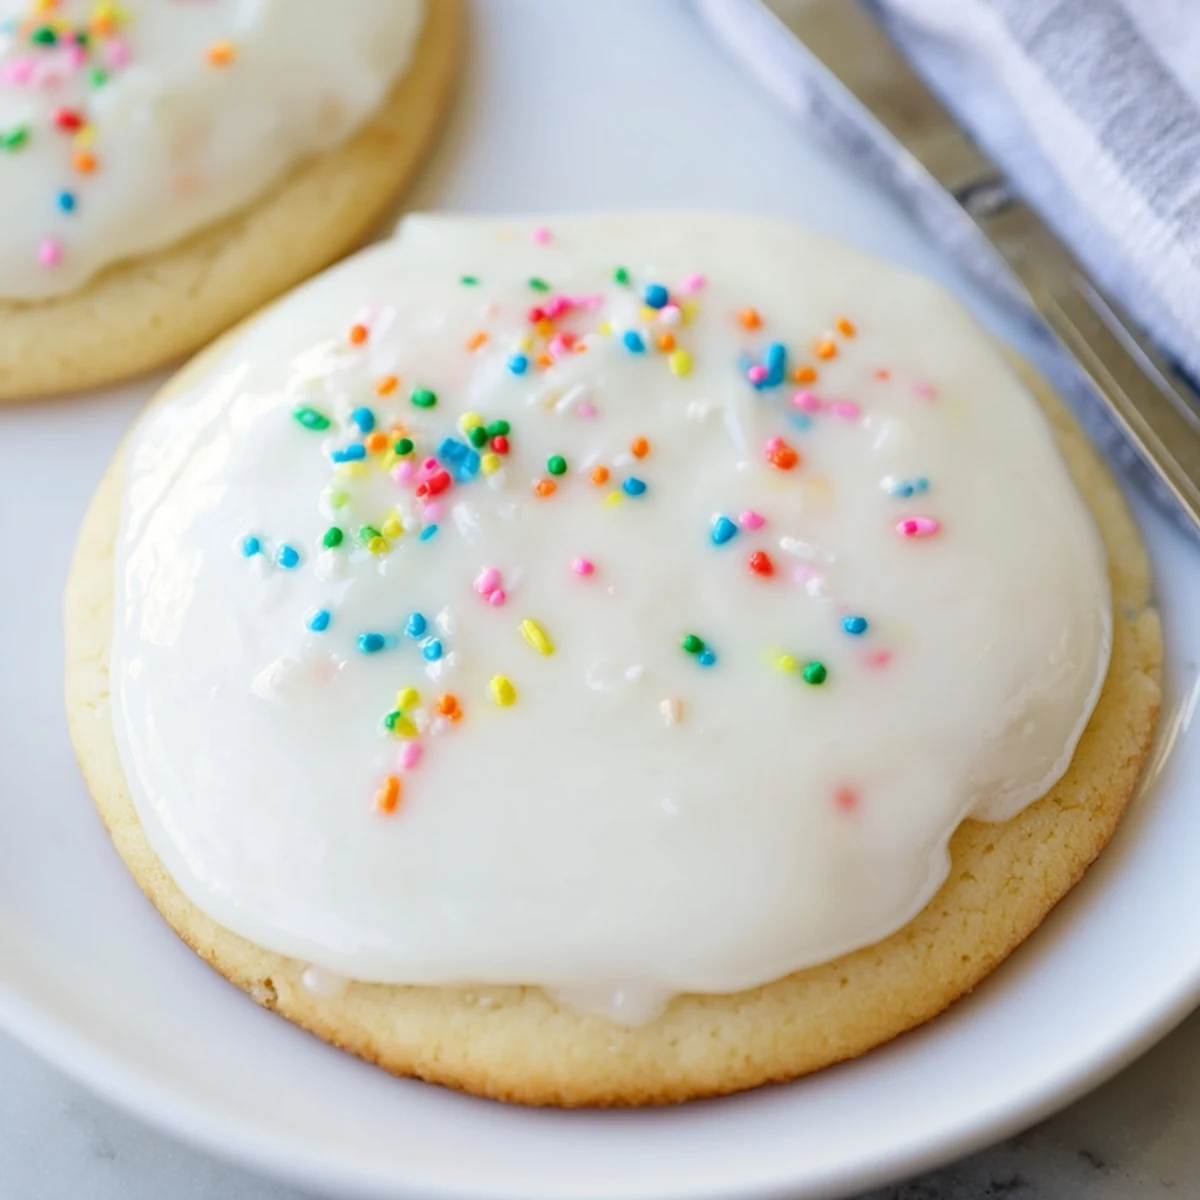
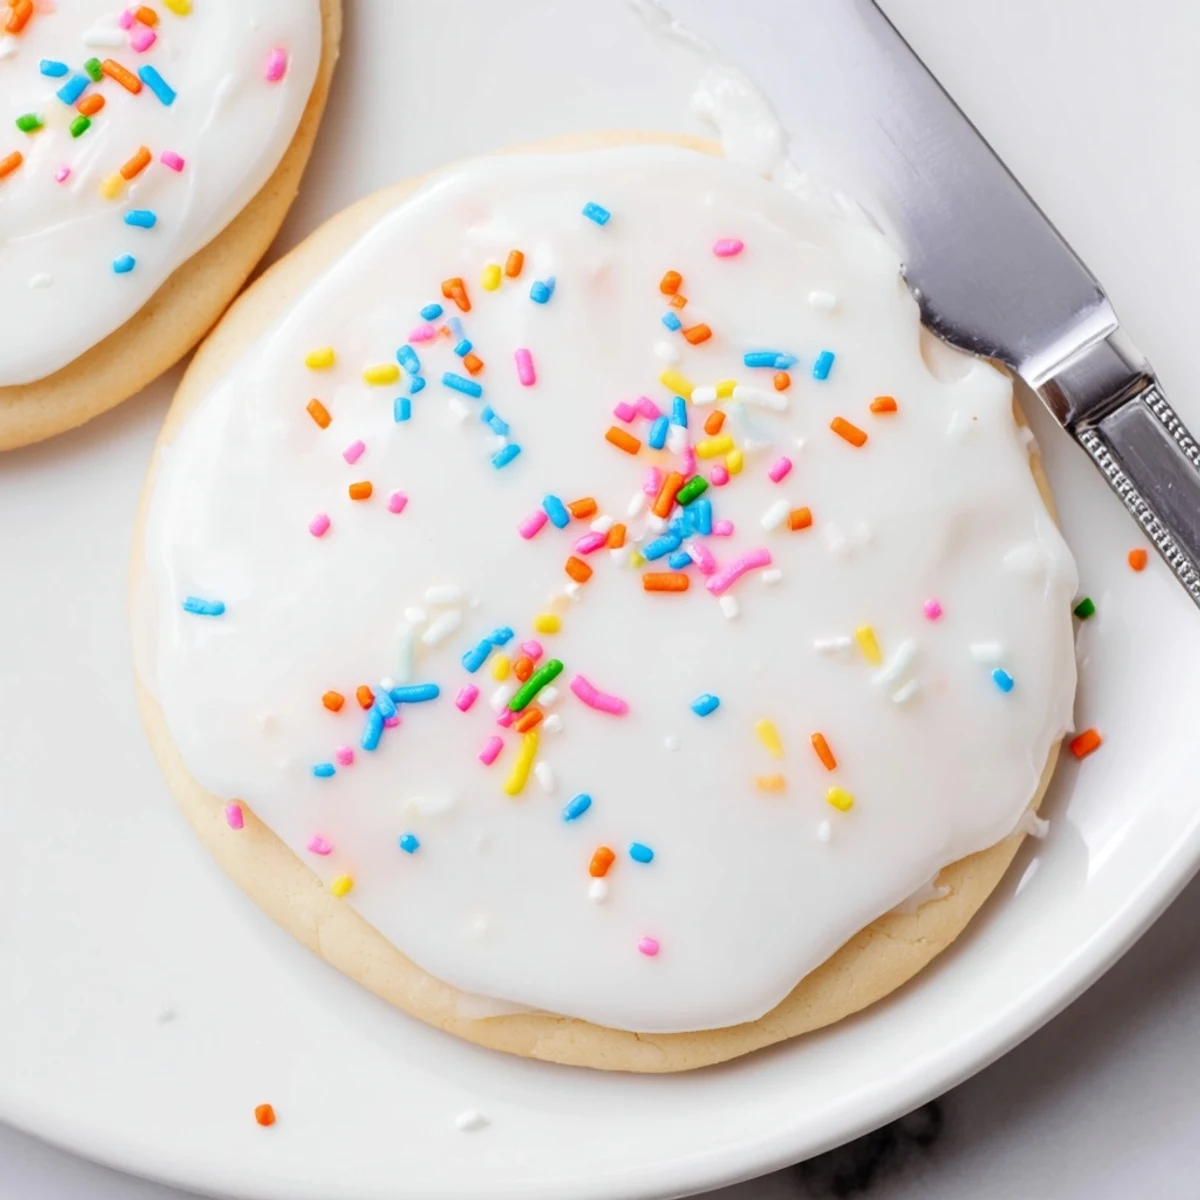
Save Craft professional-looking decorated cookies with this simple, versatile icing that whisks together in just 10 minutes using pantry staples. The glossy finish dries perfectly smooth and firm, making it ideal for dipping, spreading, or piping intricate designs. Customizable with any food coloring and flavored with your choice of extracts, this icing creates stunning results for holidays, birthdays, or everyday treats.
My daughter's kindergarten teacher asked if I could bring decorated cookies for the winter holiday party, and I panicked. I'd never made cookie icing that actually dried properly instead of staying tacky forever. After three failed batches and counters covered in wax paper tests, this corn syrup version finally gave me that professional glossy finish I'd been chasing.
Last Christmas Eve, my kitchen turned into an impromptu decorating station with my niece and nephew. We made six different colors and they went wild with the sprinkles. The best part was watching them realize they could dip the cookies directly into the bowls of icing like little artists.
Ingredients
- 2 cups powdered sugar (240 g): Sifting first prevents those tiny lumps that show up in your otherwise perfect icing
- 2 to 3 tablespoons milk: Start with less because you can always thin it out, but you can't undo too much liquid
- 1 tablespoon light corn syrup: This creates that smooth pourable consistency and gives the icing its signature glossy finish
- 1/2 teaspoon pure vanilla extract: The warmth balances the sugar's sweetness and makes it taste homemade
- Food coloring: Gel colors give you vibrant shades without thinning your icing
- Sprinkles or colored sugars: Add these while the icing is still wet so they stick properly
Instructions
- Mix the base:
- Whisk the sifted powdered sugar, 2 tablespoons milk, corn syrup, and vanilla in a medium bowl until completely smooth and glossy.
- Test your consistency:
- Drag a spoon through the icing. The line should disappear in about 10 seconds for flooding consistency, or stay put for piping.
- Adjust as needed:
- Add more milk in tiny increments if it is too thick, or stir in more powdered sugar if it is too runny.
- Add your colors:
- Divide into separate bowls and add food coloring drop by drop, mixing thoroughly after each addition.
- Decorate your cookies:
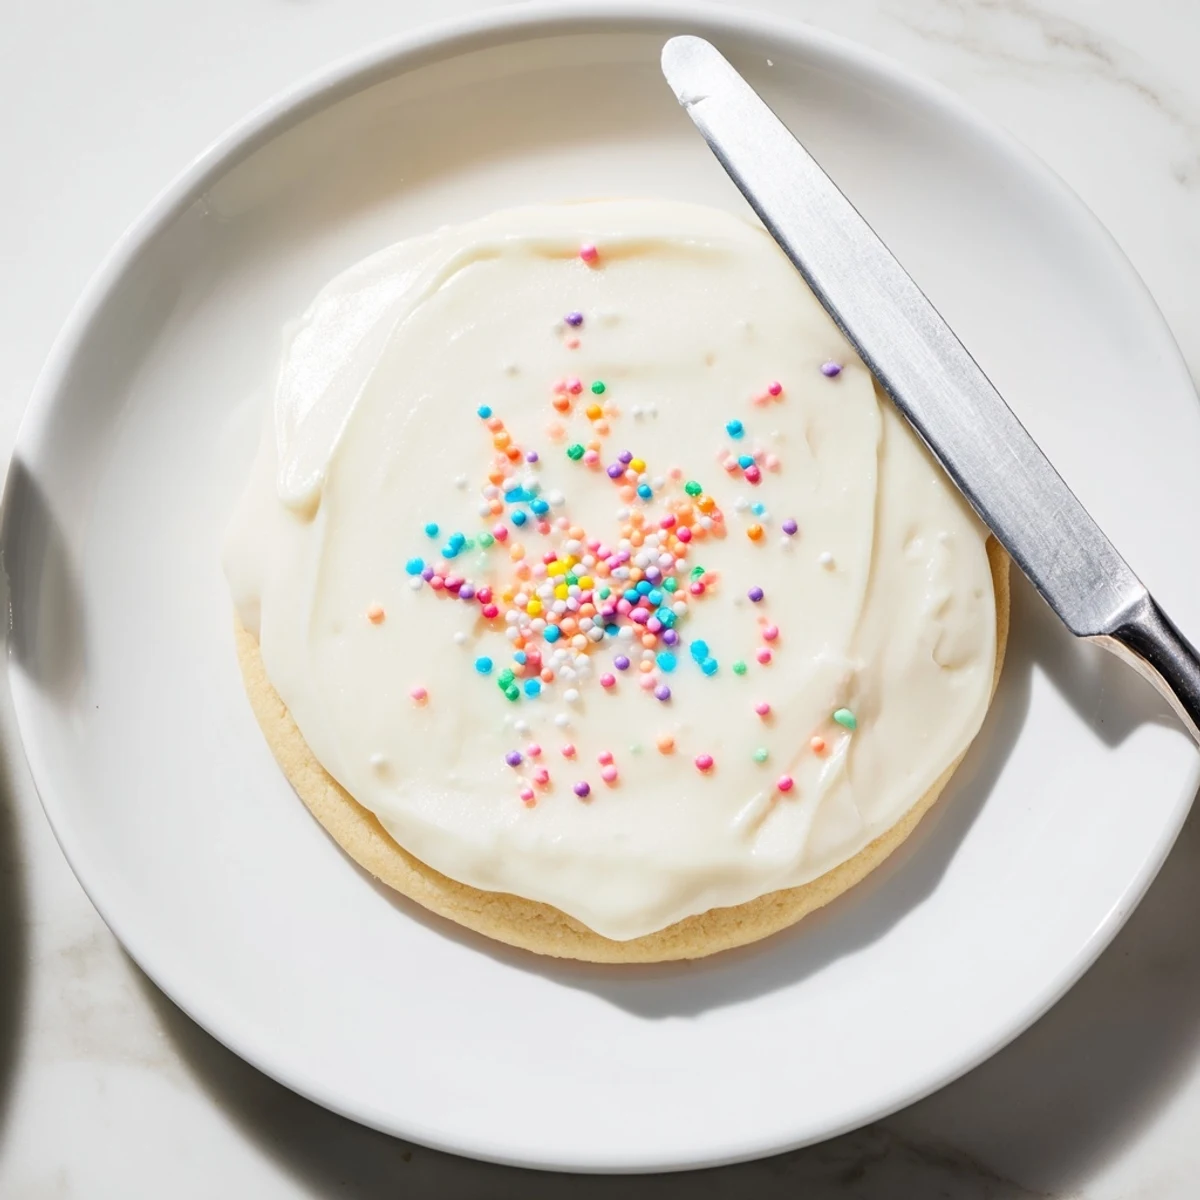
- Dip, spread, or pipe onto completely cooled cookies and work quickly before the icing starts to set.
- Let them dry:
- Leave cookies undisturbed at room temperature for at least 4 hours until the icing is firm and no longer tacky.
 Save
Save These cookies have become my go-to contribution for every school event and office party. People always assume I bought them from a fancy bakery, which is the best kind of compliment.
Getting the Right Consistency
The 10 second test changed my decorating game completely. If you drag a spoon through the icing and the line fills in slowly, you have perfect flooding consistency. For piping borders and details, you want that line to stay put.
Working with Colors
Start with less food coloring than you think you need because gel colors are incredibly concentrated. Mix thoroughly and let the color develop for a minute before adding more.
Storage and Make Ahead Tips
This icing keeps surprisingly well in the refrigerator for up to a week. Just bring it to room temperature and give it a good stir before using. You may need to add a few drops of milk to regain the right consistency.
- Cover bowls with plastic wrap pressed directly onto the surface to prevent a skin from forming
- Plan your decorating session for when you have uninterrupted time because the icing waits for no one
- Set up your sprinkles and toppings before you start because once that icing is on, you work fast
 Save
Save There is something magical about pulling out a container of beautifully decorated cookies you made yourself. Now go create something beautiful.
Recipe Questions & Answers
- → How long does the icing take to dry completely?
-
The icing typically dries completely within 4 to 6 hours at room temperature. For best results, decorate cookies on a wire rack to allow air circulation underneath, which helps the icing set evenly and prevents smudging.
- → Can I make this icing ahead of time?
-
Yes, store unused icing in an airtight container in the refrigerator for up to 1 week. When ready to use, bring to room temperature and stir well. If thickened, add a few drops of milk to reach the desired consistency.
- → What's the purpose of corn syrup in the icing?
-
Corn syrup creates the glossy, shiny finish and helps the icing dry smoothly without cracking. It also contributes to the firm, professional texture once set. For extra shine, increase to 1.5 tablespoons.
- → How do I adjust consistency for different decorating techniques?
-
For spreading or flooding, use the thick but pourable consistency as written. For piping borders or intricate designs, add more powdered sugar until the icing holds its shape. For dipping, thin with additional milk until easily pourable.
- → Can I use alternatives to corn syrup?
-
While corn syrup provides the best glossy finish, you can substitute with honey or maple syrup, though this will add flavor and may affect the drying time slightly. Agave syrup also works as a neutral alternative.
