 Save
Save These espresso shortbread cookies combine rich, buttery dough with finely ground espresso powder for a sophisticated coffee treat. The dough comes together quickly with softened butter creamed to fluffy perfection, then blended with vanilla and a mixture of flour, salt, and espresso.
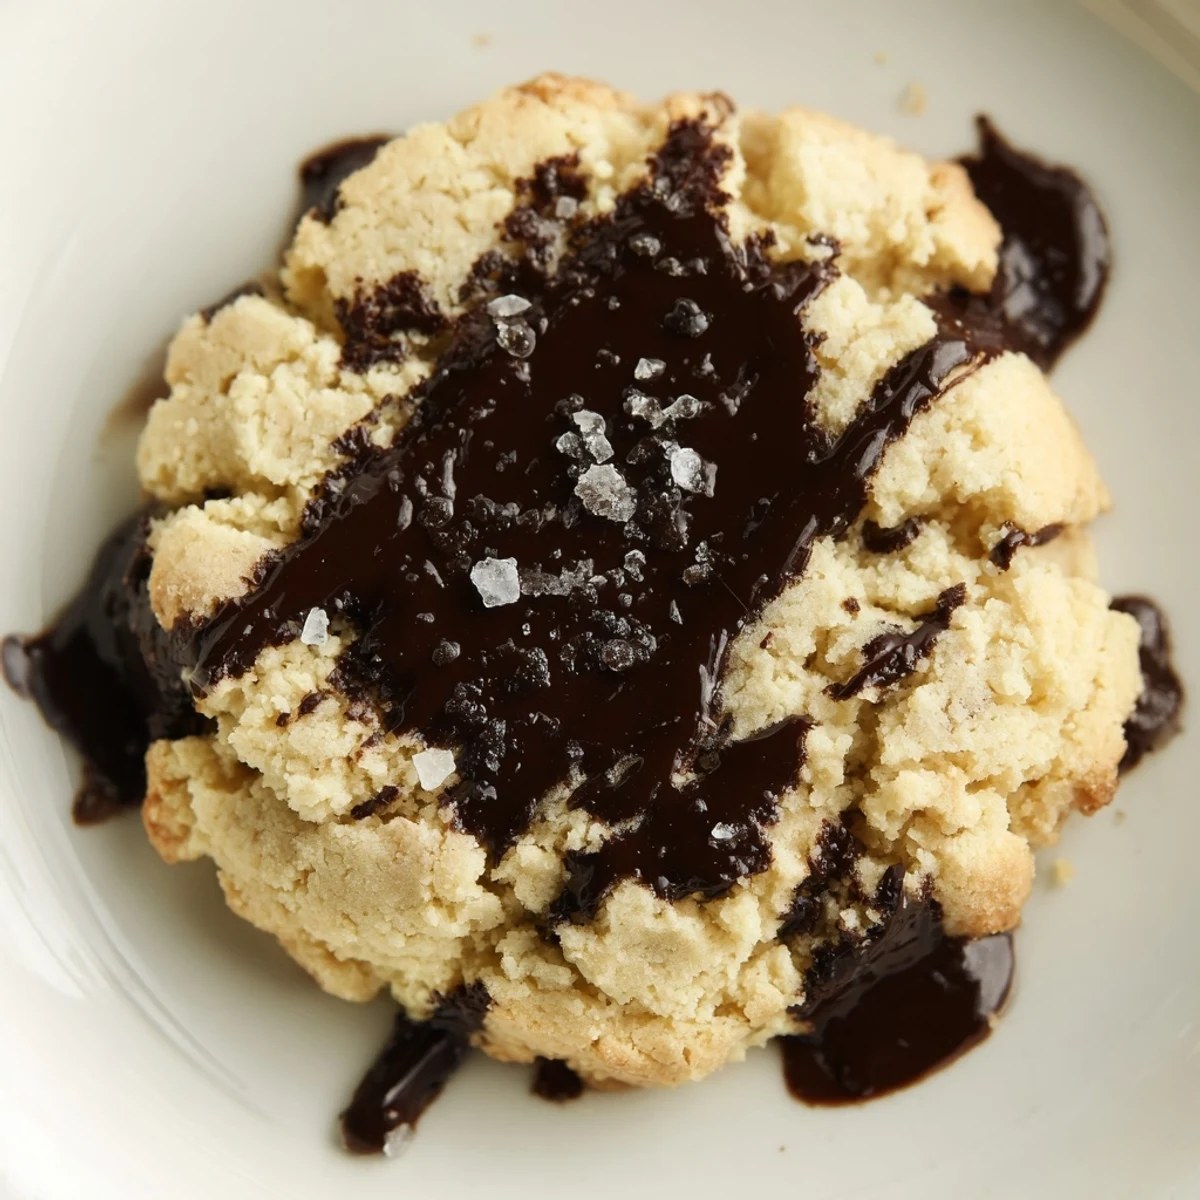
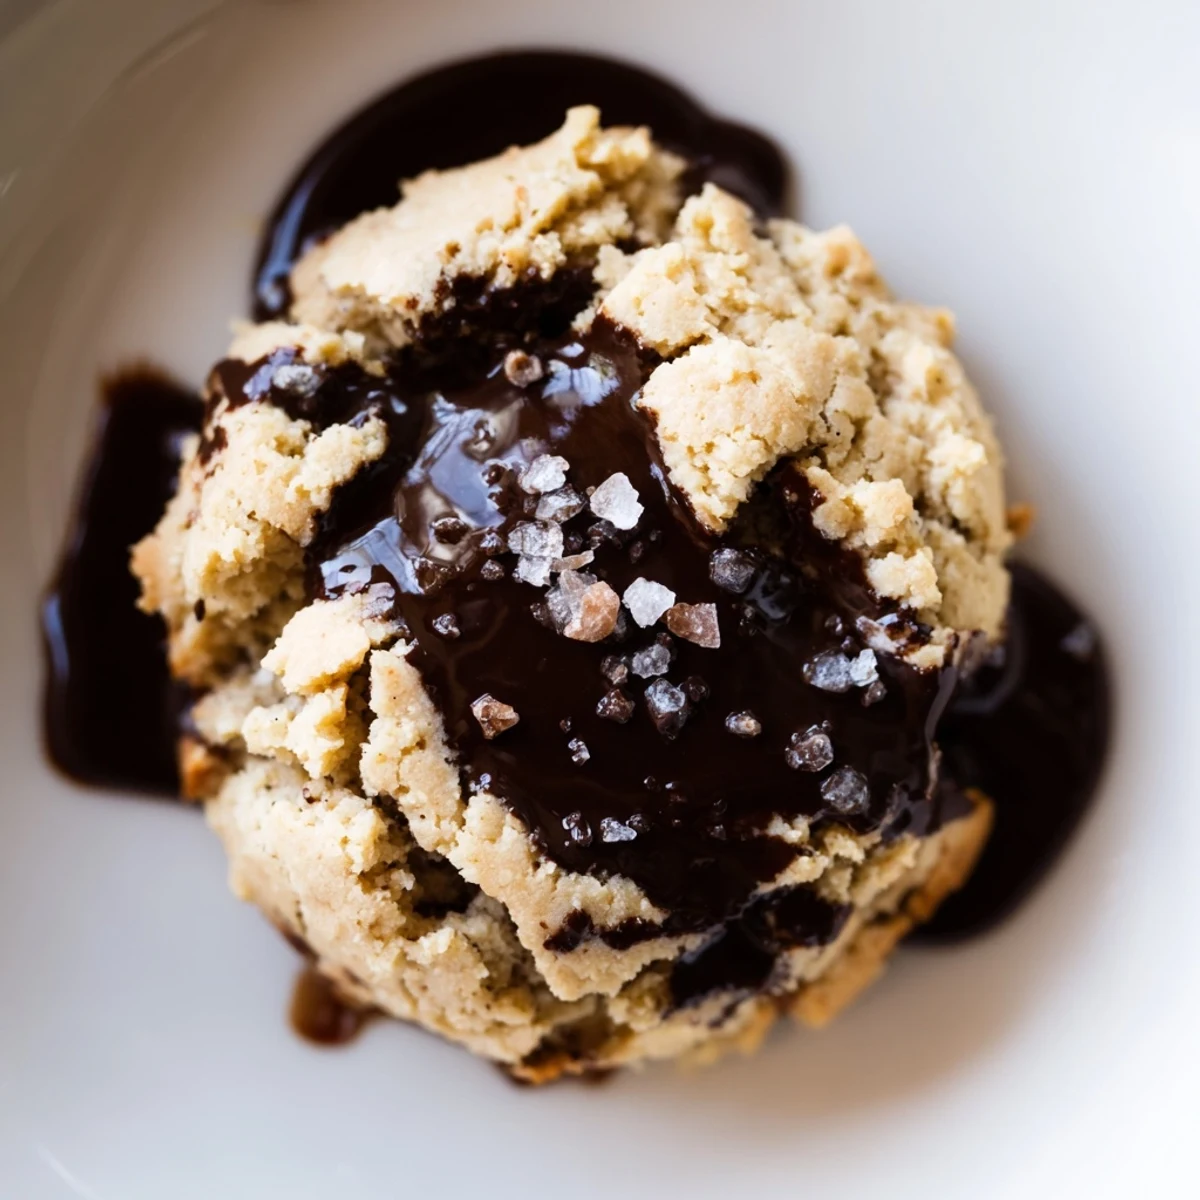
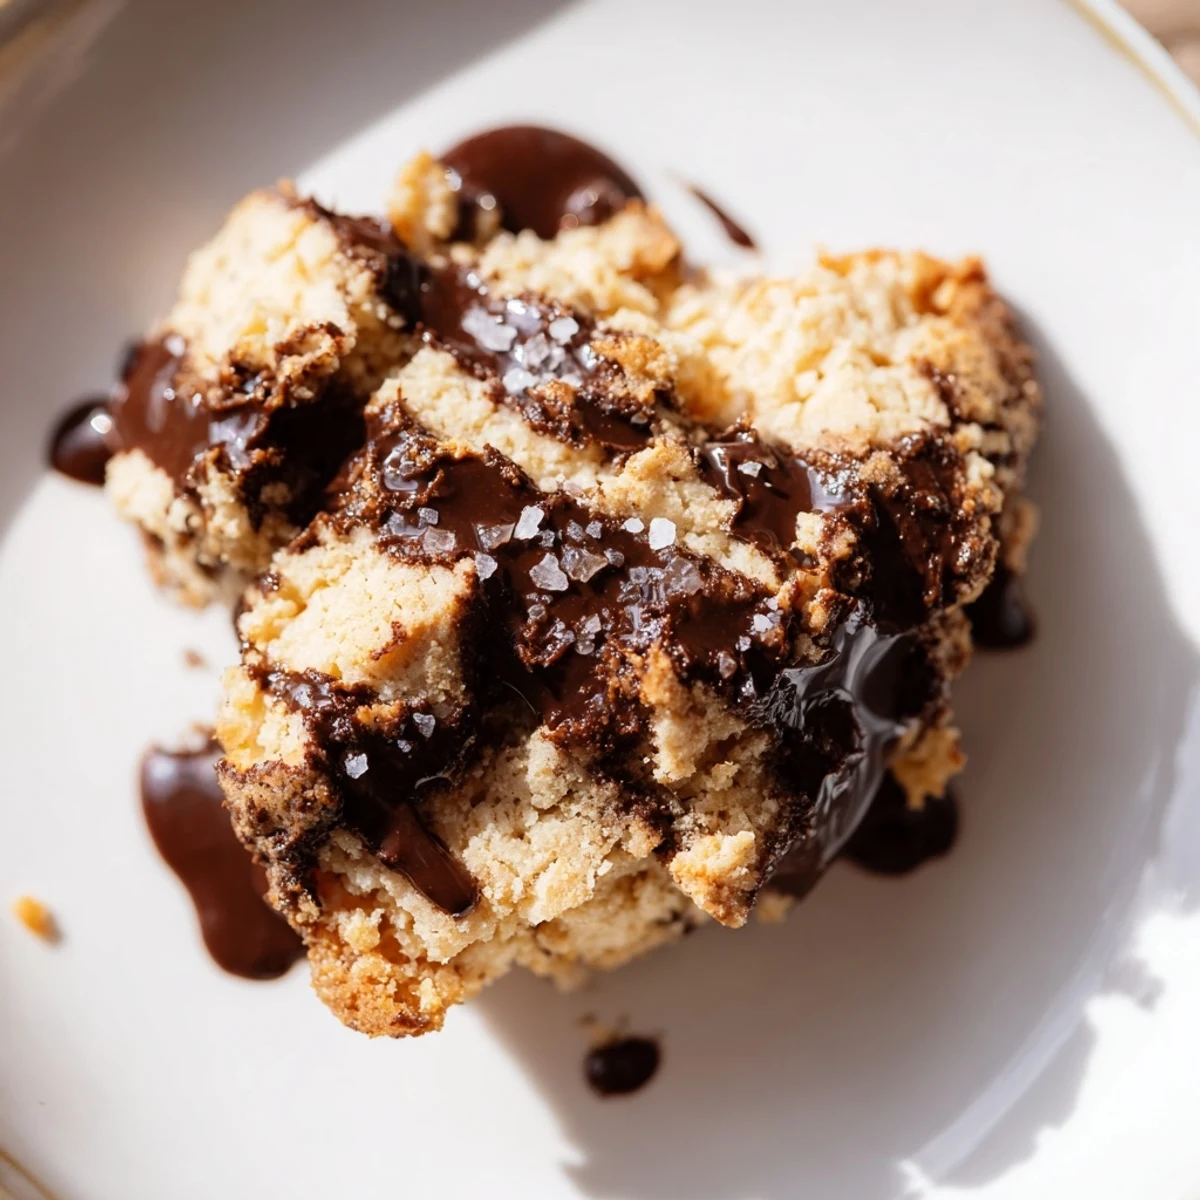
Bake for 16-18 minutes until edges are lightly golden, resulting in tender cookies that melt in your mouth. For an elevated finish, drizzle with melted dark chocolate and sprinkle with flaky sea salt. The espresso flavor can be adjusted from subtle to intense by varying the amount of powder.
Store in an airtight container for up to a week, making these perfect for meal prep or gifting. The straightforward technique and minimal ingredients yield impressive results for both novice and experienced bakers.
The coffee shop on the corner used to make these espresso shortbread cookies that I'd buy two at a time, hiding them in my coat pocket like contraband. One rainy Tuesday, I decided to reverse engineer the memory of that first bite—buttery melting into bitter, rich darkness. My kitchen smelled like a café at midnight while they baked, and I haven't bought a cookie since.
My sister pretended to hate coffee until she walked in while these were cooling. I watched her eye the cooling rack, that familiar dance of feigned disinterest giving way to curiosity. One cookie later, she was asking if I'd thought about opening a bakery. I told her no, but I'd make her these whenever she needed a reminder that coffee and butter belong together.
Ingredients
- All-purpose flour: The structure that holds everything together without getting tough
- Fine sea salt: Wakes up the espresso flavor and keeps the butter from feeling too heavy
- Espresso powder: Use instant espresso ground to almost dust, it distributes better than granules
- Unsalted butter: Must be truly soft, you should be able to press your finger through it like room temperature avocado
- Powdered sugar: Creates that signature sandy texture granulated sugar can't achieve
- Vanilla extract: Rounds out the sharpness of the coffee with something warm and familiar
- Dark chocolate: Optional but highly recommended, it turns a simple cookie into something people remember
Instructions
- Prepare your kitchen:
- Oven at 350°F and parchment paper on baking sheets, everything ready before you start mixing
- Whisk the dry base:
- Combine flour, salt, and espresso powder in a medium bowl until the coffee is evenly distributed
- Cream the butter and sugar:
- Beat butter and powdered sugar until the mixture turns pale and fluffy, about 2 to 3 minutes of honest work
- Add the vanilla:
- Pour it in and let the mixer run for another minute, the dough should smell like a fancy latte now
- Combine everything gently:
- Add the flour mixture in two parts, mixing on low just until no dry streaks remain
- Shape the dough:
- Pat it into a half inch thick rectangle on a floured surface, then cut into squares or rectangles
- Bake until barely golden:
- 16 to 18 minutes, pulling them out when the edges have the slightest blush of color
- Let them cool completely:
- These need patience, they're fragile when warm and firm up as they cool
- Add the chocolate if you're feeling fancy:
- Drizzle or dip the cooled cookies and finish with flaky salt while the chocolate is still soft
 Save
Save Last Christmas, I made forty eight of these for a cookie exchange. Someone asked if I'd bought them at a bakery, which I'm choosing to take as the highest compliment. They disappeared faster than anything else on the table, and I found myself wishing I'd doubled the recipe.
Making Them Your Own
I've tried adding crushed coffee beans to the tops before baking, but they get too dark and bitter. A dusting of cocoa powder mixed with powdered sugar works beautifully if you want to skip the chocolate. Sometimes I press a coffee bean into the center of each square before they go into the oven, just for the way they look on a plate.
Working With Espresso Powder
The finer your espresso powder, the more evenly the flavor distributes. I've made the mistake of using coarse instant coffee granules and ended up with tiny bitter pockets throughout the cookie. A quick spin in a coffee grinder or mortar and pestle solves the problem completely.
Storage And Sharing
These travel surprisingly well if you pack them between layers of parchment paper in a rigid container. I've mailed them across the country and they arrived intact. The texture actually improves after a day in the tin, becoming more buttery and less crumbly.
- Layer them with wax paper so they don't stick together
- Freeze the unbaked dough squares and bake directly from frozen, adding 2 minutes
- These make the most thoughtful host gift when stacked in a clear bag with a nice ribbon
 Save
Save There's something honest about a cookie that doesn't pretend to be anything more than butter, coffee, and a little bit of patience. These are the ones I make when I want to remember why I started baking in the first place.
Recipe Questions & Answers
- → Can I use regular instant coffee instead of espresso powder?
-
Instant coffee works, though espresso powder provides a more concentrated, robust coffee flavor. If using instant coffee, increase the amount to 3 tablespoons for similar intensity.
- → Why must the butter be softened?
-
Softened butter incorporates air when creamed with sugar, creating the tender, melt-in-your-mouth texture essential for proper shortbread. Cold butter won't cream properly and yields dense cookies.
- → How do I know when the cookies are done?
-
Look for edges that are just beginning to turn golden brown. The centers should still appear pale. Overbaking leads to dry, crumbly cookies rather than tender ones.
- → Can I freeze the dough?
-
Yes, shape the dough into a rectangle, wrap tightly in plastic, and freeze for up to 3 months. Thaw in the refrigerator before cutting and baking.
- → What's the purpose of chilling the dough?
-
While this recipe doesn't require chilling, refrigerating the shaped dough for 30 minutes helps cookies hold their shape better during baking and enhances flavor development.
- → Can I make these dairy-free?
-
Substitute the butter with high-quality vegan butter sticks. Avoid margarine or spreads as they contain excess water and won't produce the proper texture.
