 Save
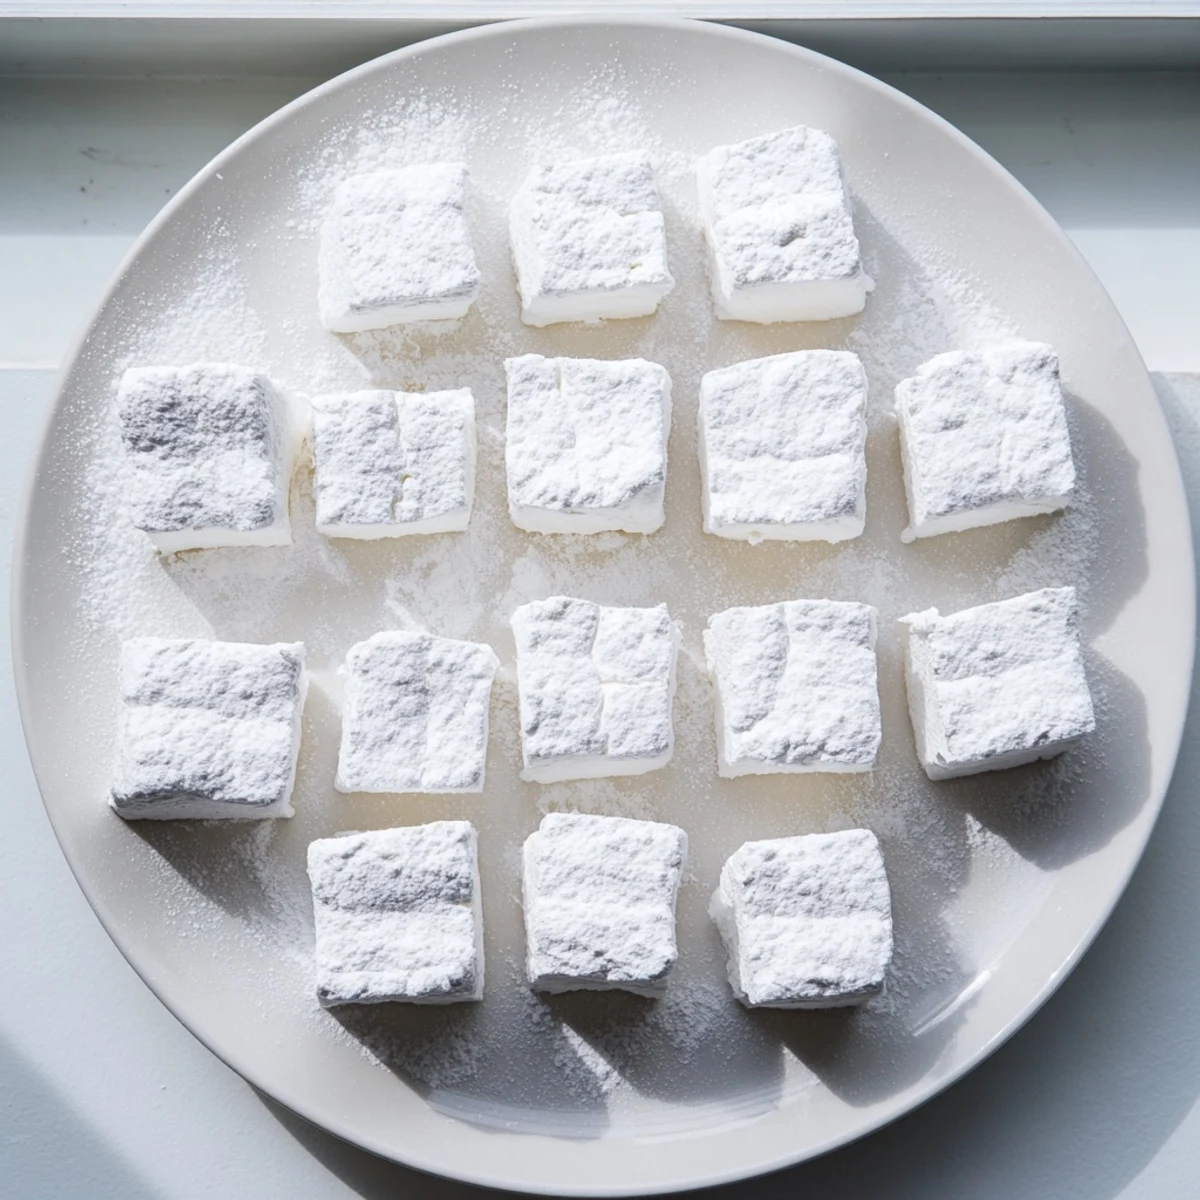
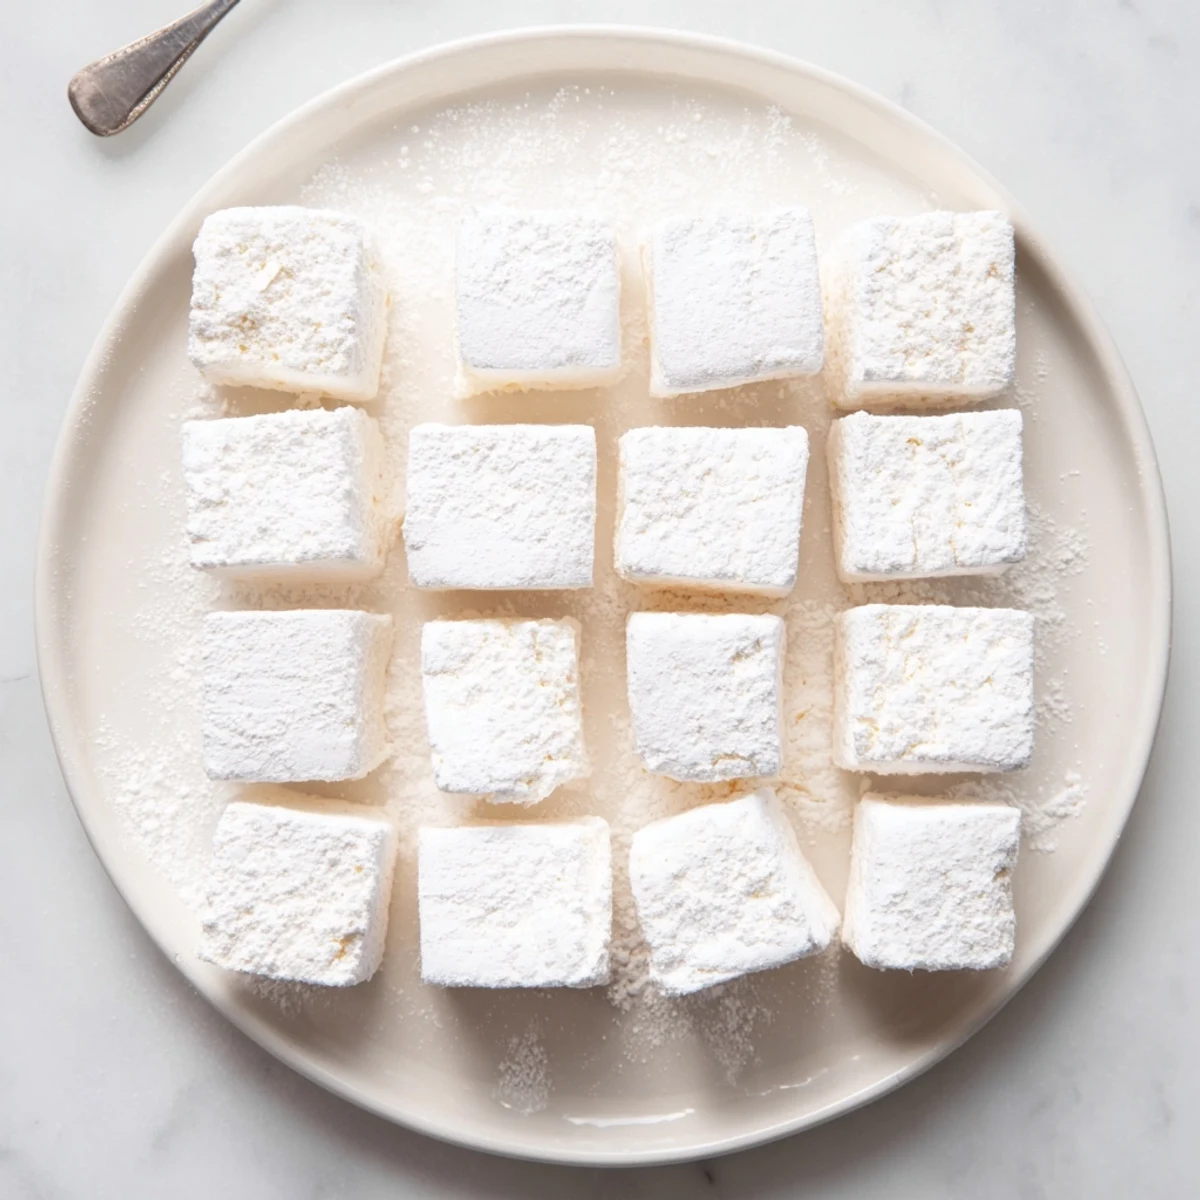
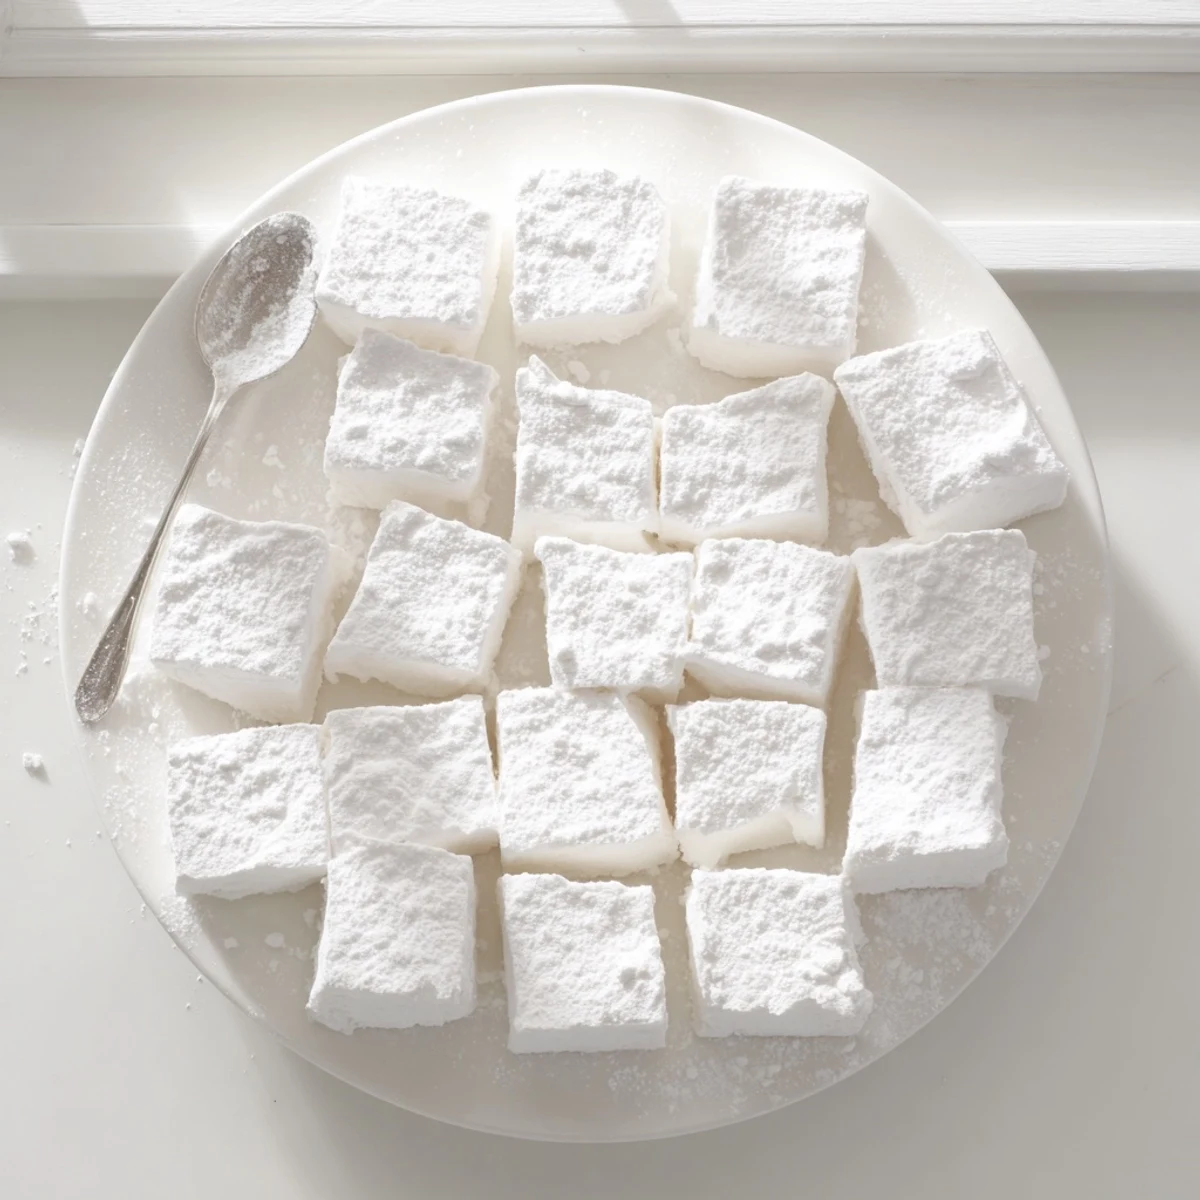
Save Craft pillowy-soft marshmallows at home with this straightforward technique. The process involves creating a hot sugar syrup, blooming gelatin, then whipping them together until the mixture triples in volume and becomes glossy. After setting for four hours or overnight, you'll have airy squares ready for coating in a light dusting of confectioners sugar and cornstarch.
These versatile treats shine when dropped into steaming mugs of cocoa, layered between chocolate and graham crackers for s'mores, or enjoyed straight from the container. Customize them by swapping vanilla extract for peppermint, almond, or fruit extracts, or add food coloring during the final minute of mixing.
The kitchen counter was covered in white powder, my hair was slightly sticky, and I was holding what looked like a cloud between my fingers. My first attempt at homemade marshmallows had just finished setting, and I could not believe that something this ethereal and pillowy had come from my own mixer. Now I make a batch every December, the scent of vanilla filling the house while snow falls outside the window.
Last winter I made triple batches for holiday gifts, carefully packaging them in clear bags with red ribbon. My neighbor called the next day to say her family had eaten almost the entire package while watching movies, and could I possibly teach her how to make them. There is something about homemade marshmallows that turns ordinary cocoa into an event and makes people feel like kids again.
Ingredients
- 2 cups granulated sugar: The foundation of your syrup, create the structure that lets these marshmallows hold their perfect shape
- 1/2 cup light corn syrup: Prevents crystallization and gives that characteristic chewy bounce you cannot get from sugar alone
- 3 envelopes unflavored gelatin: The magic ingredient that transforms liquid sugar into fluffy clouds, do not try to substitute this
- 1/2 cup cold water for gelatin: Must be cold to properly bloom the gelatin, warm water will not give you the same structure
- 1/2 cup water for syrup: Helps dissolve the sugar evenly before it reaches high temperatures
- 1/4 tsp fine sea salt: Just enough to balance all that sweetness and make the vanilla really sing
- 1 tbsp pure vanilla extract: Use the good stuff here, it is the primary flavor in this delicate confection
- 1/2 cup confectioners sugar and 1/2 cup cornstarch: Mix these together for dusting, keeps everything from becoming a sticky disaster
Instructions
- Prep your pan:
- Lightly grease a 9x9 inch baking pan, then dust it generously with your confectioners sugar and cornstarch mixture, tapping out any excess. This step is crucial because sticky marshmallow will glue itself to metal like nothing else.
- Bloom the gelatin:
- Pour the gelatin and 1/2 cup cold water into your stand mixer bowl and let it sit while you make the syrup. It will absorb the water and become firm, which means it is ready to work its magic.
- Cook the syrup:
- Combine sugar, corn syrup, 1/2 cup water, and salt in a medium saucepan. Stir over medium heat until the sugar dissolves completely, then stop stirring and let it boil until it reaches exactly 240 degrees F on your candy thermometer.
- Make the fluff:
- With the mixer on low speed, carefully pour that hot syrup into the gelatin. Gradually increase to high speed and beat for 10 to 12 minutes until the mixture is thick, glossy, and looks like glossy white frosting. Add vanilla during the last minute of mixing.
- Set and rest:
- Spread the marshmallow into your prepared pan using a greased spatula, working quickly because it starts setting immediately. Dust the top with more sugar mixture and let it sit uncovered for at least 4 hours or overnight.
- Cut and coat:
- Turn the slab onto a cutting board and cut into squares using a sharp knife or pizza cutter dusted with your sugar mixture. Toss each piece in the coating to prevent them from sticking to each other.
 Save
Save My daughter now asks for hot chocolate with the squishy marshmallows every snow day, and watching her face light up when she drops them in and they start melting makes the whole sticky process worth it. These have become our winter tradition, something simple that turns an ordinary afternoon into something special.
Getting the Texture Right
The difference between okay marshmallows and incredible ones comes down to beating time. Under beat and they will be dense and slightly gummy. Over beat and they can become stiff and lose that melt in your mouth quality. You want that sweet spot where they hold their shape but still dissolve slowly on your tongue.
Flavor Variations
While vanilla is classic, I have made mint versions for Christmas by swapping in peppermint extract. Almond extract creates something that tastes like a sophisticated bakery treat. You can even add a tablespoon of strawberry powder for a pretty pink version that tastes like childhood. Add any flavorings during that last minute of mixing so they do not get over beaten.
Storage and Gifting
These will keep in an airtight container for about a week, though they rarely last that long in my house. If you are gifting them, layer them between parchment paper in a cute tin or box. The cornstarch coating prevents them from sticking together, but do not stack them too tightly or they will compress and lose their fluffiness.
- Package them within 24 hours of cutting for the freshest taste and best texture
- Include a small note that they are homemade because people will taste the difference immediately
- Consider adding a packet of hot cocoa mix to complete the gift
 Save
Save There is something profoundly satisfying about making something so whimsical and delightful from such simple ingredients. I hope these bring a little magic to your kitchen too.
Recipe Questions & Answers
- → How long do homemade marshmallows take to set?
-
Allow the marshmallow mixture to set at room temperature for at least 4 hours, though overnight is ideal. This gives the gelatin time to fully set and the marshmallows to achieve their signature fluffy texture.
- → Can I make marshmallows without a stand mixer?
-
A stand mixer makes this process easier, but you can use a hand mixer instead. You'll need to beat the mixture for 10-12 minutes on high speed, so a hand mixer will work—just be prepared for some arm fatigue during the whipping process.
- → How should I store homemade marshmallows?
-
Keep your marshmallows in an airtight container at room temperature for up to 1 week. The confectioners sugar and cornstarch coating helps prevent them from sticking together. Avoid refrigeration, as moisture can make them sticky and compromise their texture.
- → Why do I need a candy thermometer?
-
Heating the sugar syrup to exactly 240°F (115°C) is crucial for proper marshmallow structure. This temperature ensures the sugar reaches the soft-ball stage, which creates stable marshmallows that hold their shape without becoming too hard or too soft.
- → Can I make these vegan or vegetarian?
-
Traditional marshmallows rely on gelatin for structure, which isn't vegan. While vegetarian gelatin alternatives exist, they behave differently in this technique. For best results with this specific recipe, use traditional unflavored gelatin.
- → What's the purpose of dusting with cornstarch and confectioners sugar?
-
This mixture prevents marshmallows from sticking to the pan, your knife, and each other. The cornstarch absorbs moisture while the confectioners sugar provides sweetness and creates a smooth, non-sticky coating on each piece.
