 Save
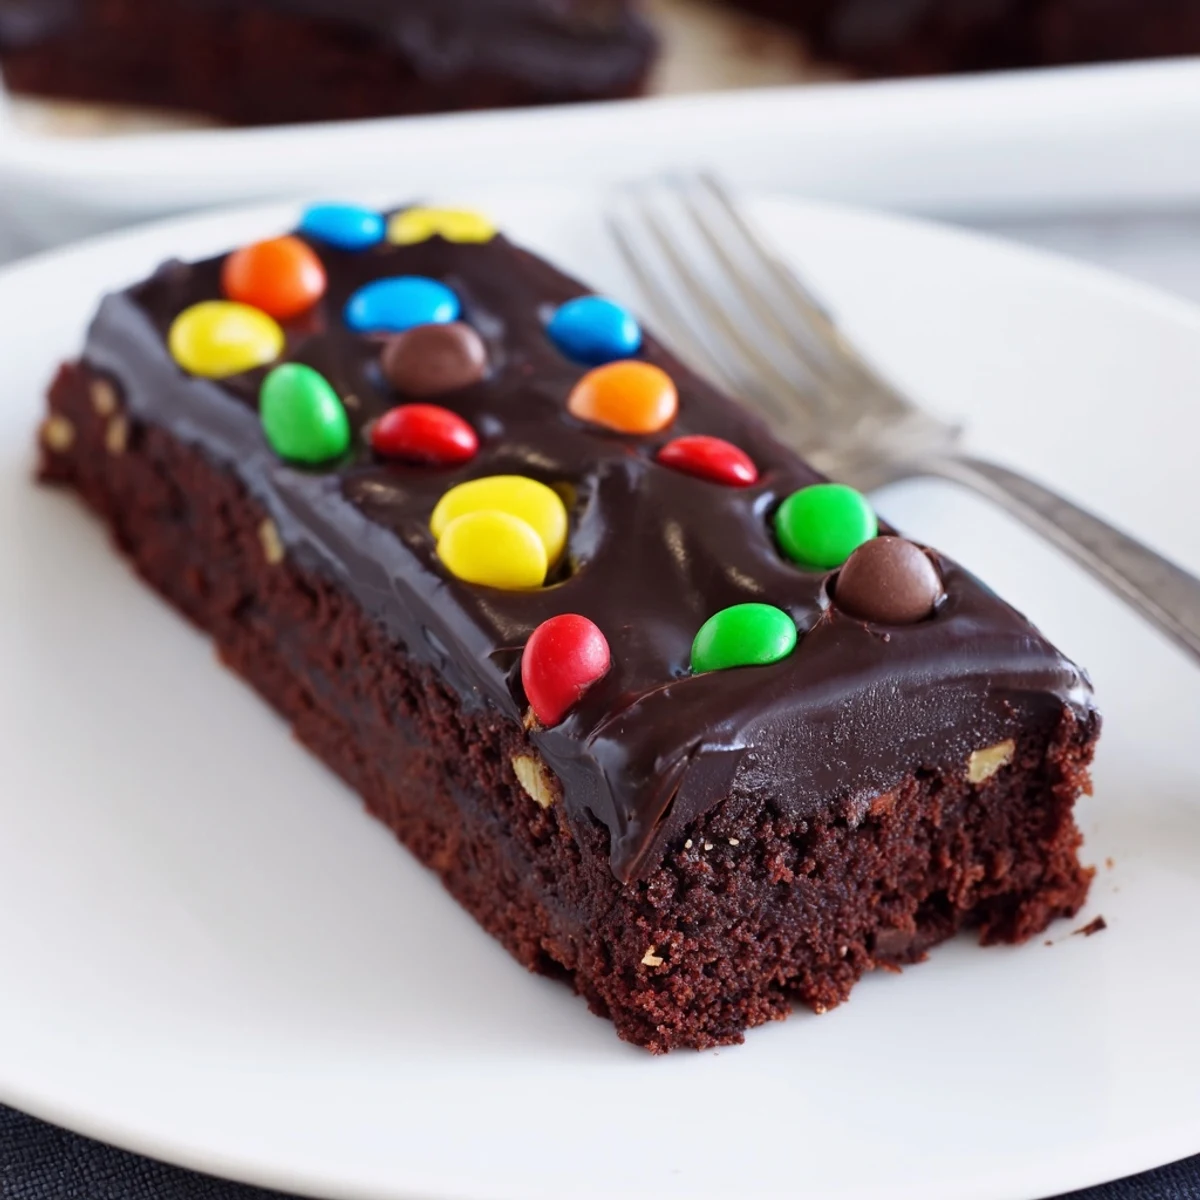
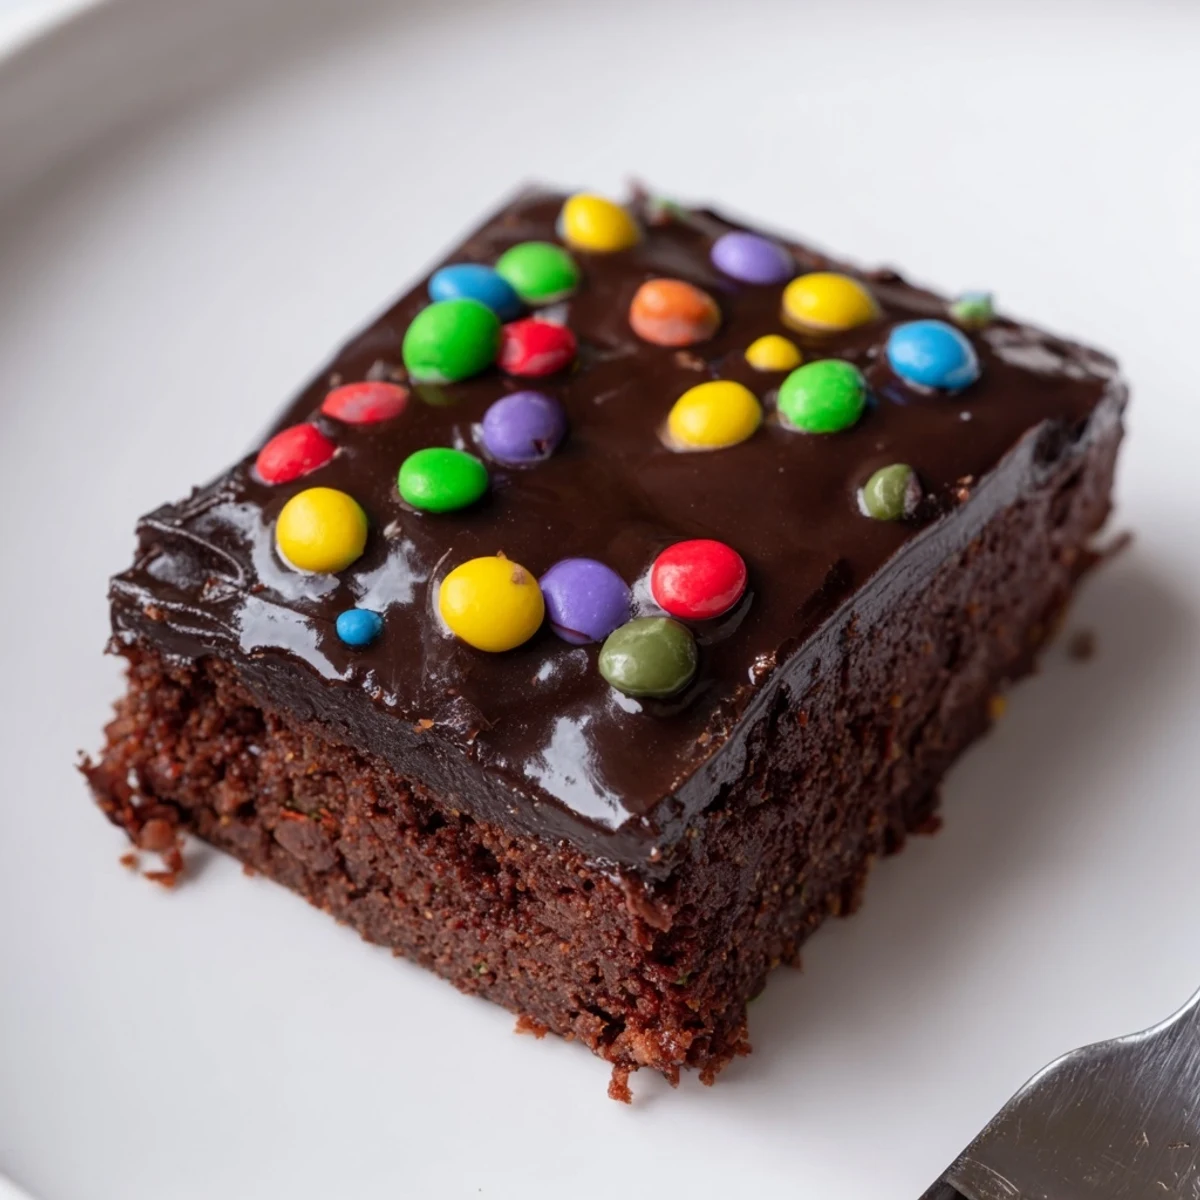
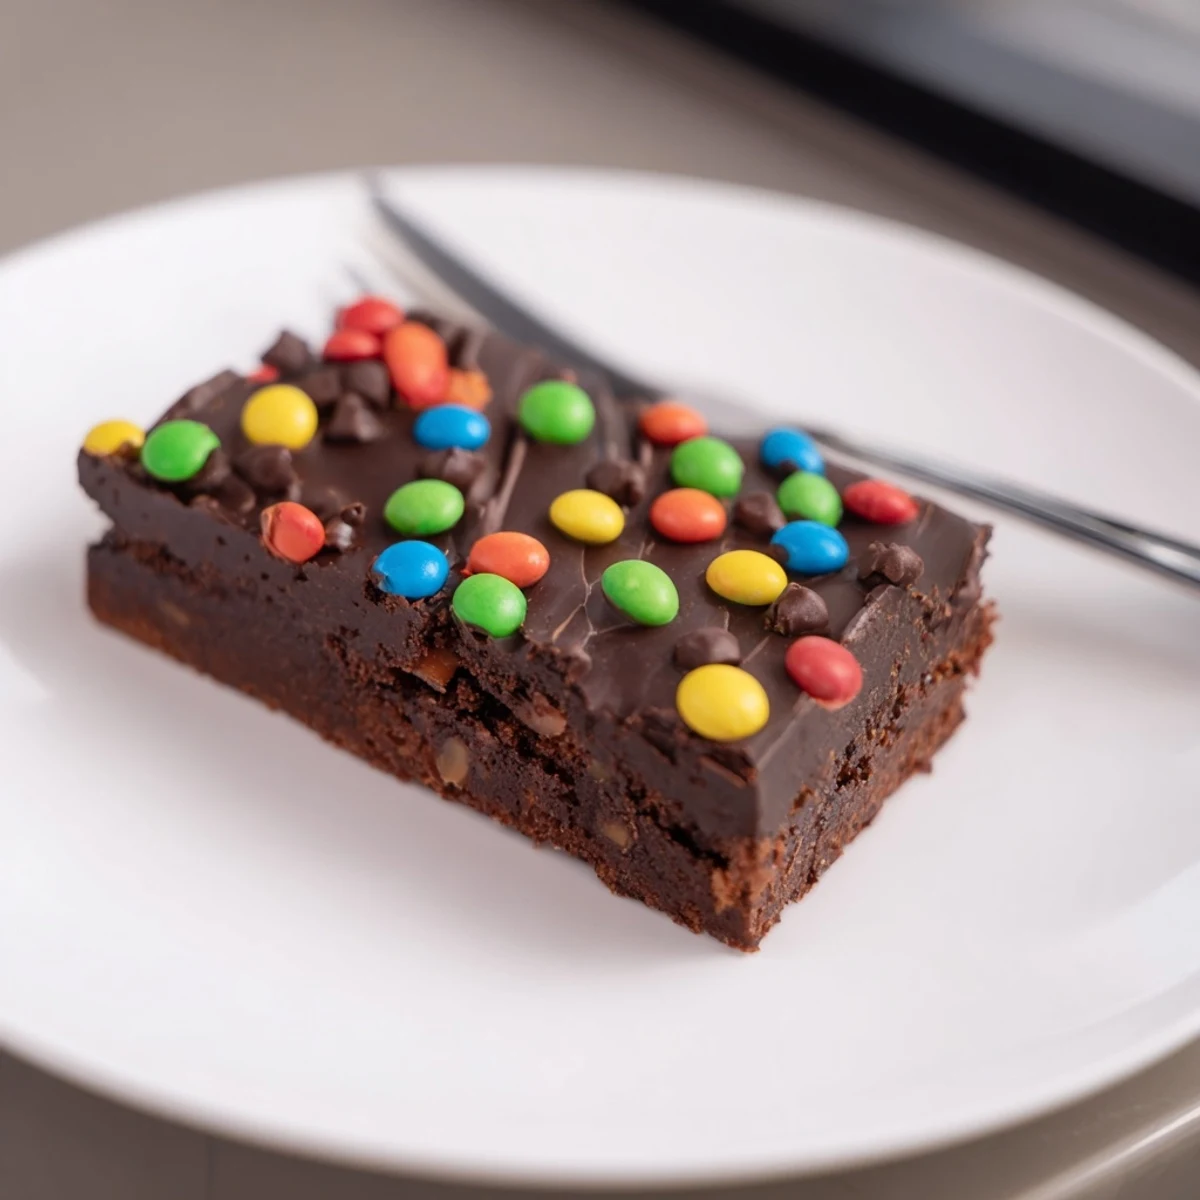
Save This rich, compact brownie bar starts with a glossy butter-and-sugar batter folded with cocoa and flour, baked until the edges are set and the center remains slightly fudgy. Once cooled, it’s glazed with a warm chocolate ganache, topped with candy-coated chocolates and chilled to set. Finish by lifting from the pan, slicing into 12 bars. Tip: a pinch of espresso sharpens the chocolate; use a 1:1 gluten-free flour for a GF version.
My friend Mara dared me to recreate the lunchbox brownies we all obsessed over as kids, and after three attempts, these gourmet cosmic brownies emerged from my oven looking almost too good to cut into. The ganache settled into a perfect mirror sheen, and those rainbow candies scattered on top made the whole kitchen feel like a celebration. I burned the first batch because I got distracted watching a squirrel steal a tomato from my garden, but that failure taught me everything about timing.
I brought a tray of these to a potluck last fall and watched three adults completely ignore the elaborate cake someone had ordered from a bakery just to grab seconds of these bars.
Ingredients
- Unsalted butter (170 g, melted): Using good quality butter here makes a noticeable difference because the fat carries so much of the flavor.
- Granulated sugar (200 g) and light brown sugar (100 g): The blend of sugars gives you a crisp top edge while keeping the center dense and chewy.
- 2 large eggs: Room temperature eggs incorporate more smoothly into the batter and help create that signature fudgy texture.
- Pure vanilla extract (1 tsp): A small amount rounds out the chocolate without competing with it.
- Unsweetened cocoa powder (80 g): Dutch processed cocoa will give you a darker, richer result, but natural cocoa works beautifully too.
- All-purpose flour (80 g): Measure by spooning into the cup and leveling off, because too much flour ruins the texture.
- Fine sea salt: Salt is what makes chocolate taste like more of itself, so do not skip it.
- Semi-sweet chocolate (115 g, chopped): Chop it yourself rather than using chips, because the lower cocoa butter content in chips prevents smooth melting.
- Heavy cream (120 ml): This is what transforms melted chocolate into ganache instead of a stiff puddle.
- Rainbow candy coated chocolate chips (50 g): Mini candies work better than full sized ones because they distribute more evenly across the top.
Instructions
- Prep your pan and oven:
- Heat the oven to 175 degrees C (350 degrees F) and line an 8 by 8 inch pan with parchment, leaving the sides hanging over like little handles. This is your insurance policy for getting perfect bars out later.
- Build the sugar base:
- Pour the melted butter into a large bowl and whisk in both sugars until the mixture looks glossy and the graininess mostly disappears. Take a moment to appreciate how beautiful this looks.
- Add the eggs and vanilla:
- Crack in the eggs and pour the vanilla, then whisk vigorously for about a minute until everything looks lighter in color and slightly fluffy. This aeration is what gives you that crinkly top.
- Fold in the dry ingredients:
- Sift the cocoa powder, flour, and salt directly into the bowl, then fold gently with a spatula just until no dry streaks remain. Overmixing at this stage makes the brownies cakey instead of fudgy.
- Bake with intention:
- Scrape the batter into the pan, smooth the top, and bake for 23 to 25 minutes until the edges are firm but the center still jiggles slightly when you shake the pan. That underbaked center sets as it cools into perfect texture.
- Cool completely:
- Leave the brownies in the pan on a wire rack and resist all temptation to rush this step. The ganache will melt right into a warm brownie and create a mess instead of a clean layer.
- Make the ganache:
- Put the chopped chocolate and remaining butter in a heatproof bowl, then heat the cream in a small saucepan just until you see steam rising and tiny bubbles at the edges. Pour the hot cream over the chocolate and let it sit untouched for two full minutes before stirring.
- Spread and top:
- Stir the ganache in small circles starting from the center until it becomes smooth and glossy, then pour it over the cooled brownie and spread evenly. Scatter the rainbow candies across the top immediately before the ganache begins to set.
- Chill and slice:
- Refrigerate for at least 30 minutes so the ganache firms up enough to cut cleanly, then use the parchment handles to lift the whole slab out. Slice with a sharp knife, wiping the blade between each cut for the neatest bars.
 Save
Save My niece helped me make these for her birthday and she arranged every single candy piece by color in careful rows, turning a casual batch into a tiny edible mosaic that none of us wanted to be the first to cut.
Serving Ideas Worth Trying
Serve these bars chilled if you want a clean, snappy bite that almost crunches through the ganache, or let them sit at room temperature for twenty minutes if you prefer a softer, melt on your tongue experience. A glass of cold milk or a short espresso alongside turns a casual afternoon snack into something that feels genuinely special.
Storing Your Leftovers
Keep any leftover bars in an airtight container in the refrigerator and they stay delicious for up to five days, though they rarely last that long in my house. You can also freeze them individually wrapped in plastic for up to three months.
A Few Final Kitchen Thoughts
The beauty of this recipe is how forgiving it is once you understand the rhythm of it, and every batch teaches you something small about your own oven and preferences.
- Always check candy topping labels for allergens, since some contain traces of nuts that are not immediately obvious.
- A plastic knife actually cuts through ganache more cleanly than metal because it does not drag.
- Trust the jiggle in the center when you pull them out of the oven.
 Save
Save These brownies are proof that the best recipes are the ones that connect you to a feeling, and I hope they bring a little bit of that lunchbox magic back to your kitchen too.
Recipe Questions & Answers
- → How can I tell when the bars are done baking?
-
Bake until the edges look set and pull slightly away from the pan while the center still appears a touch underbaked; it will firm up as it cools for a fudgy texture.
- → How long should the ganache set before slicing?
-
After spreading the ganache, chill the pan for at least 30 minutes so the topping firms. For cleaner slices, refrigerate longer until fully set.
- → Can I make the base gluten-free?
-
Yes. Substitute a 1:1 gluten-free flour blend in equal measure and handle gently to avoid a crumbly texture; baking time should be similar, but monitor doneness.
- → Any tips for intensifying chocolate flavor?
-
Add a small pinch (about 1/4–1/2 tsp) of instant espresso powder to the batter to deepen the chocolate notes without adding coffee flavor.
- → What can I use instead of candy-coated chocolates for the topping?
-
Swap for chopped toasted nuts, chocolate shavings, or mini chocolate chips for texture and visual contrast while keeping the glossy ganache finish.
- → How should I store the bars and how long do they keep?
-
Store chilled in an airtight container for up to 5 days or at room temperature for 2 days. Let chilled bars come to room temp briefly before serving for softer bite.
