 Save
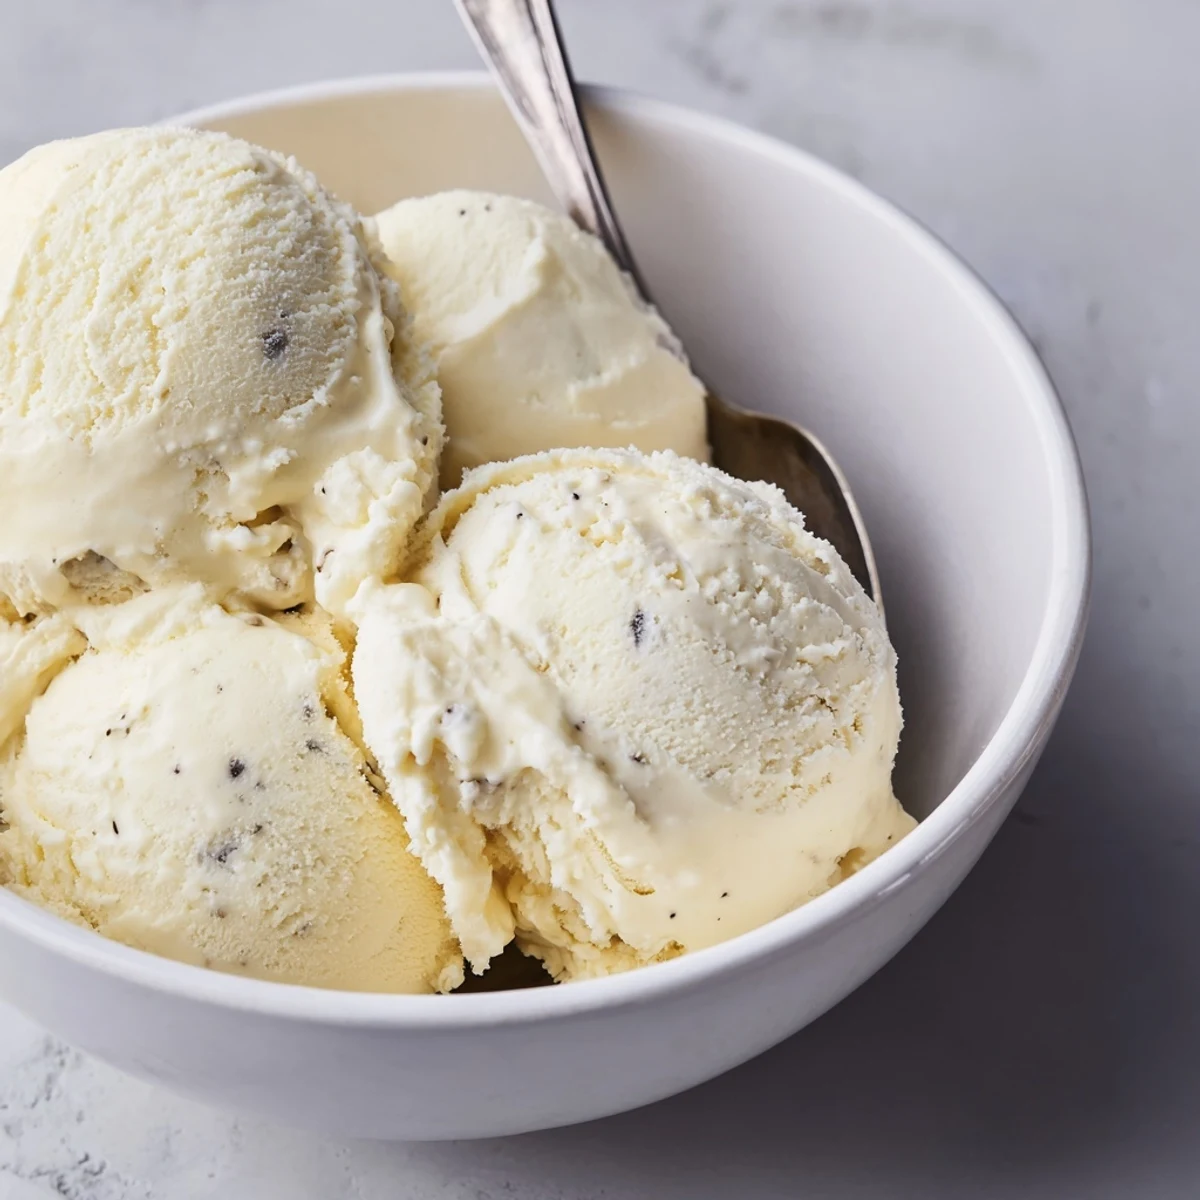
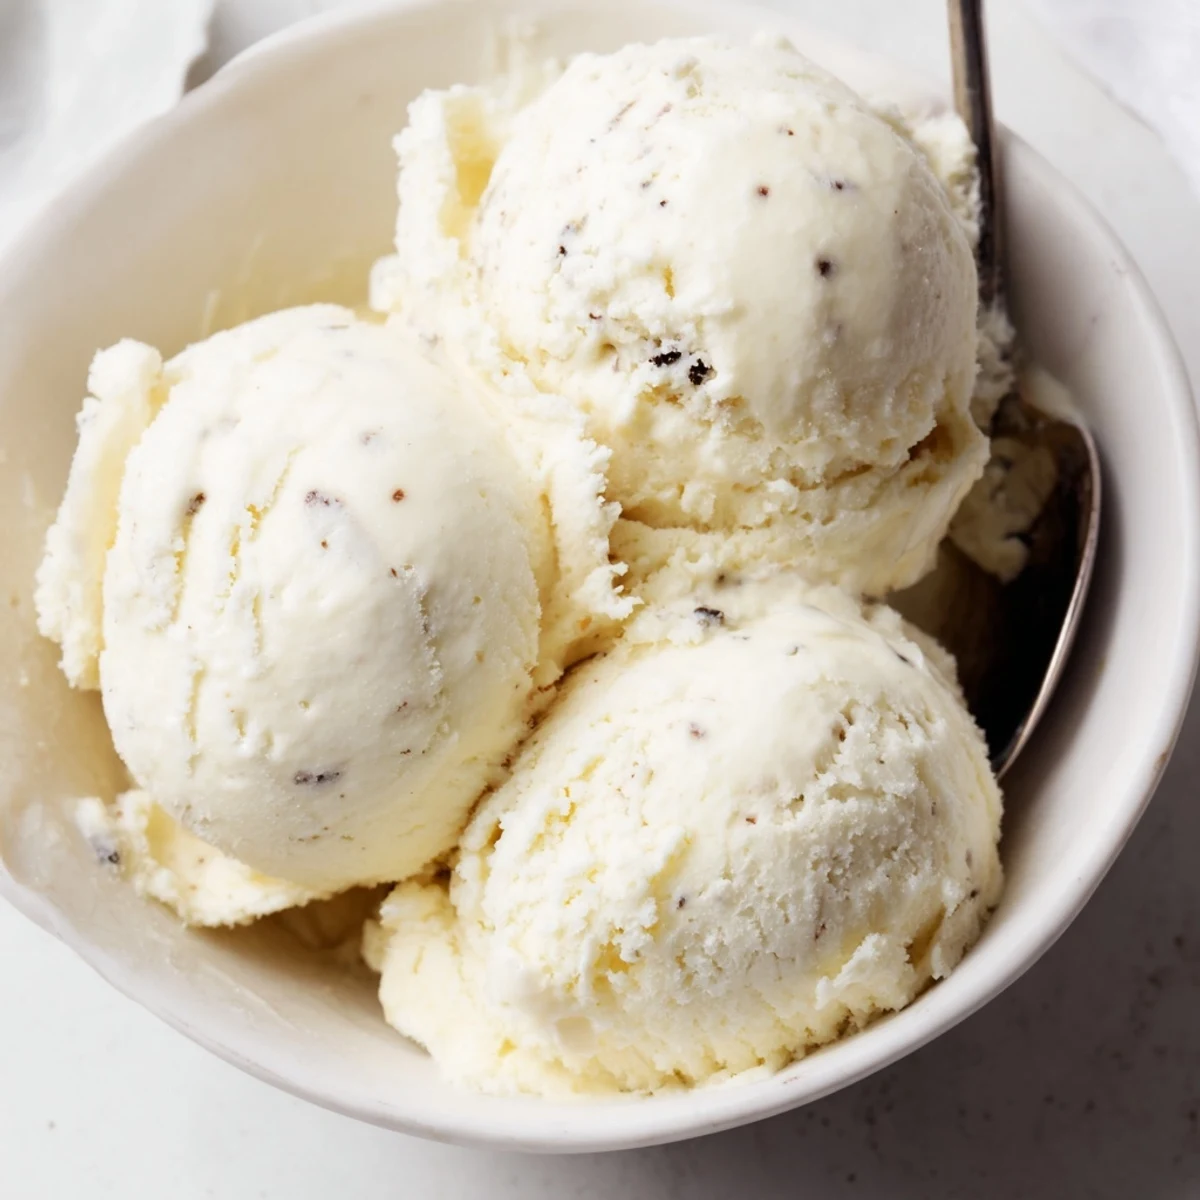
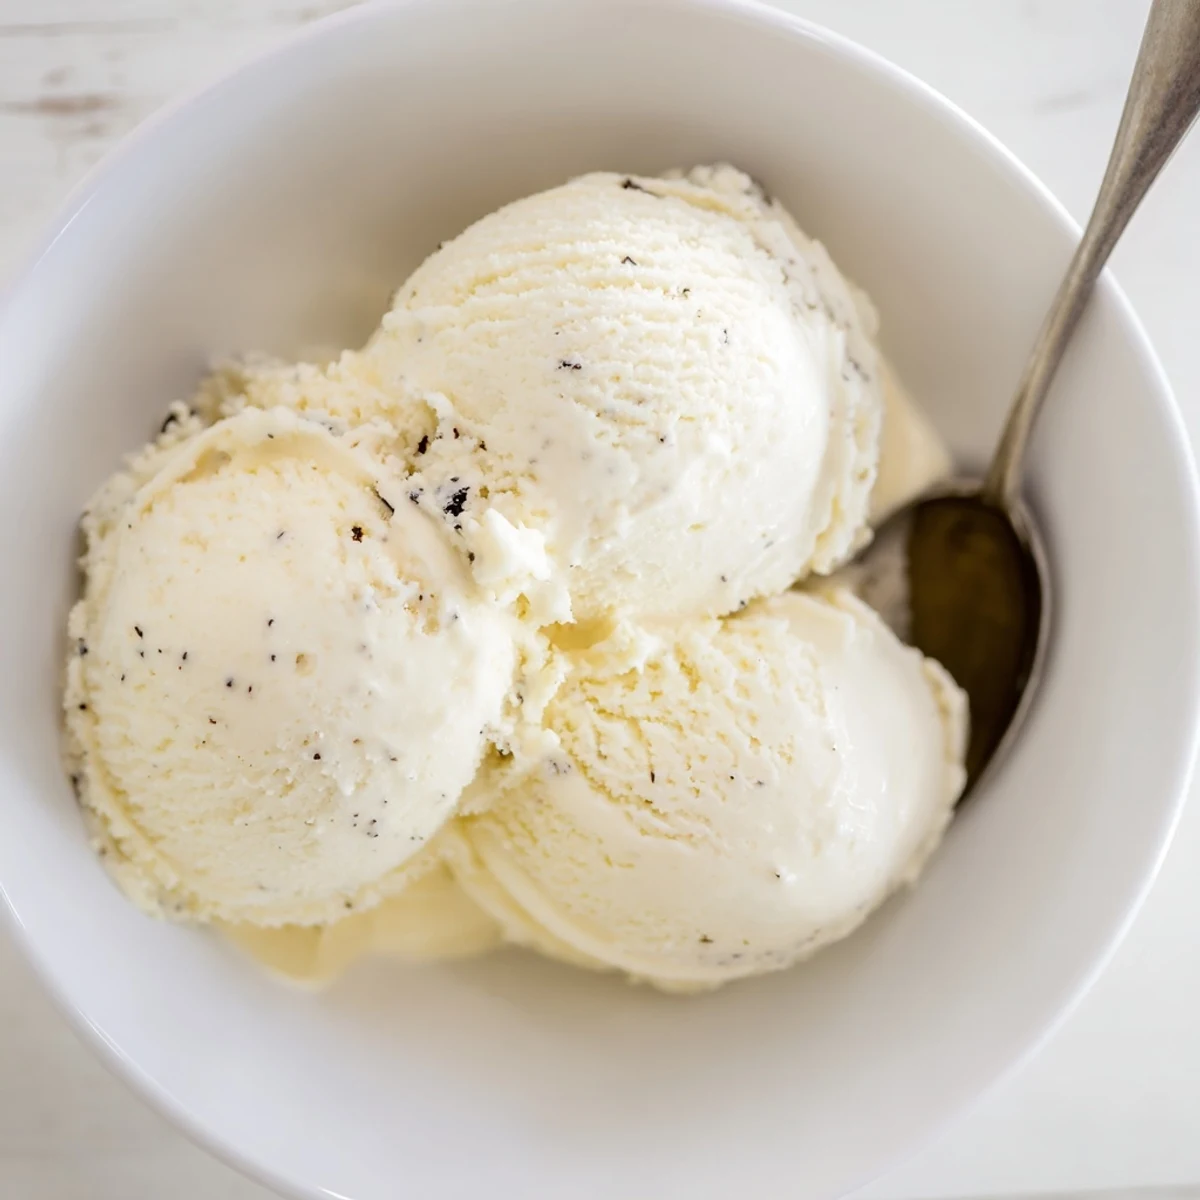
Save Create your own rich and creamy vanilla ice cream with this classic custard-based method. The secret lies in the fresh vanilla bean infusing into heavy cream and whole milk, combined with egg yolks for that luxurious texture.
This indulgent frozen treat requires patience during the chilling and freezing process, but the results are worth every minute. The finished product boasts a silky smooth consistency and intense vanilla flavor that surpasses store-bought versions.
Customize your creation by adding melted chocolate for variation, or fold in chopped fruit, nuts, or cookie pieces during the final churning minutes. Serve alongside fresh berries or your favorite sauce for the ultimate dessert experience.
The summer my air conditioner broke was the summer I learned to make ice cream from scratch. Every evening I stood over the stove stirring custard while sweat rolled down my back, and honestly those batches tasted better than anything from a machine. There is something about making ice cream by hand that forces you to slow down and pay attention to every degree of heat.
My neighbor Clara knocked on my door one July evening with a basket of bruised peaches and asked if I could do anything with them. I folded those peaches into a batch of this base during the last minutes of churning, and we sat on her porch eating it straight from the container with wooden spoons.
Ingredients
- Heavy cream (500 ml): The fat content here is everything, so do not substitute with light cream or your texture will turn icy.
- Whole milk (250 ml): Balances the richness of the cream and keeps the final scoop from feeling too heavy.
- Granulated sugar (150 g): Dissolves into the custard and also lowers the freezing point for a softer scoop.
- Vanilla bean (1 pod or 2 tsp extract): Real vanilla bean adds those tiny black flecks that make people think you bought it from a shop.
- Large egg yolks (4): These create the silky custard foundation, so use fresh ones and whisk vigorously.
Instructions
- Wake up the vanilla:
- Split the bean down the middle and scrape the seeds into a saucepan with the milk, cream, and the whole pod. Warm everything over medium low heat until you see steam curling off the surface but never let it bubble, then pull it off the stove and let it sit for fifteen minutes so the flavor seeps in.
- Build the custard:
- In a separate bowl whisk the egg yolks and sugar together until the mixture turns pale yellow and falls in thick ribbons from the whisk. This step takes a good two minutes of effort and your arm will notice.
- Marry the two:
- Fish out the vanilla pod, then pour the warm cream in a slow thin stream over the yolks while whisking without stopping so the eggs temper gently instead of scrambling.
- Cook it low and slow:
- Pour everything back into the saucepan and stir with a wooden spoon over low heat until the custard thickens enough to coat the back of the spoon. Hold it below a simmer or you will end up with sweet scrambled eggs.
- Strain and chill:
- Push the custard through a fine sieve into a clean bowl to catch any cooked bits, then let it cool to room temperature before sliding it into the fridge for at least two hours until it is cold through and through.
- Churn with patience:
- Pour the chilled base into your ice cream maker and follow the directions that came with it, churning until it looks like soft serve and holds its shape.
- Freeze to finish:
- Scoop it into a lidded container and freeze for at least three hours so it firms up properly. Let it sit on the counter for five minutes before serving so it scoops cleanly.
 Save
Save The first time I served this at a dinner party my friend David paused mid bite and refused to speak until he finished the whole bowl.
Mix Ins and Variations
Stirring in extras at the end of churning keeps the pieces intact and evenly distributed rather than sinking to the bottom. Fold in 80 grams of melted dark chocolate right after straining for a deep chocolate version that rivals any gelateria. Chopped toasted nuts, crushed cookies, or swirls of jam added during the last two minutes of churning turn each batch into something unique.
What to Serve It With
Fresh berries and a drizzle of warm chocolate sauce are all you need for a simple dessert that looks elegant on any plate. A crisp waffle cone adds crunch and nostalgia, especially if you have kids around who want to hold their dessert while running through the yard.
Tools and Equipment
You do not need much beyond a decent saucepan, a whisk, and a fine sieve to make this base happen. An ice cream maker is the one piece of equipment I would call essential unless you want to try the freeze and stir method, which works but requires dedication.
- Freeze your ice cream maker bowl for a full 24 hours before churning for best results.
- Press parchment paper directly onto the surface of the ice cream before lidding to prevent ice crystals.
- Homemade ice cream is best eaten within one week.
 Save
Save Every batch you make teaches you something new about heat and patience and the quiet pleasure of making something wonderful from scratch. Share it generously and often.
Recipe Questions & Answers
- → Why is my ice cream texture icy instead of creamy?
-
Icy texture usually results from insufficient churning or inadequate fat content. Ensure your heavy cream has at least 36% fat content, churn until thickened, and freeze promptly. The custard base also helps prevent ice crystals from forming.
- → Can I make this without an ice cream maker?
-
Yes, though the texture will be slightly different. Pour the chilled custard into a shallow container and freeze for 2 hours. Remove and whisk vigorously to break up crystals, then return to freezer. Repeat this process every 2-3 hours until firm.
- → How long does homemade ice cream stay fresh?
-
Properly stored in an airtight container, homemade vanilla ice cream maintains optimal quality for 1-2 weeks. After this period, ice crystals may form and the flavor may deteriorate. For best results, consume within the first week.
- → Why did my custard curdle during cooking?
-
Curdling occurs when the mixture exceeds 85°C or heats too quickly. Always use low heat, stir constantly with a wooden spoon, and remove from heat when the custard coats the back of the spoon. Using a thermometer helps maintain the ideal 80°C temperature.
- → Can I use vanilla extract instead of a vanilla bean?
-
Absolutely. While vanilla bean pods provide superior flavor and those characteristic specks, pure vanilla extract works perfectly. Use 2 teaspoons of high-quality extract, adding it during step 4 after removing the saucepan from heat.
- → Why must the custard chill thoroughly before churning?
-
The resting period allows flavors to meld and the custard to reach optimal viscosity for churning. Churning warm mixtures produces smaller ice crystals, resulting in that coveted creamy texture. A minimum 2-hour chill ensures proper structure formation.
