 Save
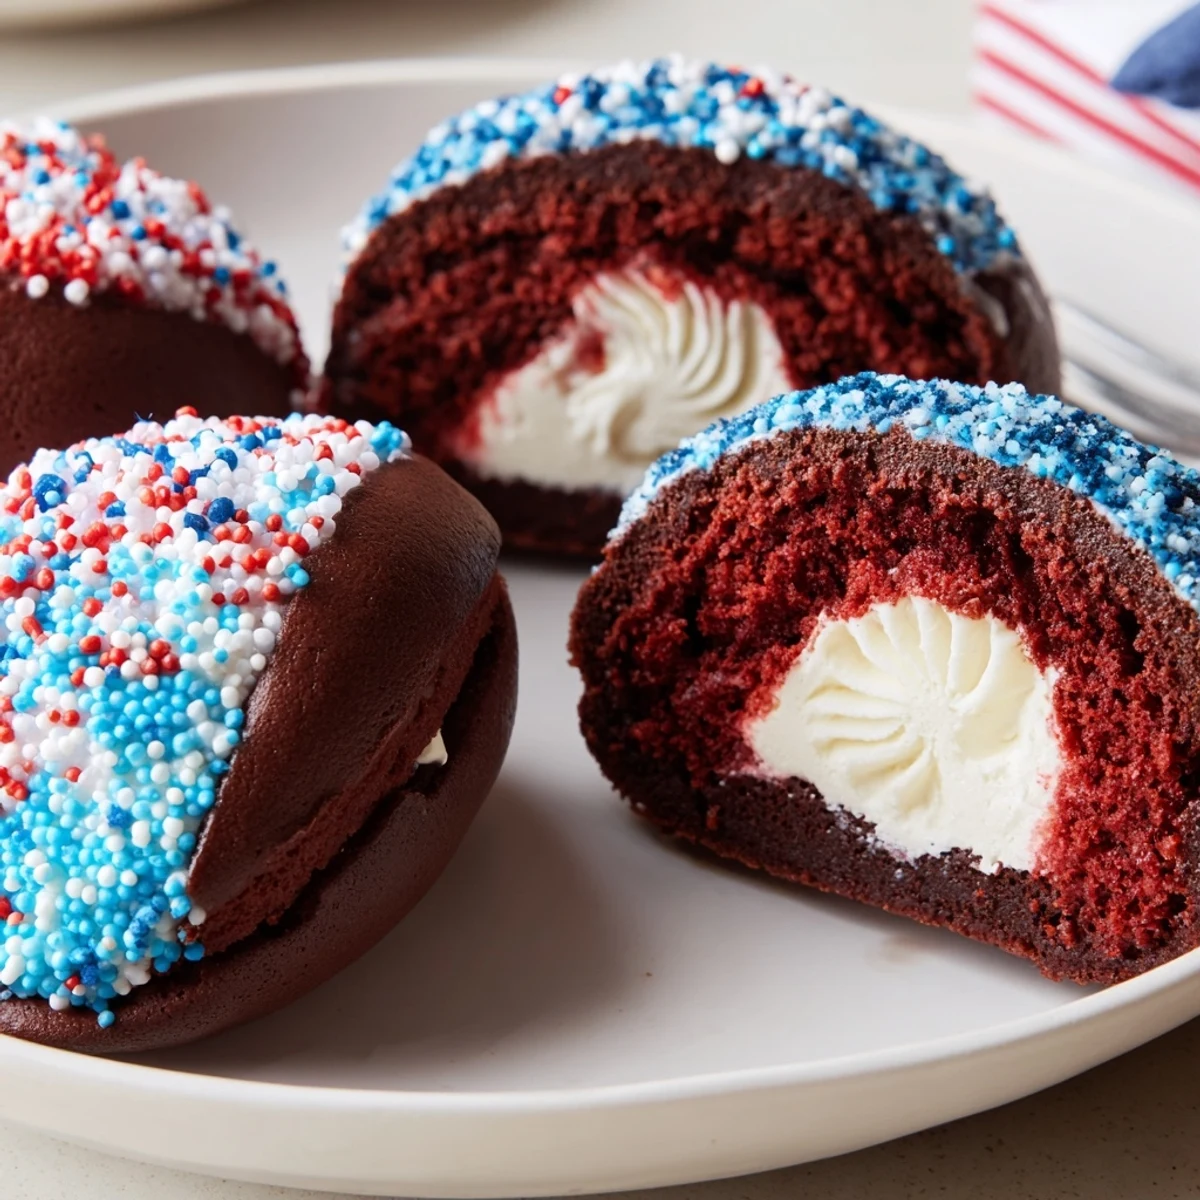
Save These patriotic whoopie pies pair tender cocoa cakes with a marshmallow buttercream for a soft, sandwich-style treat. Batter comes together quickly with butter, sugar, buttermilk and vanilla; bake 10-12 minutes until set. Beat butter, powdered sugar and marshmallow creme into a glossy filling, tint portions red and blue, pipe between cakes, then chill 30 minutes for easier handling.
On the Fourth of July last year, the kitchen was a flurry of laughter and color, thanks to these soft, patriotic whoopie pies. Mixing red and blue-tinted filling while the radio played classic summer tunes was honestly the most fun I'd had in months. Something about sandwiching festive sprinkles between pillowy chocolate cakes made the whole process feel celebratory. Baking these isn't just about dessert—it's almost like throwing a little edible party together.
One steamy Memorial Day, I brought a tray of these to a family picnic, and the youngest cousins immediately started trading whoopie pies for watermelon slices. My uncle took one look at the sprinkle-covered edges and joked that they were nearly too pretty to eat—nearly. We all shared an extra laugh after a few of us ended up with blue and red-tinted smiles in the group photo. Not a crumb was left by sundown.
Ingredients
- All-purpose flour: Sifting gives these cakes their signature fluff, and I’ve learned to spoon it lightly for best results.
- Unsweetened cocoa powder: For the deepest chocolate flavor, use a good-quality cocoa—not too bitter, but punchy enough to stand out under the frosting.
- Baking soda: Helps the cakes rise just enough, so you get that perfect soft bounce.
- Salt: A touch brings out the chocolate notes and keeps things from being flat.
- Granulated sugar: Cream it well with butter for the lightest, smoothest crumb.
- Unsalted butter, softened: Room temperature butter blends perfectly into both the cake and the filling—set it out early.
- Large egg: Adds structure to the cakes; I always beat it lightly before mixing in.
- Buttermilk: The slight tang prevents the cakes from being overly sweet and guarantees tenderness.
- Vanilla extract: Brightens both cake and filling with a comforting warmth.
- Powdered sugar: Sifting it into the frosting ensures silky-smooth texture—no lumps allowed.
- Marshmallow creme: Adds the fluffiest body to the filling; I always use the full jar for a generous layer.
- Red and blue food coloring: Gel types pop most vibrantly without making the filling runny.
- Patriotic sprinkles: Just a quick roll around the edges transforms each pie into a celebration.
Instructions
- Line and Preheat:
- Switch on the oven to 350°F (175°C) and line your baking sheets—it’s key for easy cookie removal later.
- Mix Dry Ingredients:
- Vigorously whisk flour, cocoa, baking soda, and salt until no streaks remain, enjoying the subtle chocolate scent wafting up.
- Cream Butter and Sugar:
- Combine butter and sugar in a large bowl and mix until it’s notably fluffy—don’t rush, this step gives you ultra-tender cakes.
- Combine Wet and Dry:
- Add the egg, then gradually alternate buttermilk and dry mixture, scraping the sides for even blending; the batter should look silky and thick.
- Scoop and Bake:
- Drop 24 equal rounds on your lined sheets—if you use a cookie scoop, every cake will bake up the same size—then bake 10–12 minutes until set and springy.
- Cool Completely:
- Let the cakes cool fully on racks or parchment to avoid cracking when you sandwich them.
- Make the Filling:
- Beat butter until creamy, then whip in powdered sugar, marshmallow creme, vanilla, and a pinch of salt; it should billow to a spreadable fluff.
- Tint the Filling:
- Divide the filling into three bowls—leave one white, add red gel coloring to one, blue to the other, blending for bold hues.
- Sandwich and Decorate:
- Pipe or spread filling onto half the cakes, sandwich with the rest, then roll the edges in sprinkles or finish with extra frosting on top.
 Save
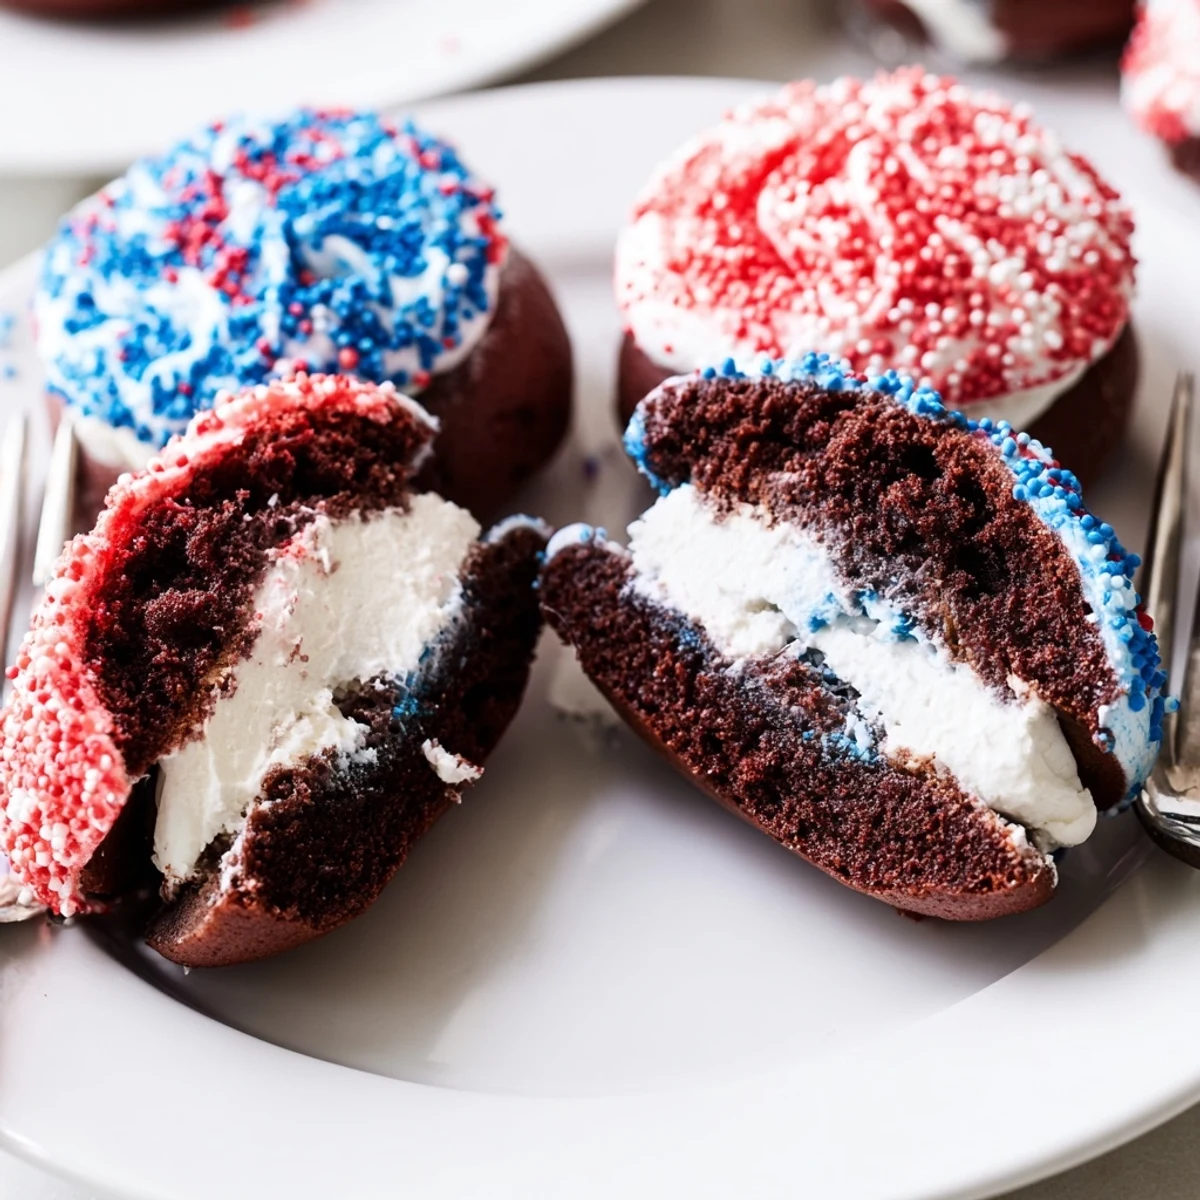
Save The first time someone called these pies ‘edible confetti,’ I realized desserts like this quietly turn a table into a celebration long before dessert is even served. It’s the kind of treat that brings out childhood grins in everyone at the party.
Bringing Out Bigger Flavors
I experimented once with a splash of espresso powder in the cocoa mix and found it deepened the chocolatey aroma without tasting like coffee. Even a half teaspoon can work magic if you’re inclined to play with the base recipe.
Making the Most of Your Decoration
The first time I used gel food coloring, my fillings came out as bold as I’d hoped, and less messy than the liquid versions. Rolling the edges in extra sprinkles—especially with little helpers—always turns cleanup into a mini party of its own.
Customizing for Every Occasion
I realized these aren’t just for July—they’re a hit at any colorful gathering. Mix up the filling colors or toppers for birthdays, game days, or baby showers and the fun never wears off.
- Let the cakes cool on the tray briefly before moving to minimize cracks.
- If making ahead, chill pies and bring them out just before serving for best texture.
- Use parchment for baking and storage—these cakes are happiest when gently handled.
 Save
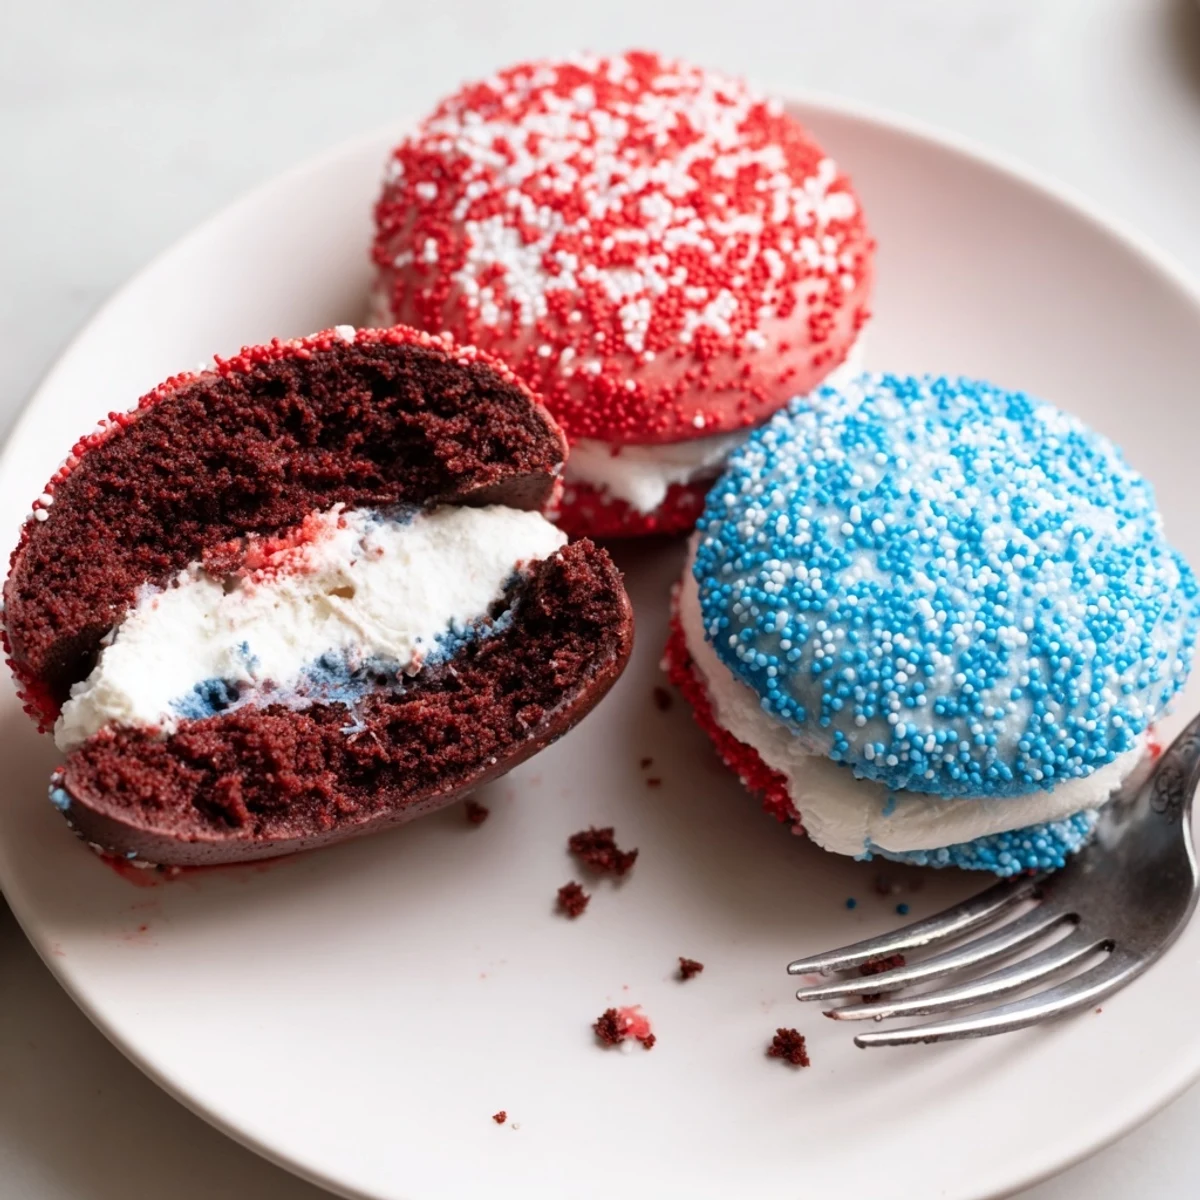
Save With their soft crumb and sweet swirl of color, these whoopie pies are always the first thing to vanish from our holiday table. However you decorate them, they’re an invitation to make memories.
Recipe Questions & Answers
- → How do I keep the cakes soft and cake-like?
-
Avoid overmixing and overbaking: cream butter and sugar until light, fold dry ingredients gently, and bake just until set. Use buttermilk for moisture and a tender crumb.
- → What coloring gives the best vibrant red and blue?
-
Use gel food coloring for concentrated color without thinning the filling. Add a little at a time and mix thoroughly to reach the desired shade.
- → How should I assemble and store the sandwiches?
-
Pipe or spoon filling onto the flat side of half the cakes, top with remaining cakes, then chill 30 minutes for easier handling. Store in an airtight container in the fridge for up to 3 days; bring to room temperature before serving.
- → Can I make these gluten-free?
-
Substitute a reliable 1:1 gluten-free flour blend that contains xanthan gum. Watch batter texture and add a touch more liquid if the mix seems dry, then bake as directed.
- → Is it possible to prepare these ahead or freeze them?
-
Yes. Assemble and freeze in a single layer until firm, then wrap individually and store in an airtight container for up to one month. Thaw in the refrigerator before serving.
- → How can I adapt for dairy or egg allergies?
-
Use plant-based butter and nondairy milk or cultured buttermilk alternative, and choose egg replacers suitable for baking. Check marshmallow creme and sprinkles for allergen-free labels.
