 Save
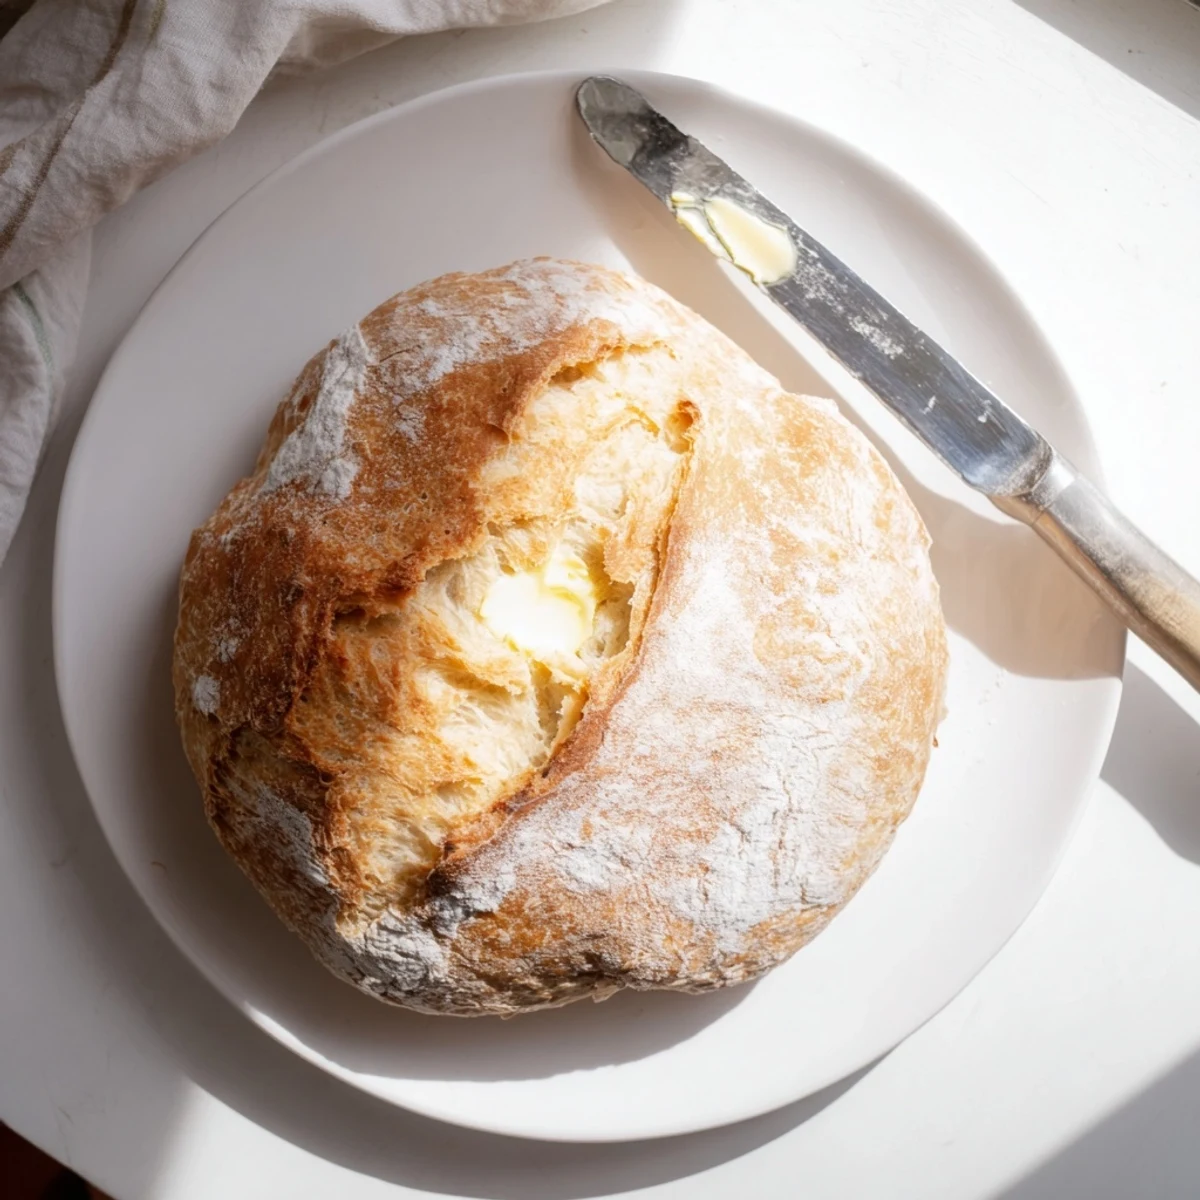
Save Craft tender homemade bread using just a skillet and your stovetop. This method yields a beautiful golden loaf with a soft interior and lightly crisped exterior—ideal for oven-free kitchens or quick bread cravings. The dough comes together with basic pantry staples and rises in about an hour before cooking slowly over gentle heat.
The first time I tried stovetop bread, I was skeptical. How could dough transform into something edible without an oven's dry heat? But that afternoon, as golden crust formed and the smell of yeast filled my tiny apartment kitchen, I became a believer. Sometimes the best discoveries happen when we work with what we have, not what we think we need.
My sister visited last winter when our oven decided to quit completely. We made this bread three times that week, experimenting with herbs and timing, and honestly some of those skillet batches were better than anything we'd ever baked. The whole family gathered around the pan watching it rise through the glass lid like it was magic happening right there on the stove.
Ingredients
- All-purpose flour: Provides structure and the protein needed for proper gluten development
- Instant yeast: Skip the proofing step and add directly to your dry ingredients
- Sugar: Feeds the yeast and helps achieve that beautiful golden crust
- Salt: Essential for flavor and also helps control yeast growth
- Olive oil: Keeps the dough tender and adds richness to the final crumb
- Warm water: Should feel like bath temperature, around 110°F, to activate yeast without killing it
Instructions
- Mix the dry foundation:
- Combine flour, yeast, sugar, and salt in a large bowl, whisking until evenly distributed
- Bring dough together:
- Pour in warm water and olive oil, stirring with a wooden spoon until shaggy dough forms and flour is fully incorporated
- Knead until smooth:
- Turn onto a lightly floured surface and knead for 8 to 10 minutes, adding only enough flour to prevent sticking, until dough feels silky and springs back when pressed
- Let dough rise:
- Place in a greased bowl, cover with a damp cloth, and set in a warm spot for about 1 hour until doubled in size
- Shape your loaf:
- Punch down gently, gather edges into the center, and form into a smooth round without overworking
- Prepare the pan:
- Coat a heavy skillet with olive oil, center the dough inside, and cover tightly with a lid
- Cook the first side:
- Cook over the lowest possible heat for 15 minutes, checking occasionally that the bottom is golden, not burned
- Flip and finish:
- Carefully turn the bread, cover again, and cook another 12 to 15 minutes until deep golden and hollow sounding when tapped
- Cool before slicing:
- Let rest on a wire rack for at least 15 minutes so the interior sets properly
 Save
Save This recipe saved me during a power outage last fall when we were craving comfort food but had only a gas stove working. Something about making bread this way feels almost primal, like connecting with how people cooked for centuries before modern appliances made everything so convenient.
Choosing The Right Pan
A heavy bottomed skillet is nonnegotiable here. Thin pans will scorch your bread before the inside cooks through, and all that careful temperature control will not save you. Cast iron works beautifully, but any thick pan with good heat distribution and a tight lid will do the job perfectly.
Adding Flavor Variations
The basic recipe is wonderful on its own, but dried herbs like rosemary or thyme mixed into the dough take it somewhere entirely different. I have also added minced garlic or grated parmesan when serving alongside soup, and the way those flavors get trapped in the crumb is just magical.
Storage And Reheating
This bread really shines the day it is made, when the crust is at its crispest and the interior is steaming soft. Leftovers keep well wrapped at room temperature for a day, and reheating slices in a dry skillet for about 30 seconds per side brings back most of that fresh baked magic.
- Wrap cooled bread loosely in a kitchen towel, never plastic, which makes the crust soggy
- For longer storage, slice and freeze in a freezer bag, then toast directly from frozen
- Stale bread transforms into excellent croutons or breadcrumbs with just a few minutes in the pan
 Save
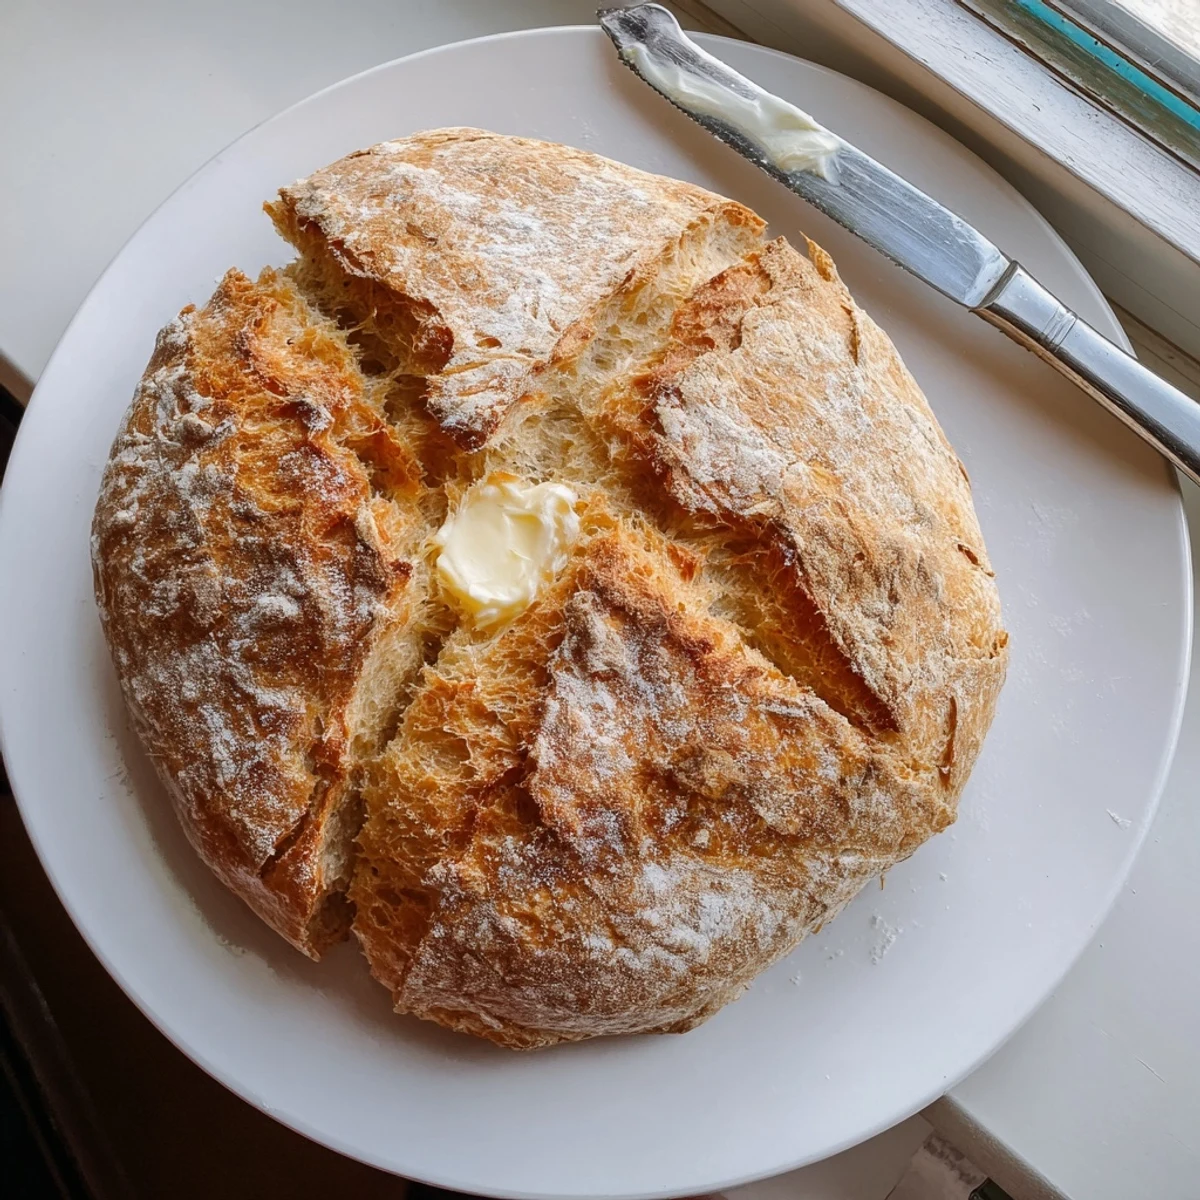
Save There is something profoundly satisfying about pulling fresh bread from a skillet, steam rising into the air, knowing you made it happen with nothing but a mixing bowl and some patience.
Recipe Questions & Answers
- → Can I make this bread without a skillet?
-
A heavy-bottomed pan or Dutch oven works equally well. The key is even heat distribution and a tight-fitting lid to trap steam during cooking.
- → Why cook bread on the stovetop?
-
Stovetop baking is perfect when you lack oven access, want to avoid heating your kitchen, or need fresh bread quickly. It creates a uniquely tender crumb with minimal equipment.
- → How do I know when the bread is done?
-
The bread should sound hollow when tapped on the bottom, and both sides should display a golden-brown color. Internal temperature should reach 190–200°F.
- → Can I add mix-ins to the dough?
-
Dried herbs, garlic powder, grated cheese, or chopped olives fold in easily during the kneading stage. Keep additions under ½ cup total to maintain proper dough structure.
- → Why must the heat be so low?
-
Gentle cooking ensures the interior bakes through completely before the exterior scorches. High heat creates a burnt crust while leaving the center raw and doughy.
