 Save
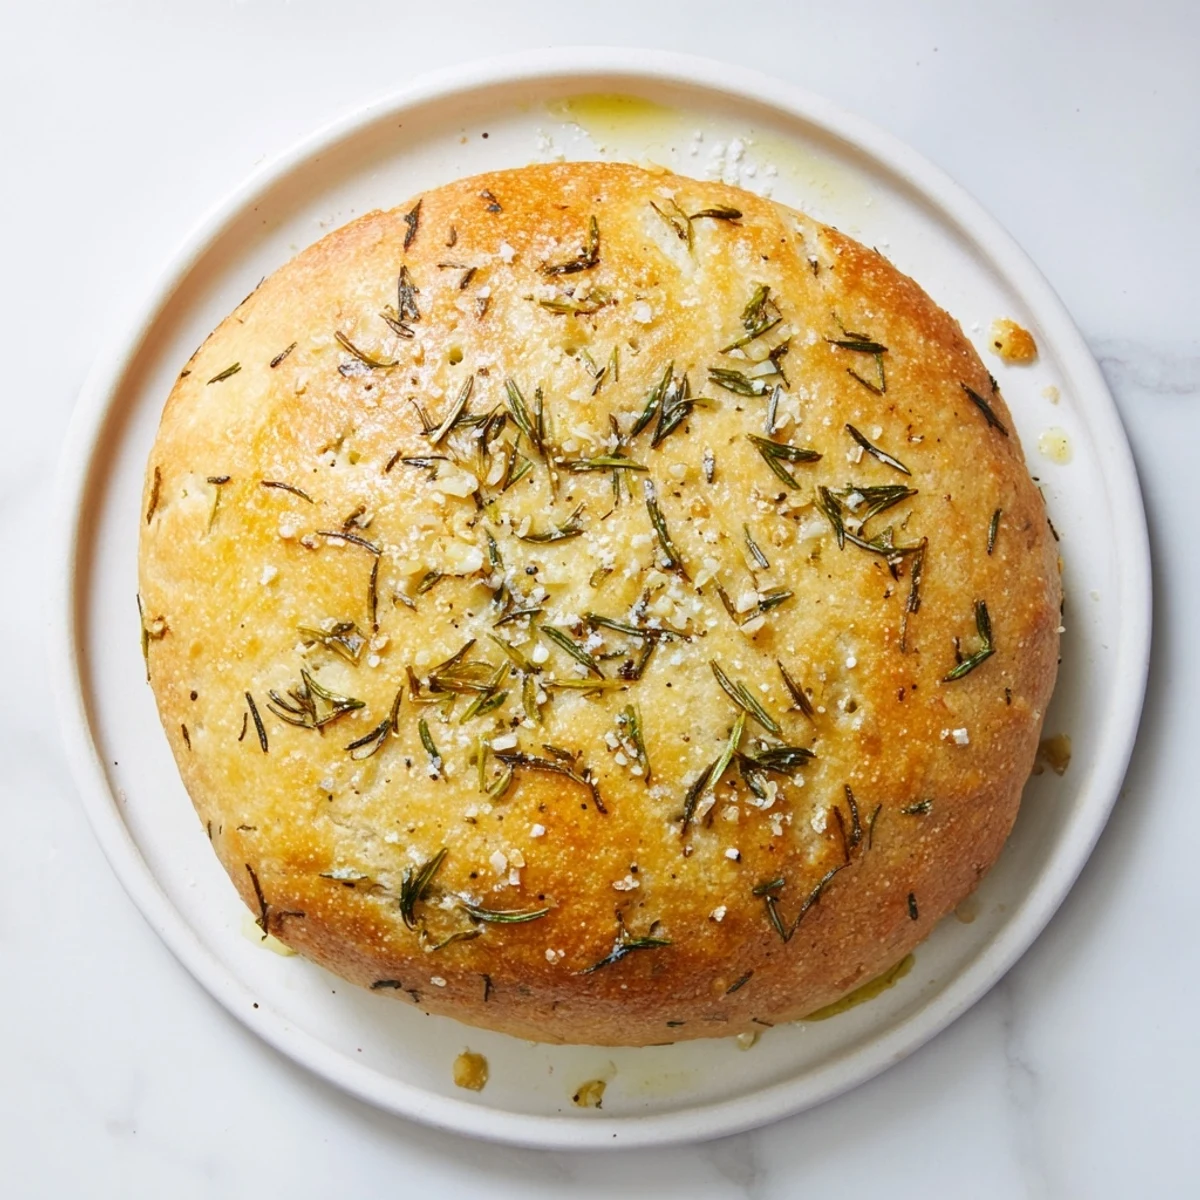
Save This hearty European-style skillet bread features crisp edges and a tender, chewy interior. The dough develops deep flavor from roasted garlic and fresh rosemary, creating an aromatic centerpiece for any meal. Baked in a cast-iron skillet, the crust becomes beautifully golden while the inside remains soft and pillowy. Perfect for dipping in soups, serving with olive oil, or enjoying warm from the oven.
The first time I made this skillet bread, my entire apartment smelled like an Italian bakery within an hour of the dough rising. My roommate actually came home early from work, following that irresistible roasted garlic scent up three flights of stairs. We stood around the oven watching it turn golden, and I knew this recipe would become a permanent weekend staple.
Last autumn during a particularly rainy Sunday, I made three loaves back to back because friends kept dropping by and refusing to leave without another slice. Something about warm bread just makes people linger at the table longer, talking and laughing with buttery fingers and happy faces.
Ingredients
- Bread flour: The higher protein content creates that satisfying chew and structure, while all purpose would leave you with something flatter and less substantial
- Active dry yeast: Make sure your water is warm but not hot, around 105°F to 110°F, otherwise you will kill the yeast before it even gets started
- Fresh rosemary: Dried herbs work in a pinch, but fresh rosemary releases these incredible aromatic oils that really bloom in the hot oven
- Roasted garlic: Taking the extra time to roast your cloves first transforms the sharp bite into something sweet and mellow that permeates the whole loaf
- Flaky sea salt: This finishing touch creates these little salt crystals that burst on your tongue, balancing the rich garlic and herb notes perfectly
Instructions
- Wake up the yeast:
- Whisk the warm water and yeast in a large bowl and walk away for 5 minutes, returning to find a foamy layer that proves your yeast is alive and ready to work
- Build the foundation:
- Add the flour and salt, mixing until a shaggy dough forms, then knead by hand or stand mixer for 5 to 7 minutes until the dough feels smooth and slightly tacky to the touch
- Infuse the flavor:
- Drizzle in one tablespoon olive oil along with the rosemary and garlic, kneading just until everything is evenly distributed throughout the dough
- Let it rise:
- Transfer your dough to a greased bowl, cover with a damp towel, and find the warmest corner of your kitchen for an hour until it has doubled in size
- Shape for the skillet:
- Oil your 10 inch oven safe skillet generously, press the dough into the edges, cover again, and let it puff up for another 25 to 30 minutes
- Get ready to bake:
- Preheat your oven to 425°F while you brush the top with olive oil and scatter that flaky sea salt across the surface like snow
- Bake to golden:
- Slide the skillet into the hot oven and bake for 30 to 35 minutes until the top is deeply golden and the bread sounds hollow when tapped
- The hardest part:
- Let the bread cool for just 10 minutes before slicing into it, though tearing it apart with your hands is perfectly acceptable too
 Save
Save This bread has become my go to for new neighbors, housewarmings, or just Tuesday nights when comfort food is non negotiable. Something about tearing apart a warm loaf with people you care about turns dinner into an event.
Making It Your Own
Once you have the basic technique down, the variations are endless. I have made this with caramelized onions, sun dried tomatoes, even chunks of aged cheddar folded into the dough before the final rise.
The Cast Iron Secret
Using a well seasoned cast iron skillet creates bakery quality crust at home without any fancy equipment. The heavy, even heat distribution mimics professional bread ovens in a way that regular baking sheets simply cannot achieve.
Serving Suggestions
This bread demands to be served warm, ideally straight from the skillet. I like to put out a small bowl of good olive oil mixed with balsamic vinegar, plus some softened salted butter for the traditionalists at the table.
- Tear off pieces instead of slicing for a more communal, rustic feel
- Leftovers make exceptional garlic bread the next day or croutons for soup
- Wrap cooled bread tightly in foil and reheat at 350°F for 10 minutes to refresh
 Save
Save There is something deeply satisfying about making your own bread, especially one this forgiving and delicious. Every time I pull this skillet out of the oven, I feel like I have brought a little bit of rustic European cooking right into my humble kitchen.
Recipe Questions & Answers
- → Can I use dried rosemary instead of fresh?
-
Yes, substitute 2 teaspoons dried rosemary for the fresh version. Add it directly to the dry ingredients rather than the oil to prevent burning during baking.
- → Do I need a cast-iron skillet?
-
While cast iron provides excellent heat distribution and creates the crispest crust, any 10-inch oven-safe skillet works well. Stainless steel or oven-safe non-stick pans are suitable alternatives.
- → How do I know when the bread is done?
-
The bread is ready when the top is golden brown and sounds hollow when tapped lightly. An instant thermometer inserted into the center should read 190-200°F (88-93°C).
- → Can I prepare the dough ahead of time?
-
Absolutely. After the first rise, refrigerate the dough for up to 24 hours. Bring it to room temperature before pressing into the skillet and continuing with the second rise.
- → What can I serve with this bread?
-
Pair with soups, stews, or pasta dishes. Serve alongside olive oil for dipping, or use to sop up sauces from braised meats. Also excellent toasted with butter or compound spreads.
- → Why did my dough not double in size?
-
This may indicate inactive yeast or too cool a rising environment. Ensure water is warm (105-115°F) but not hot, and find a warm, draft-free spot. Yeast past its expiration date may also fail to activate properly.
