 Save
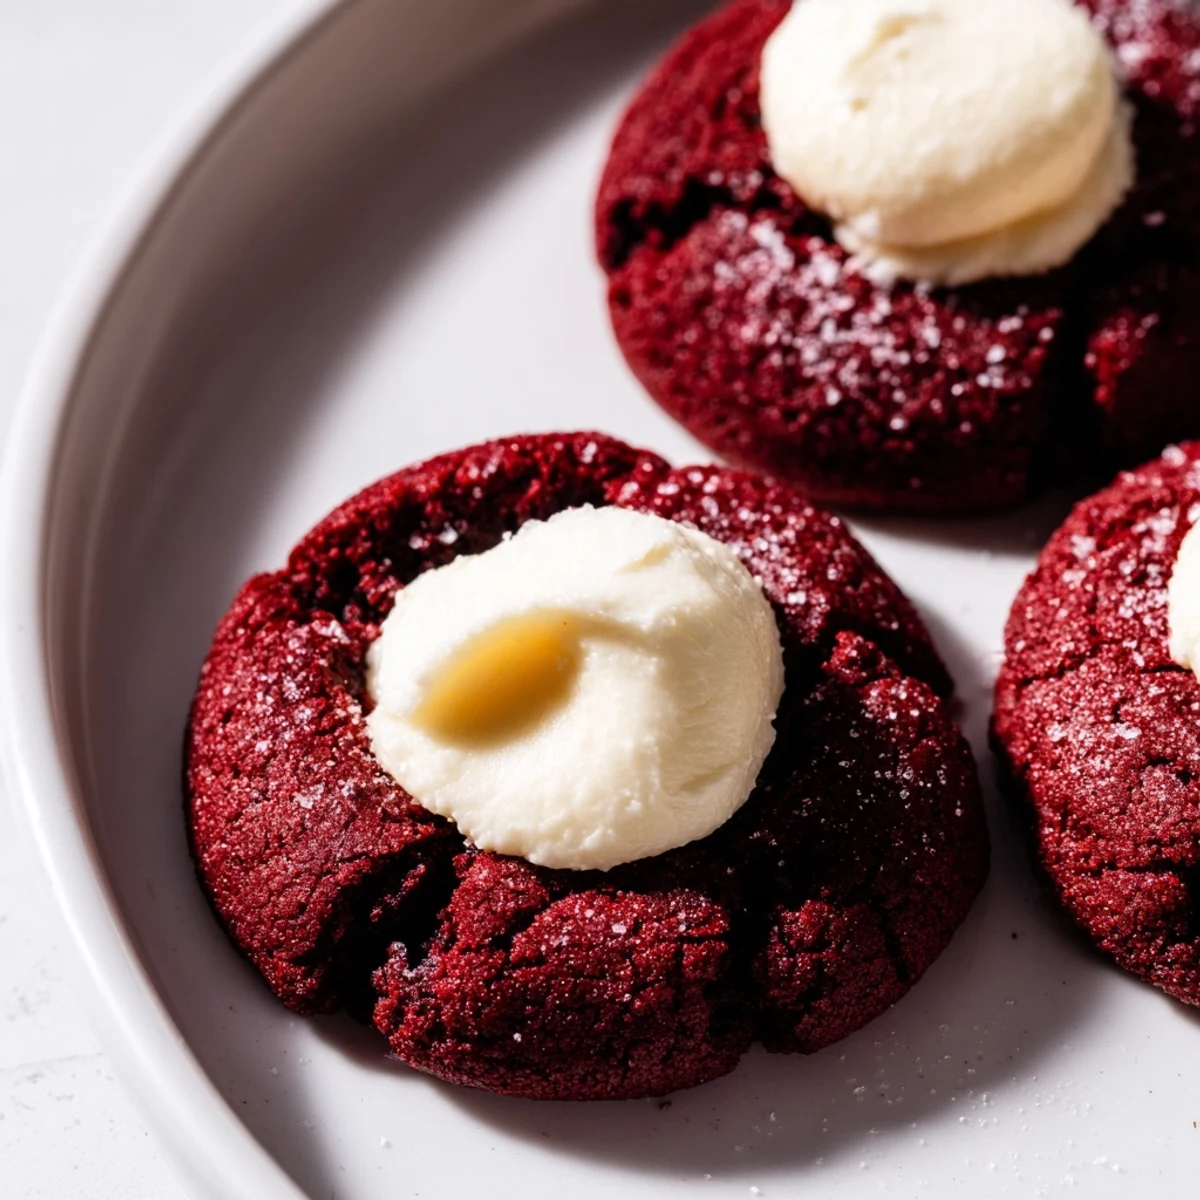
Save These striking cookies feature vibrant red velvet dough enriched with cocoa powder, creating a tender crumb that pairs beautifully with the velvety smooth cream cheese filling. The thumbprint technique allows you to create perfect wells for the creamy center, resulting in an elegant two-bite dessert that's visually stunning and delicious.
The preparation comes together quickly—just 20 minutes of active work before baking. The cocoa adds depth to the classic red velvet profile, while the tangy cream cheese filling balances the sweetness perfectly. They're ideal for holiday cookie plates, Valentine's Day treats, or whenever you want to serve something impressive yet approachable.
The first time I attempted red velvet anything, I accidentally dyed my entire kitchen counter a shocking shade of pink. My roommate walked in, took one look at the chaos, and asked if I'd been experimenting with cosmetics in the kitchen again. These thumbprint cookies became my redemption story—same dramatic color, but contained within neat little packages that actually made it to the serving platter intact.
I made these for my office holiday party last year, and my coworker Mike—who normally claims he's not a dessert person—ate four of them before casually asking if I might consider making them for his birthday. The contrast between the slightly fudgy cocoa cookie and that cool creamy filling creates something magical that people can't quite put their finger on until they've had two or three.
Ingredients
- 1 1/4 cups all-purpose flour: The foundation that gives these cookies their tender structure without becoming tough
- 2 tbsp unsweetened cocoa powder: Essential for that classic red velvet chocolate undertone that balances the sweetness
- 1/4 tsp baking soda: Just enough lift to create that soft, cake-like texture we love
- 1/4 tsp salt: Enhances the chocolate flavor and keeps the cookies from tasting flat
- 1/2 cup unsalted butter, softened: Room temperature butter creamed properly creates those irresistible tender edges
- 3/4 cup granulated sugar: Sweetens the dough while creating that perfect crinkly top as they bake
- 1 large egg yolk: Adds richness and helps create a fudgier texture than using the whole egg
- 1 tbsp whole milk: Brings everything together and ensures the dough isn't too stiff
- 1 tsp vanilla extract: Round out the flavors and complement both chocolate and cream cheese
- 1 tsp red food coloring: The signature color that makes these instantly recognizable as red velvet
- 115 g cream cheese, softened: Creates that luscious filling that tastes like miniature cheesecake
- 1/4 cup powdered sugar: Sweetens the cream cheese without making it too thin or runny
- 1/2 tsp vanilla extract: A little extra vanilla in the filling makes it taste professionally made
Instructions
- Get your oven ready:
- Preheat your oven to 350°F (175°C) and line two baking sheets with parchment paper so your cookies won't stick and cleanup will be effortless.
- Whisk the dry ingredients:
- In a medium bowl, combine your flour, cocoa powder, baking soda, and salt until they're evenly blended throughout.
- Cream your butter and sugar:
- Beat the softened butter and granulated sugar in a large bowl for about 2 minutes until the mixture looks pale and fluffy—this step is worth the extra time.
- Add the wet ingredients:
- Mix in the egg yolk, milk, vanilla, and red food coloring until everything is thoroughly combined and the color is uniform.
- Combine it all:
- Gradually mix in your dry ingredients just until you no longer see streaks of flour—overmixing will make your cookies tough instead of tender.
- Make the filling:
- In a small bowl, whisk together the cream cheese, powdered sugar, and vanilla until completely smooth and set it aside while you form the cookies.
- Shape the cookies:
- Roll the dough into 1-inch balls, placing them on your prepared baking sheets about 2 inches apart to give them room to spread slightly.
- Create the thumbprints:
- Gently press your thumb or the back of a teaspoon into the center of each ball to create a well for the filling.
- Fill them up:
- Spoon about 1/2 teaspoon of the cream cheese filling into each indentation, being careful not to overfill.
- Bake to perfection:
- Bake for 11 to 13 minutes until the edges look set but the centers still feel slightly soft—remember they'll continue firming up on the hot pan.
- Cool completely:
- Let the cookies rest on the baking sheet for 5 minutes before moving them to a wire rack to cool completely, otherwise the creamy centers might collapse.
 Save
Save My niece helped me make these last Christmas and delighted in pressing every single thumbprint, though her technique left some wells shallower than others. We ended up with a variety of fillings—some overflowing, some barely there—and honestly, that imperfect batch was the one everyone raved about most.
Making Ahead
You can prepare the dough up to 2 days in advance and store it tightly wrapped in the refrigerator. The cream cheese filling also keeps well in a sealed container for the same amount of time, so you can assemble and bake fresh cookies whenever the craving strikes.
Filling Variations
While the classic cream cheese filling is divine, I've discovered that white chocolate ganache creates an even more decadent experience. Simply melt equal parts white chocolate and heavy cream, let it cool until thickened, and use it exactly the same way.
Storage Secrets
These cookies actually taste better after a day in the refrigerator because the flavors meld together beautifully and the texture becomes even more fudgelike.
- Layer them between wax paper in an airtight container to prevent sticking
- Let them come to room temperature for about 15 minutes before serving
- The cream cheese filling keeps them fresh for up to 4 days when refrigerated
 Save
Save There's something deeply satisfying about thumbprint cookies—the ritual of pressing that center, filling it with something sweet, and watching them transform in the oven. These red velvet beauties have become my go-to for bringing a little cheer to ordinary weekdays.
Recipe Questions & Answers
- → Can I make the dough ahead of time?
-
Yes, the dough can be prepared and refrigerated for up to 2 days before baking. Let it soften slightly at room temperature for easier rolling and filling.
- → What other fillings work well?
-
White chocolate ganache, lemon curd, or raspberry jam make excellent alternatives. The tangy cream cheese filling complements the cocoa notes beautifully, but fruit preserves add lovely contrast.
- → Why did my cookies spread too much?
-
Ensure your butter is softened but not melted. Chilling the formed dough balls for 15 minutes before baking also helps maintain their shape and distinct thumbprint wells.
- → Can I freeze these cookies?
-
Baked cookies freeze well for up to 3 months. Place them in a single layer on a baking sheet until frozen, then transfer to an airtight container. Thaw at room temperature before serving.
- → How do I get vibrant red color?
-
Use gel food coloring instead of liquid for deeper color without affecting dough consistency. Start with a small amount and add more until you reach your desired shade.
