 Save
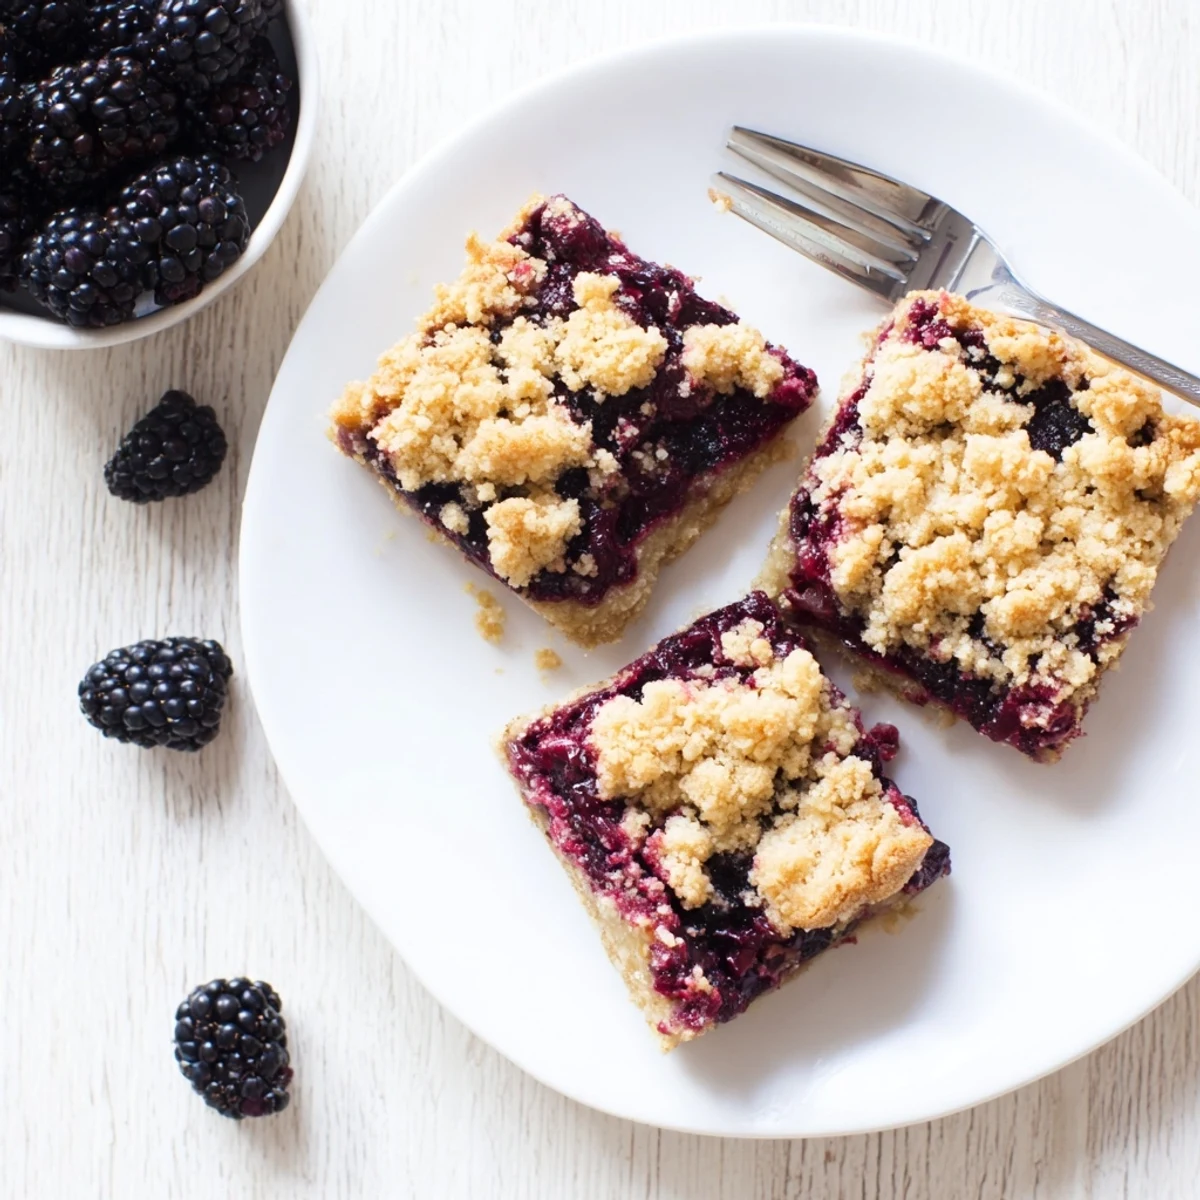
Save These tender bars feature a buttery shortbread crust topped with sweet, juicy blackberries and finished with a golden crumb topping. The contrasting textures create the perfect handheld treat, ideal for picnics, afternoon snacks, or casual desserts.
The crust and crumble come together quickly using cold butter and basic pantry staples, while fresh blackberries are lightly sweetened with sugar and brightened with lemon juice. The result is a perfectly balanced dessert that's not too sweet and lets the fruit shine.
These bars store beautifully for days, making them excellent for meal prep or advance baking. Serve them plain, or add a scoop of vanilla ice cream for an extra special touch.
The smell of buttery crumble cooling on a windowsill takes me straight back to my grandmother's kitchen, where she'd line her countertops with whatever berries she'd gathered that morning. These blackberry crumble bars became my go-to recipe after a particularly chaotic summer when my own berry patch went completely wild and I found myself with three pounds of fruit and zero plan. Now they're the first thing people request for potlucks, probably because that combination of tart berries nestled in tender, cinnamon-scented dough feels like catching sunshine in a pan.
I once made these for a birthday picnic and watched my friend's six-year-old carefully lick every crumb off her fingers before announcing they were better than cake. The way the blackberry filling gets all jammy and bubbles up through the golden topping makes people assume you spent hours doing something complicated, which is a secret I'll happily keep between us. They travel remarkably well, wrapped individually in parchment, and have survived many a bumpy car ride to the beach.
Ingredients
- 2 cups all-purpose flour: This creates the tender base for both crust and crumble, giving structure without becoming tough
- 1 cup granulated sugar: Provides just enough sweetness to let the berries shine while balancing their natural tartness
- 1/2 teaspoon baking powder: Helps the crust rise slightly for a lighter, more tender texture that won't feel dense
- 1/4 teaspoon salt: Essential for balancing sweetness and enhancing all the flavors
- 1/2 teaspoon ground cinnamon: Adds warmth that pairs beautifully with the berries and makes the kitchen smell incredible
- 1 cup unsalted butter, cold and cubed: Cold butter creates those irresistible flaky pockets in both the crust and crumble topping
- 1 large egg: Binds the dough together while keeping it tender and easy to work with
- 3 cups fresh blackberries: The star of the show, though I've used thawed frozen ones in a pinch and they work beautifully too
- 1/2 cup granulated sugar: Sweetens the filling just enough to make the berries sing without overpowering them
- 2 tablespoons cornstarch: Thickens the berry juices so you get distinct layers instead of a soggy bottom
- 1 tablespoon fresh lemon juice: Brightens the filling and highlights the blackberry flavor
- 1 teaspoon lemon zest: Adds an aromatic brightness that makes the berries taste more vibrant
Instructions
- Preheat your oven to 350°F and line a 9x9-inch baking pan:
- Parchment paper with overhanging edges is your best friend here, making it effortless to lift the whole batch out later for clean slicing
- Whisk the dry ingredients together:
- In a large bowl, combine flour, sugar, baking powder, salt, and cinnamon until everything is evenly distributed
- Cut in the cold butter:
- Use a pastry cutter or your fingers to work the butter into the flour until you have coarse, pea-sized crumbs throughout
- Add the egg and bring the dough together:
- Mix until the dough starts to clump together, but expect it to remain crumbly rather than forming a smooth ball
- Press two-thirds of the dough into the pan:
- Firmly pack the dough mixture into the bottom of your prepared pan to create an even crust layer
- Prepare the berry filling:
- Gently toss the blackberries with sugar, cornstarch, lemon juice, and zest until the berries are evenly coated
- Layer the berries over the crust:
- Spread the berry mixture evenly across the dough base, taking care to distribute the fruit and any sugary juices
- Sprinkle with remaining dough:
- Pinch and crumble the reserved dough over the berries, leaving some fruit visible for that beautiful bubbly effect
- Bake until golden and bubbly:
- Bake for 38 to 42 minutes until the topping is golden brown and you see the fruit filling bubbling up around the edges
- Cool completely before slicing:
- This is the hardest part but absolutely necessary for clean bars that hold their shape
 Save
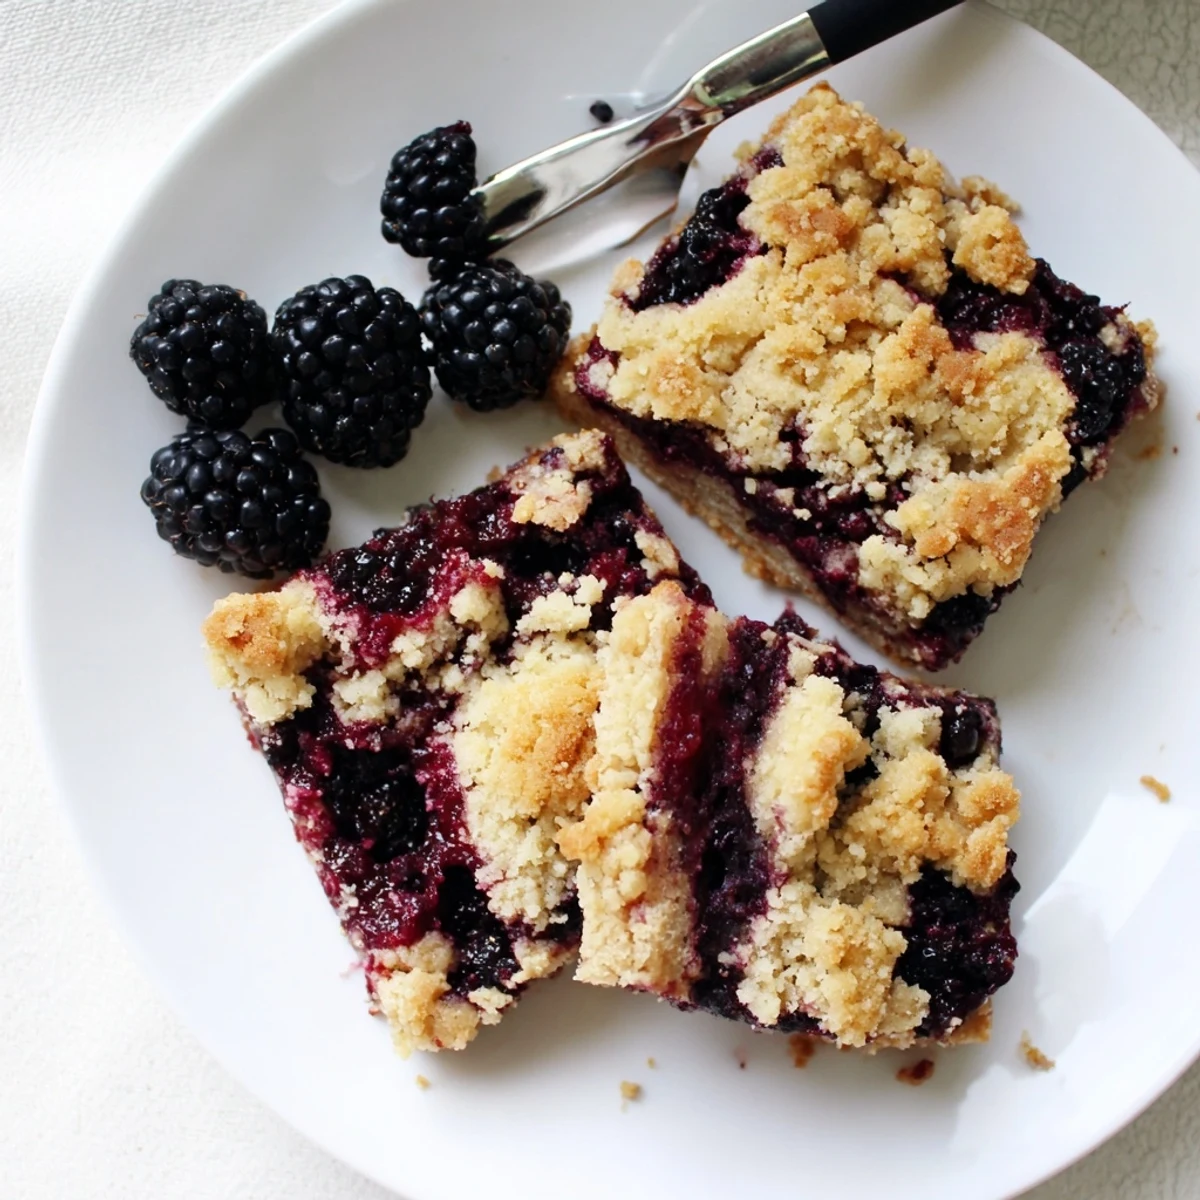
Save My sister swears these bars taste best eaten while standing at the kitchen counter with coffee, still slightly warm from the oven. There's something about the way the buttery crumble gives way to that jammy berry center that makes even ordinary Tuesday mornings feel special.
Berry Variations
While blackberries have that perfect balance of sweet and tart, I've made these with every berry under the sun. Mixed berries create beautiful purple swirls, raspberries turn the filling a stunning red, and blueberries make these feel like a taste of July even in the dead of winter. The formula stays the same regardless of what fruit you use, which is part of why this recipe lives in the permanent section of my recipe box.
Making Ahead
These bars actually improve after sitting overnight, wrapped tightly at room temperature, as the flavors have time to meld and the filling sets up even more. I've baked them two days before serving with excellent results, and they freeze beautifully if you want to get a jump on holiday baking or unexpected guests.
Serving Ideas
A dusting of powdered sugar right before serving makes these look bakery fancy without any extra effort. They are substantial enough to stand alone but absolutely next level with a scoop of vanilla bean ice cream or a dollop of lightly sweetened whipped cream. For brunch, serve alongside coffee and maybe some fresh fruit on the side.
- Wrap individual bars in parchment paper for easy grab-and-go breakfasts or lunchbox treats
- These pair wonderfully with afternoon tea or as a not-too-sweet dessert after a rich dinner
- Store at room temperature for up to three days or refrigerate for up to a week if your kitchen runs warm
 Save
Save There is nothing quite like pulling a golden pan of these from the oven and watching everyone's face light up when that berry butter scent hits the air. Hope they become as loved in your kitchen as they are in mine.
Recipe Questions & Answers
- → Can I use frozen blackberries?
-
Yes, frozen blackberries work perfectly in these bars. Thaw them completely and drain any excess liquid before tossing with the sugar and cornstarch mixture to prevent a soggy crust.
- → How do I know when the bars are done baking?
-
The bars are ready when the crumble topping is golden brown and you see the fruit filling bubbling around the edges. This typically takes 38–42 minutes at 350°F.
- → Can I make these bars gluten-free?
-
Absolutely. Substitute the all-purpose flour with a 1:1 gluten-free flour blend designed for baking. The texture and taste will remain virtually the same.
- → How should I store these crumble bars?
-
Store the bars in an airtight container at room temperature for up to 3 days, or refrigerate for up to 1 week. Let them cool completely before storing to maintain the crumbly texture.
- → Can I substitute other berries?
-
Yes, raspberries, blueberries, or a mixed berry blend all work beautifully in this dessert. Adjust the sugar slightly based on the natural sweetness of your chosen fruit.
- → Why is my dough so crumbly?
-
The dough is supposed to be crumbly—that's what creates the perfect crumb topping. Press it firmly into the pan for the crust, and simply scatter the remaining pieces over the fruit layer.
