 Save
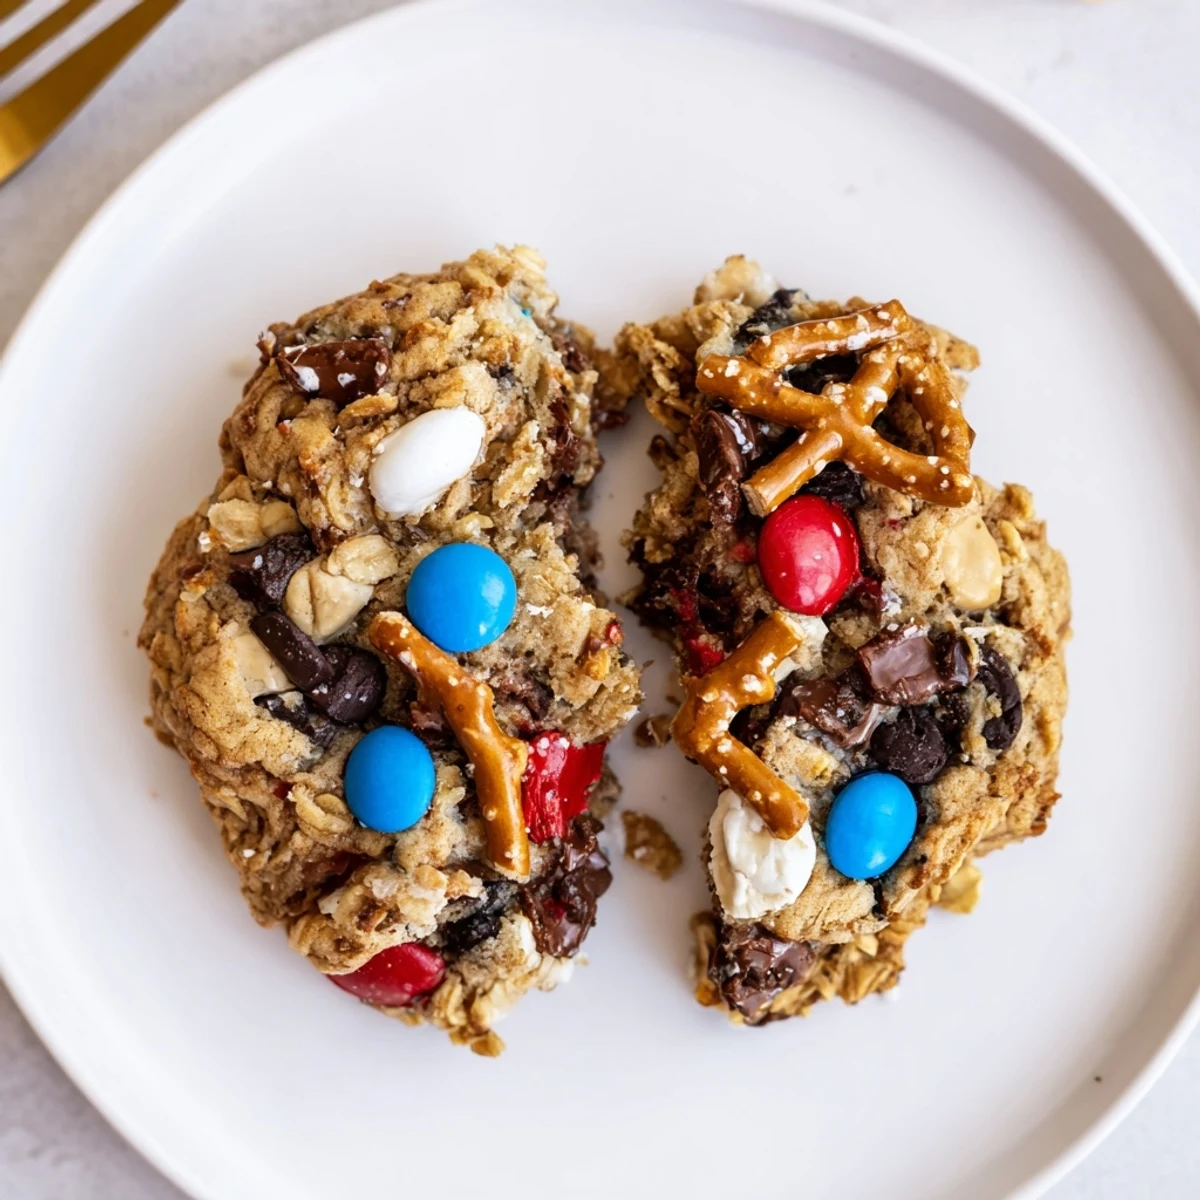
Save This batch yields about 24 chewy, candy-studded cookies. Cream butter and sugars until light, add peanut butter and eggs, then fold in oats, flour, baking soda and salt. Stir through chocolate chips, colorful candies and optional pretzels. Scoop onto lined sheets and bake 10–12 minutes until edges are golden. Cool briefly on the sheet for a chewier texture.
When I've got friends coming over for a backyard hangout, the smell of cookies baking always seems to draw a crowd—especially these cheerful Patriotic Monster Cookies. The sound of chocolate candies tumbling into thick, peanut-buttery dough just makes me grin. There's something festive about seeing red, white, and blue speckles peeking through as they bake. It’s a surefire way to spark a few spontaneous celebrations, even on ordinary days.
Last summer, I brought a batch of these to a Fourth of July potluck; by the time the fireworks started, only crumbs were left and someone had stashed three in a napkin for 'later.' Friends were swapping stories between bites, a little melted chocolate on their fingers. Even neighbors I’d just met were asking for the recipe. There’s real joy in watching a simple cookie spark so much laughter.
Ingredients
- Unsalted butter: Softened butter makes for a creamy foundation—skip melting so your cookies don’t spread too much.
- Granulated sugar: Adds classic sweetness and helps the edges crisp up just right.
- Light brown sugar: Packs in caramel notes and keeps the cookies moist, even the next day.
- Creamy peanut butter: Peanut butter is what makes these chewy, nutty, and impossible to resist—use the smooth kind for best texture.
- Eggs: Bind everything together and add rich tenderness throughout.
- Vanilla extract: Brings the dough to life—don’t skip (I once forgot and the cookies tasted flat).
- Old-fashioned oats: Oats give each bite extra chew and heartiness; resist using instant oats, which can turn mushy.
- All-purpose flour: Lends structure so the cookies hold their chubby shape.
- Baking soda: Helps lift the dough and keep cookies thick—accurate measuring matters more than you’d expect.
- Salt: Balances out the sweetness, bringing out the peanut butter flavor.
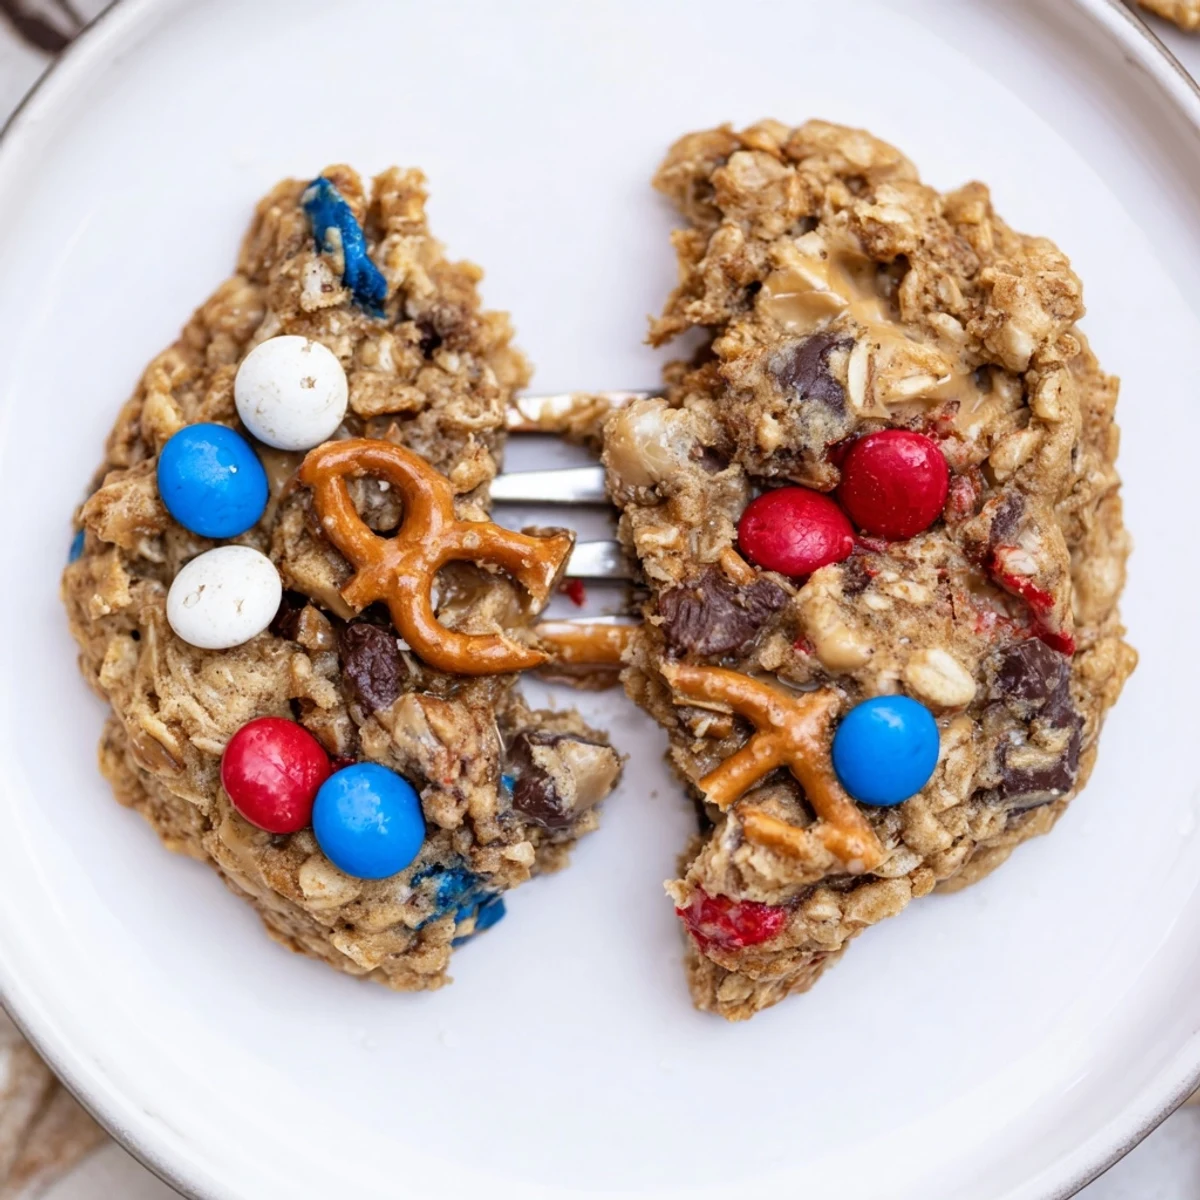
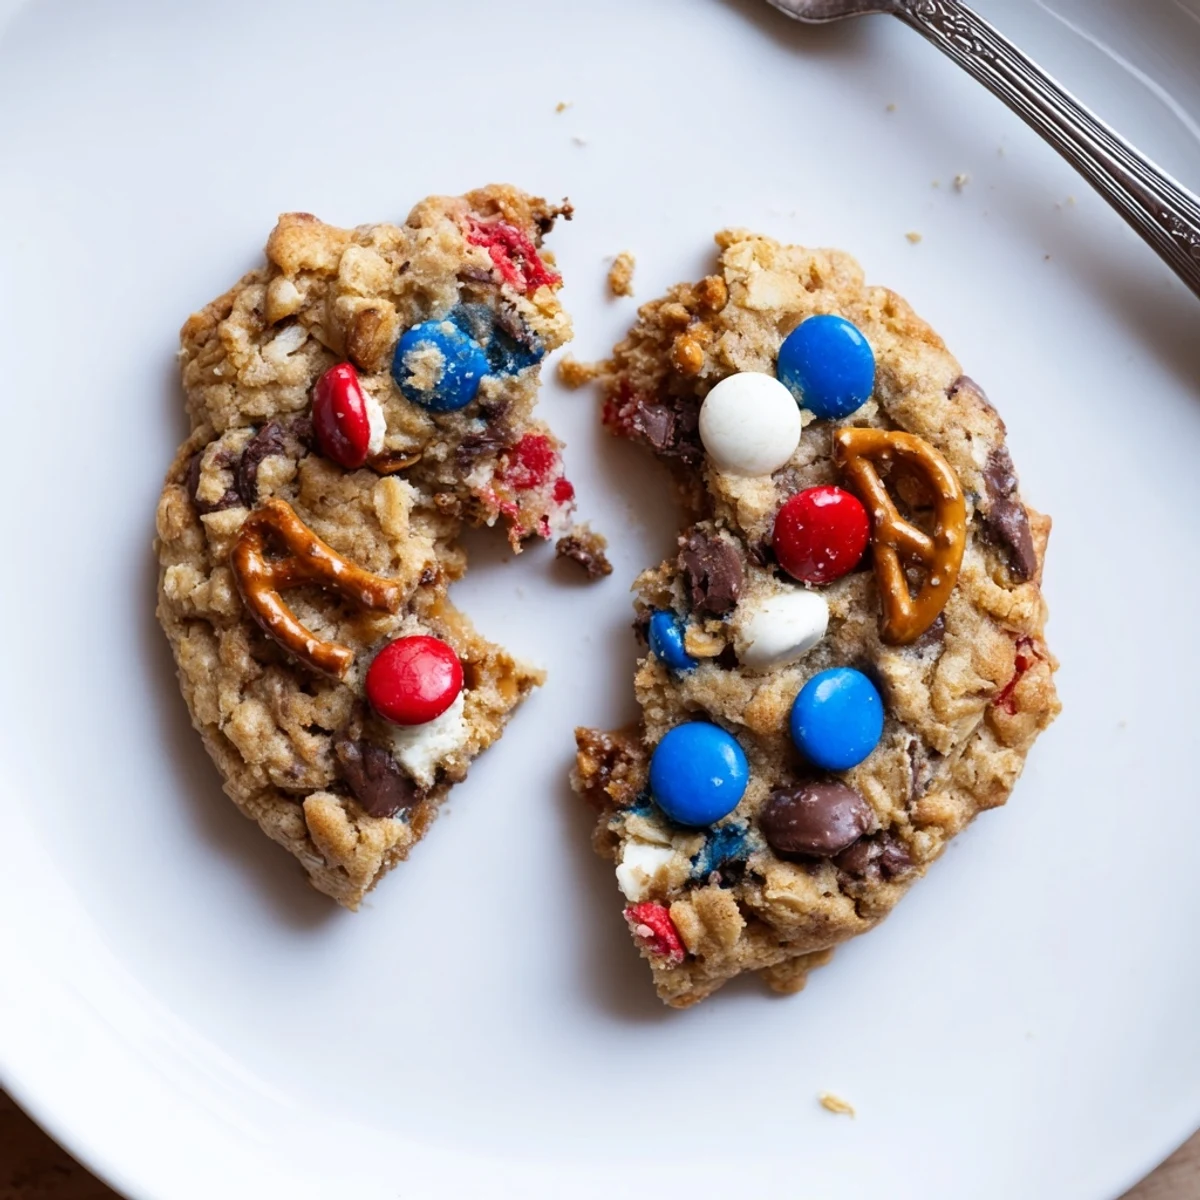
- Red, white, and blue chocolate candies: The splashiest ingredient—press a few extra on top for a picture-perfect finish if you’re feeling fancy.
- Semisweet chocolate chips: For gooey pockets of chocolate that make every bite a surprise.
- Mini pretzels (optional): Crushed pretzels add a salty crunch—best added right at the end so they stay crisp.
Instructions
- Get prepped:
- Fire up your oven to 350°F (175°C) and grab some parchment paper for easy clean-up on your baking sheets.
- Cream and blend:
- In your biggest bowl, beat the butter, granulated sugar, and brown sugar until pale and fluffy—listen for that satisfying smack against the sides.
- Add the good stuff:
- Mix in the peanut butter, then crack in eggs one at a time, blending each in so your dough stays silky. Swirl in the vanilla and breathe in deeply.
- Combine the dry mix:
- In a separate bowl, whisk together your oats, flour, baking soda, and salt so there are no baking-soda bombs lurking later.
- Bring it all together:
- Gently add the dry ingredients to the wet, scraping down the bowl. Stop mixing as soon as no streaks remain—overmixing makes tough cookies.
- Stir in the fun:
- Fold in the chocolate candies, chocolate chips, and crushed pretzels if you’re daring, watching the dough get chunkier and more colorful.
- Scoop and space:
- Use a cookie scoop or two spoons to plop heaping tablespoons of dough two inches apart so they have room to spread.
- Bake just right:
- Bake for 10–12 minutes until edges look golden but the centers are still soft—don’t wait for full browning.
- Cool to perfection:
- Let cookies rest on their sheets for five minutes, then move to a wire rack to finish cooling (if you can resist digging in early).
 Save
Save I’ll never forget the day my little niece stood on a milk crate by my side, giggling as she pressed candies into each dough ball. Her hands were sticky, her apron askew, and somehow every cookie turned into an uneven masterpiece. That was the moment these cookies became more than a bake—they became pure, edible fun.
Swapping and Customizing Made Easy
These cookies are more forgiving than you’d think. Out of peanut butter? Almond butter works brilliantly. Toss in white chocolate chips or a fistful of toasted walnuts—the base can handle a creative spirit.
Getting the Perfect Chewy Texture
Let the cookies sit on their baking sheets to finish cooking from residual heat. This trick keeps them thick and chewy every time. Even if you impatiently sneak one early, expect gooey centers and just-set edges.
Sharing, Storing, and Gifting Tips
If you need to bring dessert to a gathering, these cookies travel like champs and never dry out after a day or two. A festive tin shows off the colorful candies, and kids rarely let one sit uneaten for long.
- If freezing dough, shape first so you can bake straight from the freezer.
- Store cooled cookies in an airtight tin with parchment between layers for freshness.
- Before serving, add a few new candies on top to revive their party look.
 Save
Save Bake a batch, bring friends together, and watch these cookies disappear before you know it. Making them is almost as much fun as eating them—almost.
Recipe Questions & Answers
- → How do I keep these cookies chewy?
-
Slightly underbake and let the cookies cool on the baking sheet for about 5 minutes before transferring to a rack. Using a higher ratio of brown sugar and not overmixing the dough also helps retain chewiness.
- → Can I swap peanut butter for another nut butter?
-
Yes—almond or cashew butter work well as a 1:1 swap. Keep in mind flavor and oil content vary; if the dough seems too soft, chill it briefly before scooping.
- → How can I prevent the red and blue candies from bleeding?
-
Choose quality, heat-stable candy pieces (like M&M’s). To avoid color bleed, gently press a few candies into the tops of cookies right after baking rather than mixing them all into the dough.
- → What’s the best way to store or freeze them?
-
Store cooled cookies in an airtight container at room temperature for up to 4 days. Freeze baked cookies in a single layer, then transfer to a sealed bag for up to 3 months. Dough scoops can also be frozen and baked from frozen with an extra minute or two.
- → How do I make a gluten-free version?
-
Use certified gluten-free old-fashioned oats and swap the all-purpose flour for a 1:1 gluten-free flour blend. You may need to adjust resting time or slightly reduce wet ingredients depending on the blend.
- → Can I add nuts or change the chocolate variety?
-
Absolutely—fold in chopped nuts, white chocolate chips, or toffee for variation. Reduce one add-in proportionally if you’re increasing another to keep the cookie balance intact.
