 Save
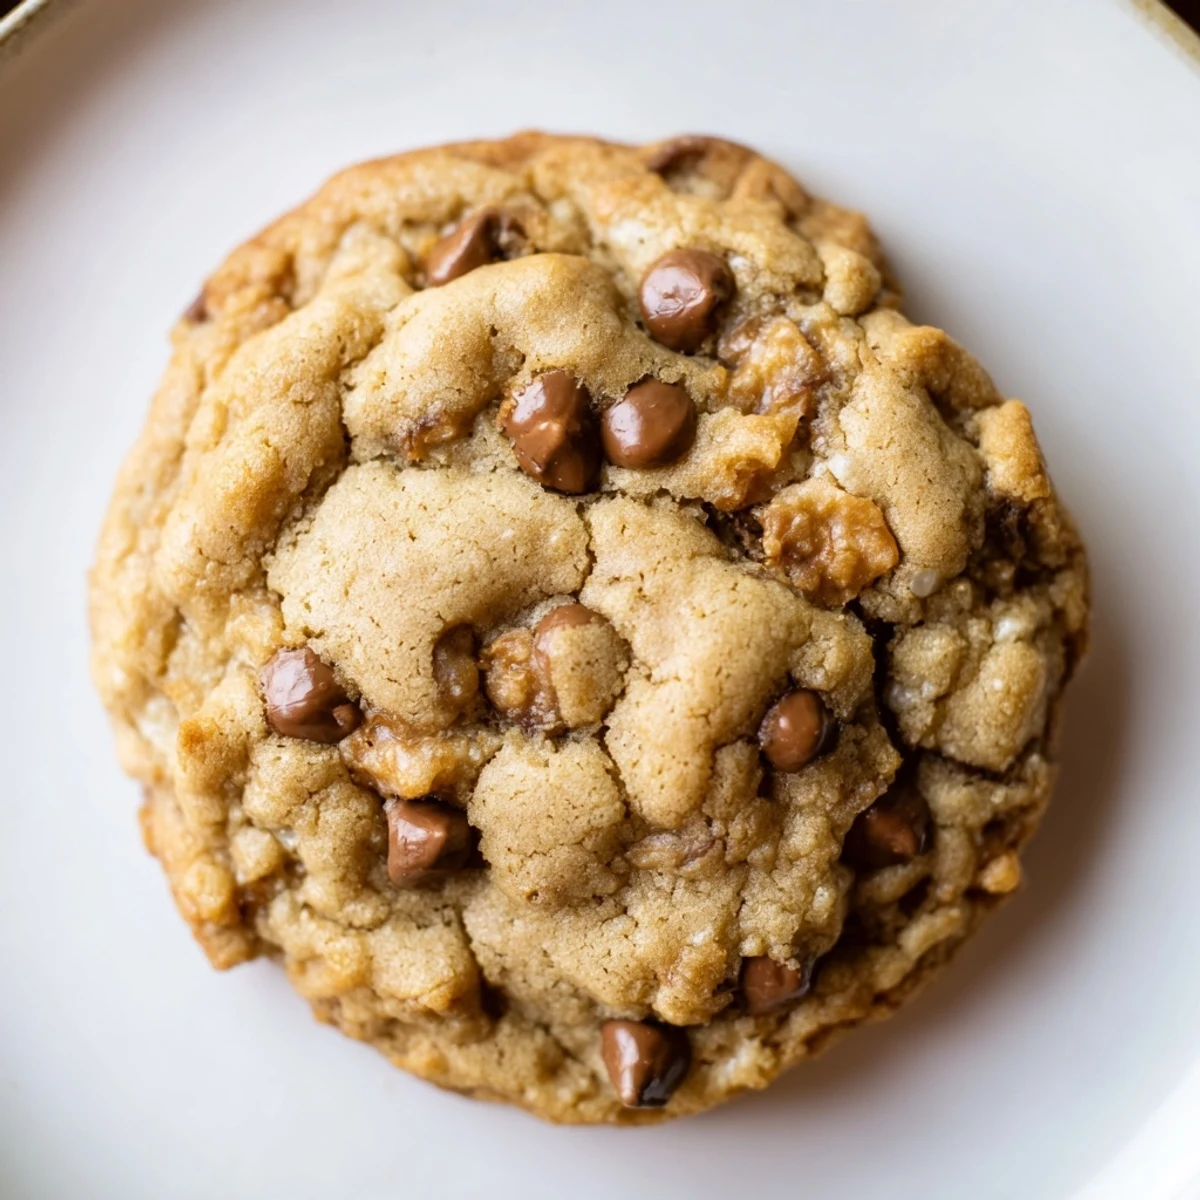
Save These soft and chewy chocolate chip cookies deliver all the classic homemade flavor you crave, minus the nuts. Perfectly golden edges with slightly soft centers, each cookie is loaded with semi-sweet chocolate chunks. The dough comes together in just 15 minutes with basic pantry staples.
Chill the dough for 30 minutes before baking for extra chewiness, or swap in nut-free white chocolate or dried fruit. Always verify ingredients are certified nut-free when preparing for those with severe allergies.
My daughter came home from school last year with that look kids get when they have been excluded again. Someone brought homemade cookies to the class party and she could not eat them because of the nut warning. That weekend we turned the kitchen into a cookie laboratory testing batch after batch until we created something so good nobody would miss the nuts. Now these are the cookies she requests for every school event and sleepover.
Last summer I made these for our neighborhood block party and watched them disappear in under twenty minutes. My neighbor Tom who claims he does not like sweets went back for thirds and finally asked what was different about them. When I mentioned they were nut free his eyes lit up because his grandson has the same allergy as my daughter. Now we both bring them to every gathering.
Ingredients
- All-purpose flour: Provides the structure for that perfect chewy center without becoming cakey or dense
- Baking soda: Helps the cookies spread just right and develop those golden edges we all love
- Salt: A half teaspoon balances the sweetness and intensifies the chocolate flavor
- Unsalted butter: Softened to room temperature so it creams properly with the sugars for that tender texture
- Granulated sugar: Creates crisp edges and helps the cookies spread into perfect rounds
- Light brown sugar: The secret ingredient for chewiness and that deep caramel flavor throughout
- Eggs: Two large eggs bind everything together and add richness to the dough
- Pure vanilla extract: Do not skip this because it makes the chocolate taste more chocolatey
- Nut free semi sweet chocolate chips: Check the label carefully because some brands process nuts in the same facility
Instructions
- Get your oven ready:
- Preheat to 350°F and line two baking sheets with parchment paper so nothing sticks
- Mix the dry stuff:
- Whisk flour baking soda and salt in a medium bowl then set it aside for later
- Cream the butter and sugars:
- Beat the softened butter with both sugars for 2 to 3 minutes until the mixture looks pale and fluffy
- Add the eggs and vanilla:
- Drop in the eggs one at a time mixing well after each one then pour in the vanilla
- Combine everything:
- Slowly mix in the dry ingredients just until you cannot see white flour anymore
- Fold in the chocolate:
- Use a spatula to gently stir in the chips making sure they are evenly distributed
- Scoop and space:
- Drop rounded tablespoons onto the baking sheets leaving about 2 inches between each scoop
- Bake to golden perfection:
- Slide the sheets into the oven for 9 to 11 minutes until edges are lightly golden but centers still look soft
- Set before serving:
- Let the cookies rest on the hot baking sheet for 5 minutes then move them to a wire rack
 Save
Save My daughter took a batch to her eighth grade graduation party last month. Her friend who has never been able to eat birthday party treats came running over to thank me with chocolate still on her face. That is the moment these cookies went from just a recipe to something much bigger in our house.
Making Them Ahead
Scoop the dough onto a parchment lined baking sheet and freeze the balls until firm. Transfer them to a freezer bag and bake straight from frozen adding just 1 to 2 minutes to the baking time. This way you always have fresh cookies ready for unexpected guests or late night cravings.
Getting The Perfect Texture
The key is pulling them out when the centers still look slightly underbaked. They continue cooking on the hot baking sheet which creates that ideal contrast between crisp edges and soft middles. If you prefer them thinner let the dough come to room temperature before baking.
Storage Secrets
Store cooled cookies in an airtight container with a slice of white bread to keep them soft for up to a week. The bread releases moisture that prevents the cookies from drying out and nobody will guess your trick.
- Freeze baked cookies for up to three months and thaw them at room temperature
- Never store warm cookies together or the steam will make them soggy
- Room temperature dough bakes up thicker than chilled dough if you prefer a puffier cookie
 Save
Save There is something deeply satisfying about watching a kid who is used to saying no thank you take a bite of these cookies and light up. That first bite of chocolate and caramel sweetness should be available to everyone.
Recipe Questions & Answers
- → Are these cookies completely safe for nut allergies?
-
Yes, these contain no nuts or nut-derived ingredients. However, always check labels on your chocolate chips and other ingredients to ensure they're certified nut-free, as cross-contamination can occur during manufacturing.
- → How do I make the cookies extra chewy?
-
Chill the dough for 30 minutes before baking. This helps prevent spreading too much and creates that perfect chewy texture. Also, avoid overbaking — remove when edges are golden but centers still look slightly soft.
- → Can I freeze the dough?
-
Absolutely. Scoop the dough onto a baking sheet and freeze until solid, then transfer to a freezer bag. Bake from frozen, adding 1-2 minutes to the baking time. You can also freeze already baked cookies for up to 3 months.
- → What chocolate chips work best?
-
Look for brands that explicitly state nut-free on the package. Many major brands produce nut-free semi-sweet chips, but always verify. You can also use nut-free white chocolate, dark chocolate chunks, or dried fruit like cranberries.
- → Why did my cookies spread too much?
-
This usually happens if the butter was too soft or the dough wasn't chilled. Try refrigerating the dough for 30 minutes before scooping. Also ensure you're measuring flour correctly — spoon it into the measuring cup and level off, don't pack it down.
