 Save
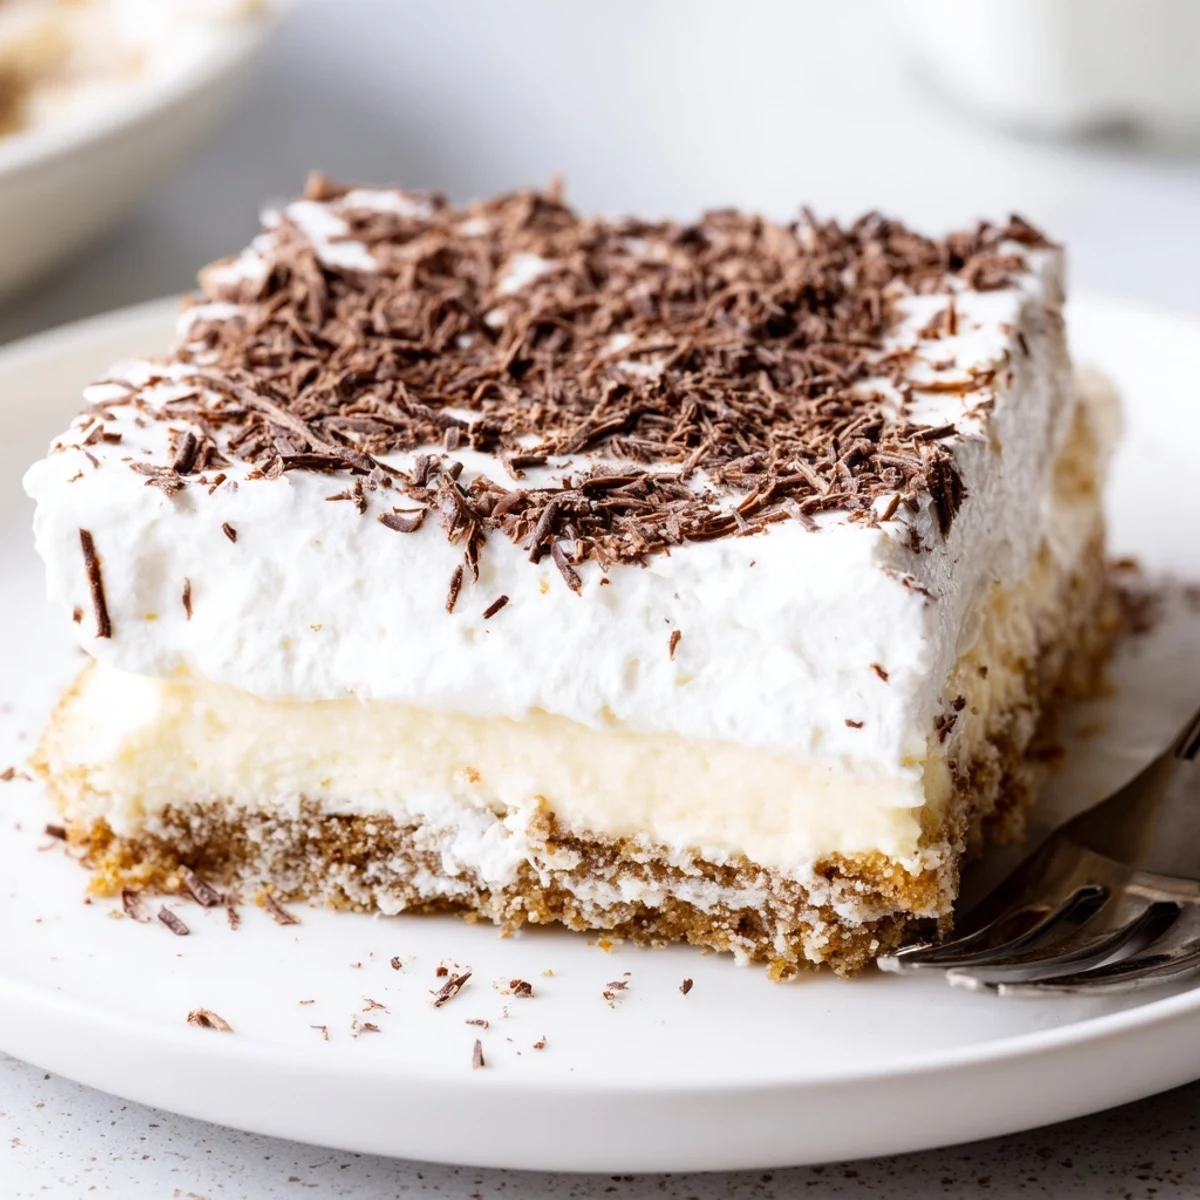
Save This no-bake layered dessert builds a crunchy crushed-cookie base, a cloudlike whipped cream layer and a smooth vanilla pudding center. Assemble in a 23x23 cm (9x9 inch) dish, chill at least 2 hours to let layers firm, then slice and serve chilled. Swap chocolate pudding or add fresh berries for variation. Serves 8 with about 25 minutes active prep.
The very first time I made this no bake layered dessert, it was purely out of impatience—I couldn’t stand the thought of turning on the oven on a July evening. The cool, creamy layers came together while I listened to the distant hum of summer lawnmowers outside. There’s something so deeply satisfying about pressing the buttery crumbs into the dish with your fingers and seeing those distinct strata form. The hardest part was resisting the urge to dive in before it was chilled.
One gloomy afternoon, this dessert came to the rescue when friends dropped in unannounced. I remember us crowding into my small kitchen, someone absentmindedly sneaking chocolate shavings meant for the topping. The laughter while ‘helping’ made the wait for the final reveal all the sweeter. We dug in standing around the counter, spoons clinking and everyone marveling at how something so simple could taste so celebratory.
Ingredients
- Graham crackers or digestive biscuits: Choose whichever you love—each lends a slightly different, signature crunch and flavor to the base.
- Unsalted butter: Melted butter binds the crumbly cookies together; make sure it’s fully melted for best texture.
- Heavy whipping cream: Cold cream whips up fluffiest—don’t be tempted to shortcut with anything lighter.
- Powdered sugar: Dissolves instantly into the cream, setting a gentle, sweet tone.
- Vanilla extract: Even a teaspoon transforms the cream layer with warmth and depth—don’t skip this.
- Instant vanilla pudding mix: The backbone of that dreamy middle layer, bringing creaminess and nostalgia.
- Cold whole milk: Needed for the pudding to set properly; skim or low-fat milks leave the layer too thin.
- Chocolate shavings or cocoa powder: For a flourish—leave them off for a classic look or pile them high if you can never have too much chocolate.
Instructions
- Prepare the cookie base:
- Pour the crushed graham crackers into a bowl, drizzle in the melted butter, and mix until every crumb is glossy and slightly damp—your hands are the best tool here.
- Press and chill:
- Tip the mixture into your baking dish and press it down firmly so it holds together, focusing on the corners, then set aside.
- Whip the cream:
- Whip the heavy cream, powdered sugar, and vanilla until stiff peaks stand tall; you’ll know it’s ready when the beater leaves distinct swirls.
- Make the pudding:
- In a fresh bowl, whisk together the pudding mix and cold milk for 2 minutes until smooth, then let it sit so it thickens.
- First layer of cream:
- Spoon half the whipped cream over the base and spread it gently, watching the peaks smooth into a luscious blanket.
- Add the pudding:
- Carefully dollop the vanilla pudding over the first cream layer, spreading it to the edges for the iconic look.
- Finish with whipped cream:
- Top with the remaining whipped cream, smoothing out any swirls—this is the layer you’ll see first.
- Add the final touch:
- Scatter chocolate shavings or dust with cocoa powder for that irresistible finish.
- Chill and serve:
- Cover tightly and slide the dish into the fridge for at least 2 hours—hard as it is, patience rewards you with clean slices and perfect layers.
 Save
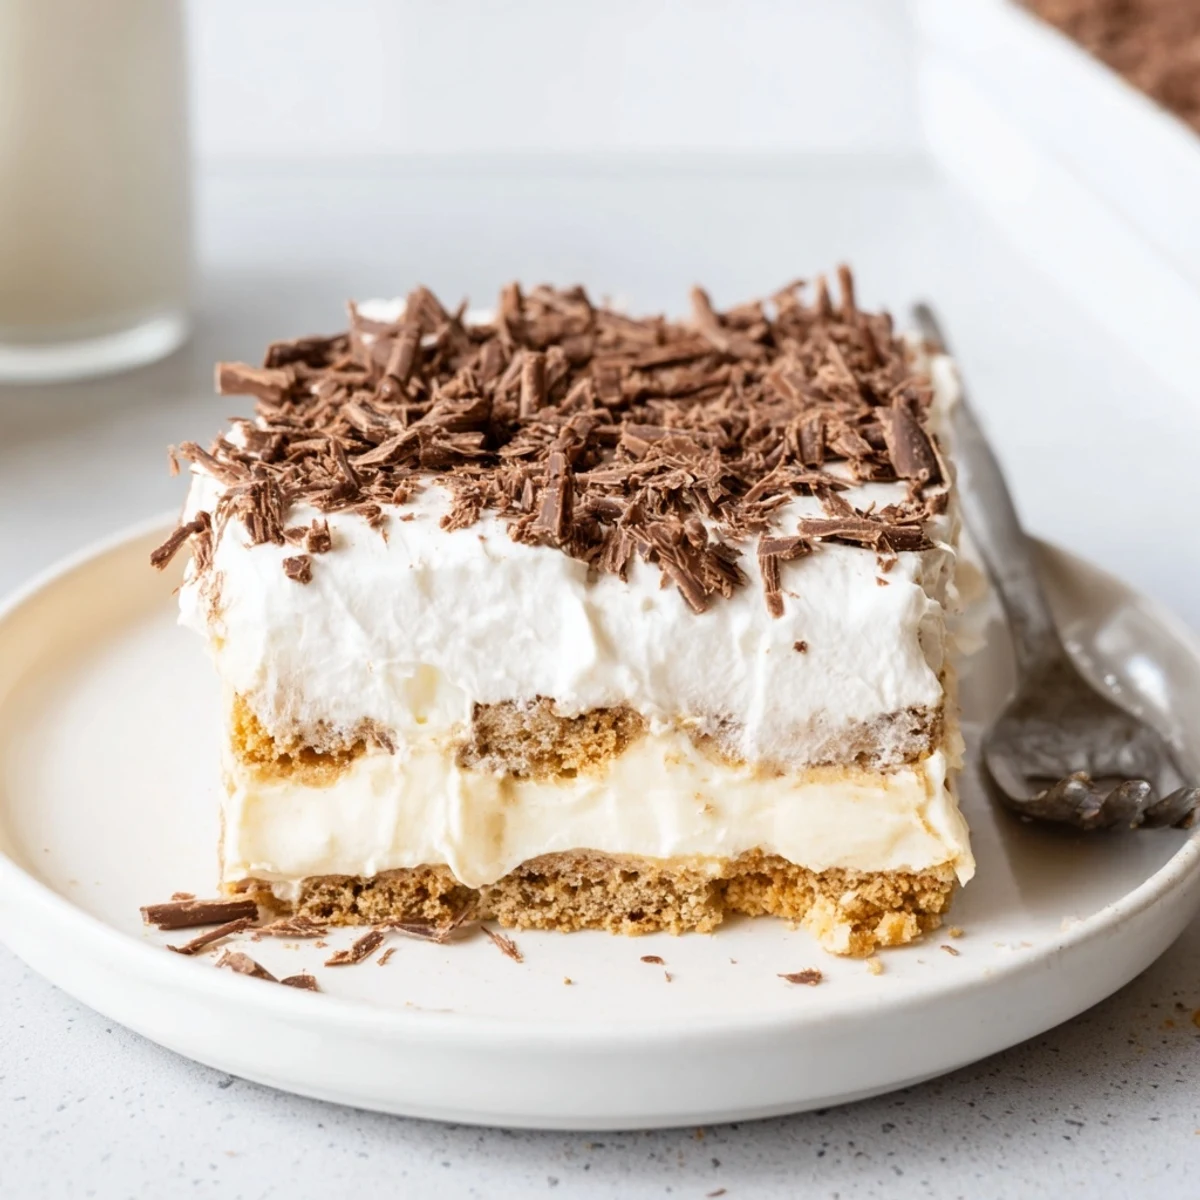
Save I’ll never forget the look on my partner’s face the first time we scraped the bottom of the dish clean before anyone could even ask for seconds. Suddenly, requests for birthdays and potlucks came rolling in. This dessert quietly turned into our standby for every celebration, big or small.
How to Avoid Soggy Layers
After a few tries, I found out that letting the base chill for 10 minutes before layering helps it stay crisp even after hours in the fridge. That hint of crunch makes all the difference. If you want to get ahead, you can prep the base the night before and keep it tightly covered in the fridge.
Flavor Variations You’ll Love
Don’t be afraid to swap in chocolate biscuits or chocolate pudding for a richer, deeper taste. Fresh berries or banana slices slipped between the pudding and cream layers add bursts of freshness. I once even scattered chopped, roasted nuts on top for a salty crunch—nobody complained.
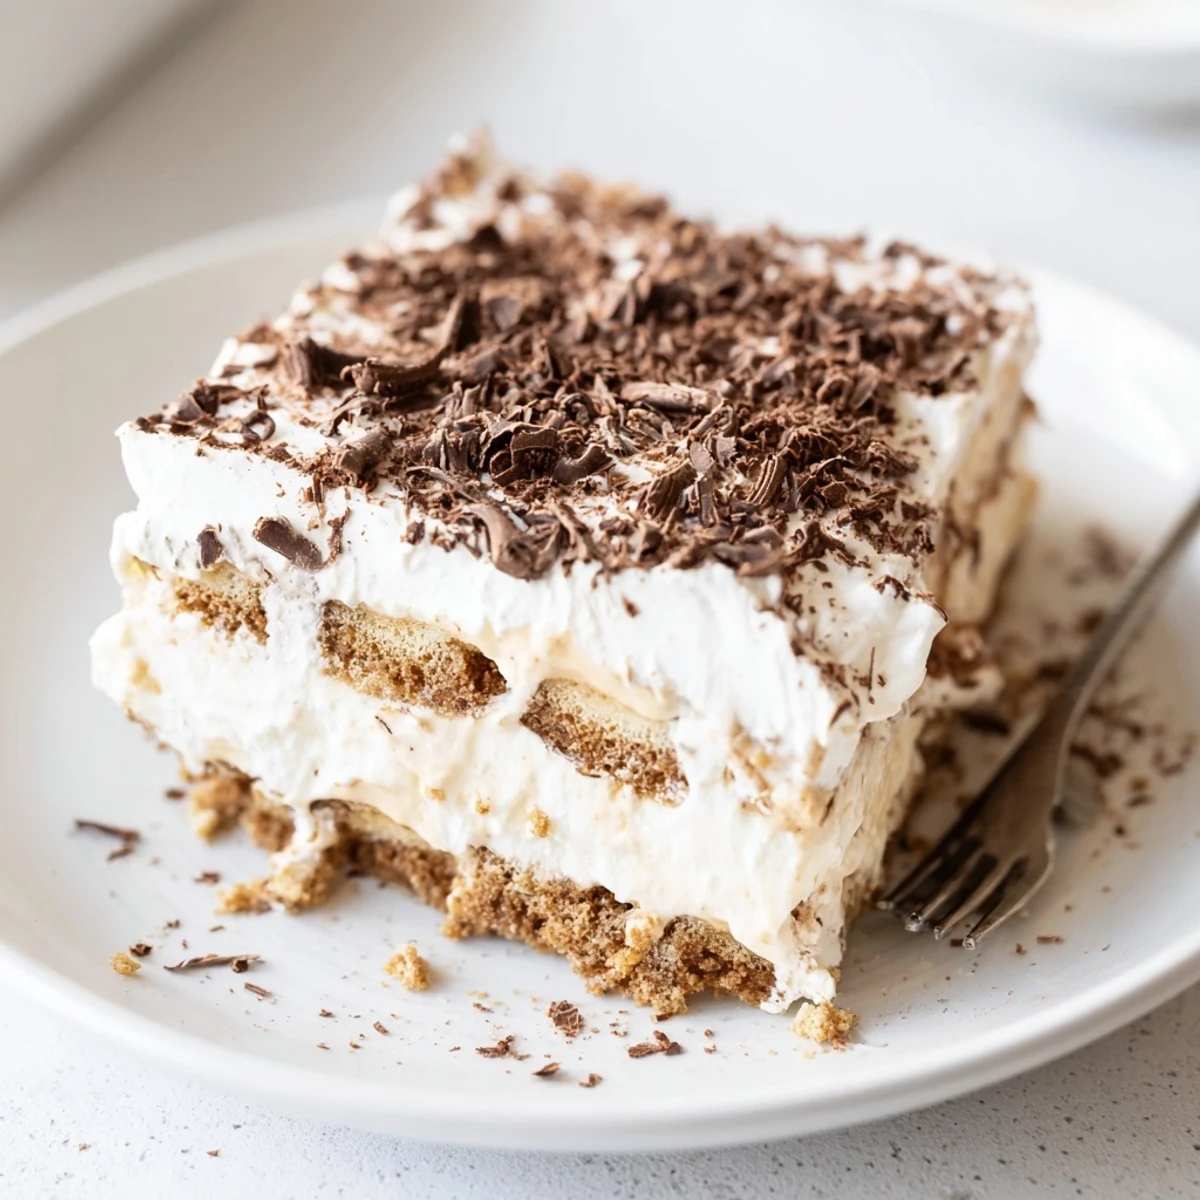
Serving and Storing Advice
Slice the dessert with a knife wiped clean between cuts for those bakery-perfect layers. It’s best served cold straight from the fridge, but it’ll keep for up to three days if tightly covered. Cleanup is a breeze and extra portions seem to vanish overnight.
- Line your pan with parchment for easy lifting.
- Layer smartly—spread gently to avoid mixing.
- Don’t forget to let it chill until fully set for the dreamiest texture.
 Save
Save This no bake layered dessert proves you don’t need fancy techniques to wow a crowd. Here’s to small moments and simple pleasures, bite by luscious bite.
Recipe Questions & Answers
- → How long should it chill before slicing?
-
Chill for a minimum of 2 hours to allow layers to set. For firmer, cleaner slices, refrigerate overnight.
- → Can I make this ahead of time?
-
Yes. Assemble up to 24 hours in advance and keep covered in the refrigerator to maintain texture and freshness.
- → What can I use instead of graham crackers?
-
Digestive biscuits, chocolate cookies, or crushed shortbread all work well. Pulse to a fine crumb and press firmly with melted butter for a stable base.
- → How do I prevent a soggy base?
-
Press the cookie mixture firmly into the pan and chill briefly before adding wetter layers. Make sure pudding is slightly thickened and cream is whipped to stiff peaks.
- → Is it freezer-friendly?
-
Portion and freeze up to one month wrapped tightly. Thaw in the refrigerator; note whipped cream can soften after freezing.
- → Can I adapt for dietary needs?
-
Use dairy-free cream and milk alternatives plus gluten-free cookies to accommodate allergies. Textures and chilling time may vary with substitutions.
