 Save
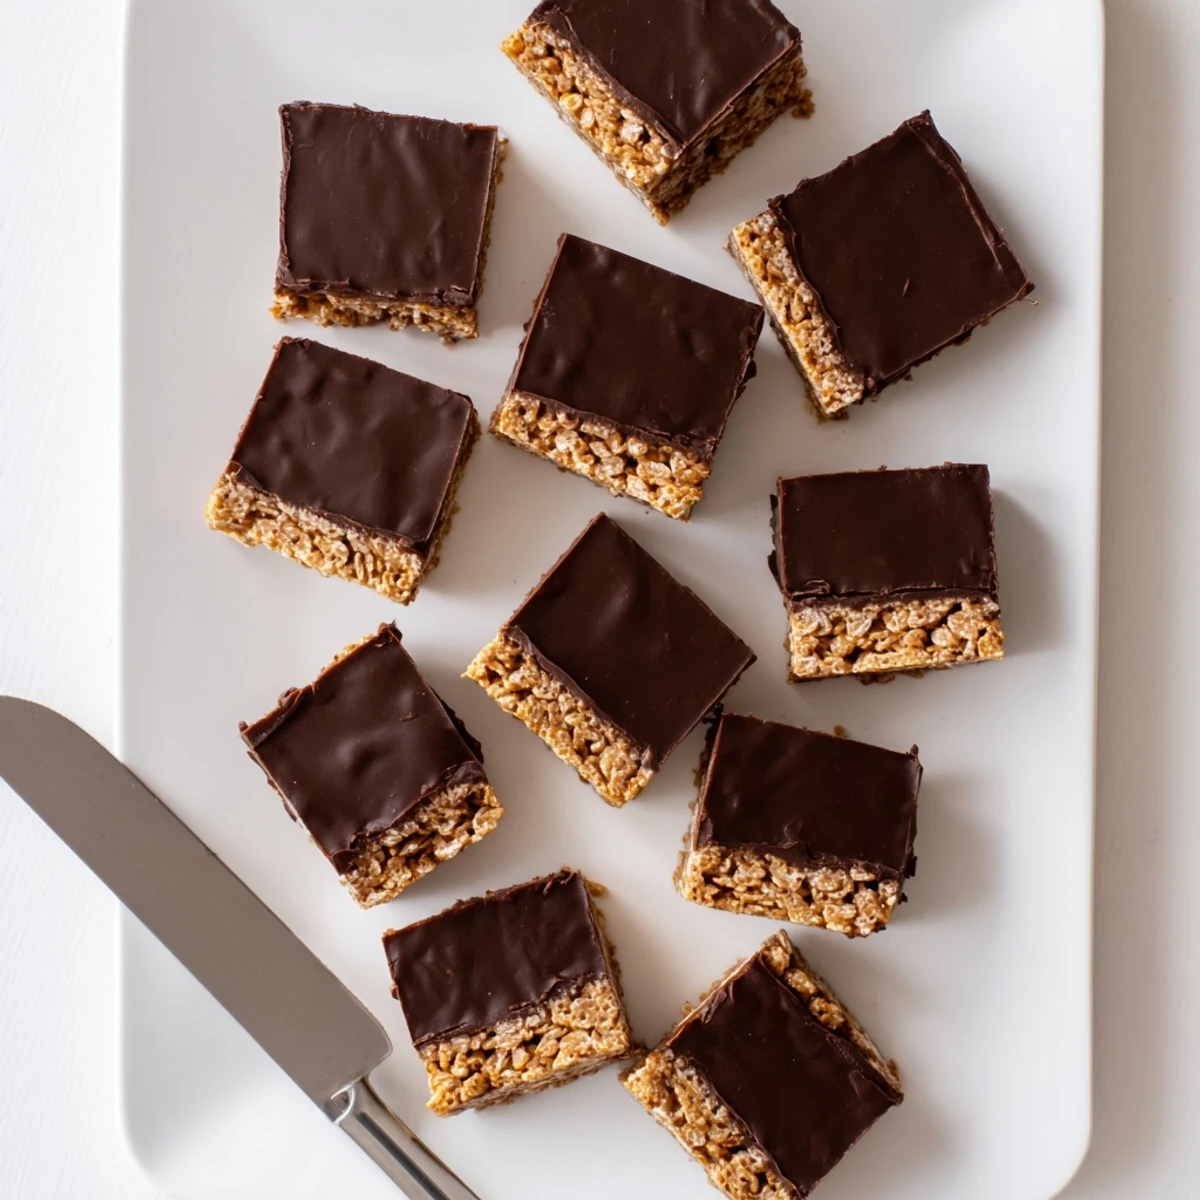
Save These satisfying bars combine the satisfying crunch of gluten-free Honey Chex cereal with a rich peanut butter and honey binding, topped with silky melted chocolate. The entire process takes just 15 minutes of active prep time, followed by chilling to set. Simply melt the peanut butter mixture, coat the cereal, press into a pan, and cover with chocolate. The result is a portable treat that's both naturally sweet and deeply satisfying.
My college roommate stumbled into our dorm kitchen at midnight during finals week, clutching a grocery bag with this exact recipe scribbled on a crumpled receipt. She swore these bars had gotten her through high school exams, and thirty minutes later, I understood the obsession. The whole floor seemed to materialize, drawn by the melted chocolate and honey drifting through the hallway.
Last summer I brought these to a potluck where the host forgot to mention her daughter had celiac disease. The look on that girls face when she realized she could actually eat dessert while everyone else enjoyed theirs sticks with me. Now I double the recipe whenever I know shes coming over, because the first time, the platter was empty before she got seconds.
Ingredients
- 4 cups gluten-free Honey Chex cereal: The honey variety adds a subtle sweetness that complements the peanut butter beautifully, though plain works in a pinch
- 1 cup creamy peanut butter: Skip the natural separates stuff here, you want that creamy consistent texture for the base
- 1/2 cup honey: Local honey adds depth but any liquid honey will do, just avoid crystallized varieties
- 1/4 cup unsalted butter: Salted works too but then skip the sea salt garnish unless you love that salty sweet thing
- 1 cup semisweet chocolate chips: Check the label carefully, some chocolate chips have hidden gluten in additives
- 2 tablespoons creamy peanut butter: This tiny amount keeps the chocolate layer fudge-like instead of hard and snappy
Instructions
- Prep your pan:
- Line an 8x8-inch baking pan with parchment paper, letting the ends hang over the sides like handles. This is crucial for getting the bars out later without destroying them.
- Melt the base:
- Combine the peanut butter, honey, and butter in a large saucepan over medium-low heat. Stir constantly until everything melts together into a smooth, glossy mixture.
- Coat the cereal:
- Remove from heat and gently fold in the Chex cereal. Use a folding motion to avoid crushing the cereal, but keep going until every piece is coated.
- Press it down:
- Transfer the mixture to your prepared pan and press it firmly with the back of a spoon or spatula. Really press hard here, compacted bars hold together better when you cut them.
- Melt the topping:
- Combine chocolate chips and the extra peanut butter in a microwave-safe bowl. Microwave in 30-second intervals, stirring between each, until completely smooth.
- Spread and chill:
- Pour the chocolate over the cereal base and spread it evenly. Refrigerate for at least one hour until completely set before cutting.
 Save
Save My three-year-old niece helped me make these last weekend and somehow managed to get chocolate in her hair, on the ceiling fan, and somehow in her sock. She was so proud presenting a slightly misshapen bar to her dad that he ate it without hesitation, despite the questionable hygiene involved in its preparation.
Make Them Your Way
Sunflower seed butter creates a remarkably similar flavor profile if you need these nut-free for school safe zones. The texture is slightly different but still delicious.
Storage Secrets
These actually improve after a day in the refrigerator, as the flavors meld together. They also freeze beautifully layered between wax paper in an airtight container.
Serving Ideas
Try cutting them into small squares instead of bars for cocktail parties. The handheld format works perfectly for dessert buffets where folks are juggling plates and drinks.
- Sprinkle flaky sea salt on the chocolate before it sets for a sophisticated flavor boost
- Drizzle melted peanut butter over the chocolate for a pretty swirled effect
- Press a few pretzels into the base before adding chocolate if you want extra crunch
 Save
Save The best recipes are the ones that show up exactly when you need them, whether thats midnight cravings or emergency potluck desserts.
Recipe Questions & Answers
- → Can I make these bars dairy-free?
-
Yes! Substitute the butter with coconut oil or vegan butter sticks, and use dairy-free chocolate chips. The texture will remain similar while accommodating dairy allergies.
- → How long do these bars need to chill?
-
Refrigerate for at least one hour until the chocolate topping is completely firm. For best results, allow two hours of chilling time before cutting to ensure clean edges.
- → What's the best way to store these bars?
-
Keep in an airtight container in the refrigerator for up to one week. The cool temperature maintains the chocolate topping's firmness and keeps the cereal delightfully crunchy.
- → Can I use regular Chex instead of Honey Chex?
-
Yes, but you may want to add an extra tablespoon of honey to the base mixture to compensate for the missing sweetness. Original Chex will still work perfectly with the peanut butter.
- → What size pan should I use?
-
An 8x8-inch square pan is ideal, creating 16 thick bars. A 9x9-inch pan works too, though the bars will be slightly thinner. Line whichever you choose with parchment paper for easy removal.
- → Can I freeze these bars?
-
Absolutely! Wrap individual portions in plastic wrap and freeze for up to 3 months. Thaw in the refrigerator for 2 hours before serving for the best texture.
