 Save
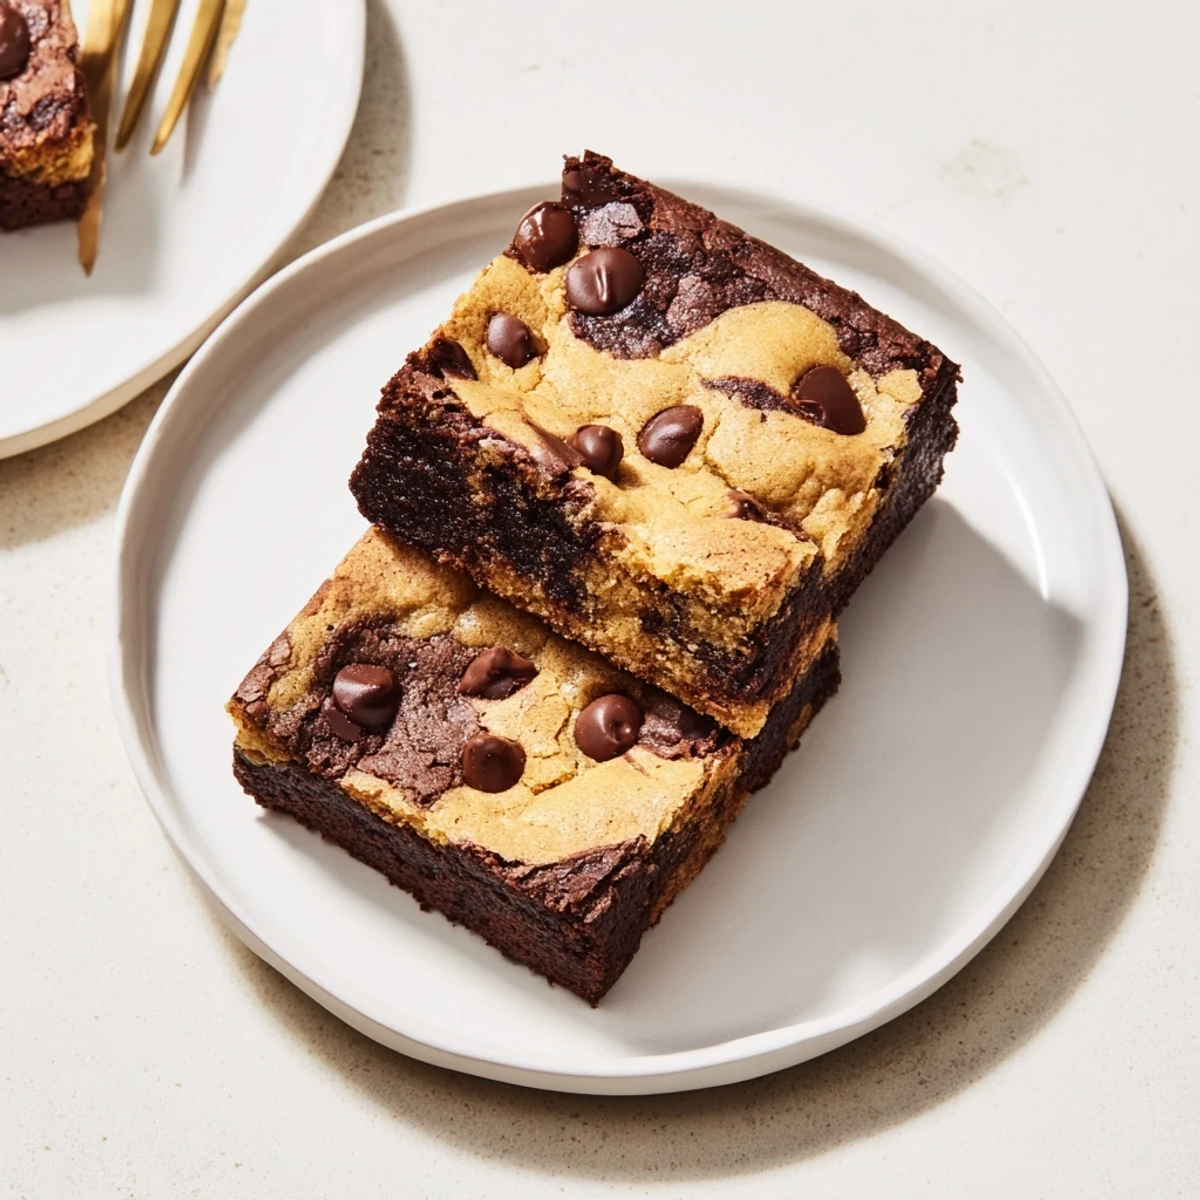
Save These indulgent bars feature two distinct layers—a rich, dense dark chocolate brownie base topped with chunks of buttery cookie dough studded with semi-sweet chips. The contrast between the fudgy bottom and chewy cookie topping creates an irresistible texture combination that chocolate lovers will adore.
Preparation involves creating both batters separately, then layering them in a square pan before baking until golden. The result is a marbled, swirled masterpiece with the best qualities of both classic desserts. Slightly underbaking ensures maximum fudginess, while an overnight rest makes cutting clean squares effortless.
Last winter my neighbor brought over a pan of something she called browkies and my entire understanding of dessert bars shifted. One bite had that crackly, fudgy brownie intensity, but then this chewy cookie-like texture kicked in. I've been making them ever since, always slightly different because that's the fun.
I made these for a book club meeting where nobody wanted to commit to brownies OR cookies. The pan came back empty with three separate requests for the recipe. Now they are my go to when I want to impress without spending hours in the kitchen.
Ingredients
- Dark chocolate: Choose something around 60 to 70 percent cocoa for that intense fudgy base that holds everything together
- Unsalted butter: Keep it at room temperature for the cookie layer but melted works beautifully for the brownie layer
- Both sugars: The combination of granulated and brown sugar creates that perfect crackly top on the brownie layer
- Eggs: Room temperature eggs blend more smoothly into both batters without seizing the chocolate
- All purpose flour: Measure by spooning into your measuring cup and leveling off for consistent results every time
- Semi sweet chocolate chips: These keep their shape through baking and provide little pockets of melty joy in the cookie layer
Instructions
- Prep your pan like you mean it:
- Crumple your parchment paper first, then smooth it out before lining your square pan. Those creases help the paper grip the corners and the overhang becomes your best friend when lifting out the whole slab later.
- Melt into the brownie base:
- Set your heatproof bowl over gently simmering water, not boiling, and stir the butter and chocolate patiently until glossy and smooth. Let it cool slightly so your eggs do not scramble when you add them.
- Build the fudgy foundation:
- Whisk in the sugar until it disappears, then add those eggs one at a time like you are introducing them at a party. Fold in the flour and salt just until no white streaks remain, then spread this dark beauty into your prepared pan.
- Cream the cookie dough:
- Beat that softened butter with both sugars until the mixture looks lighter and fluffier, about two full minutes. Add the egg yolk and vanilla, then gently fold in your flour, baking soda, salt, and those chocolate chips.
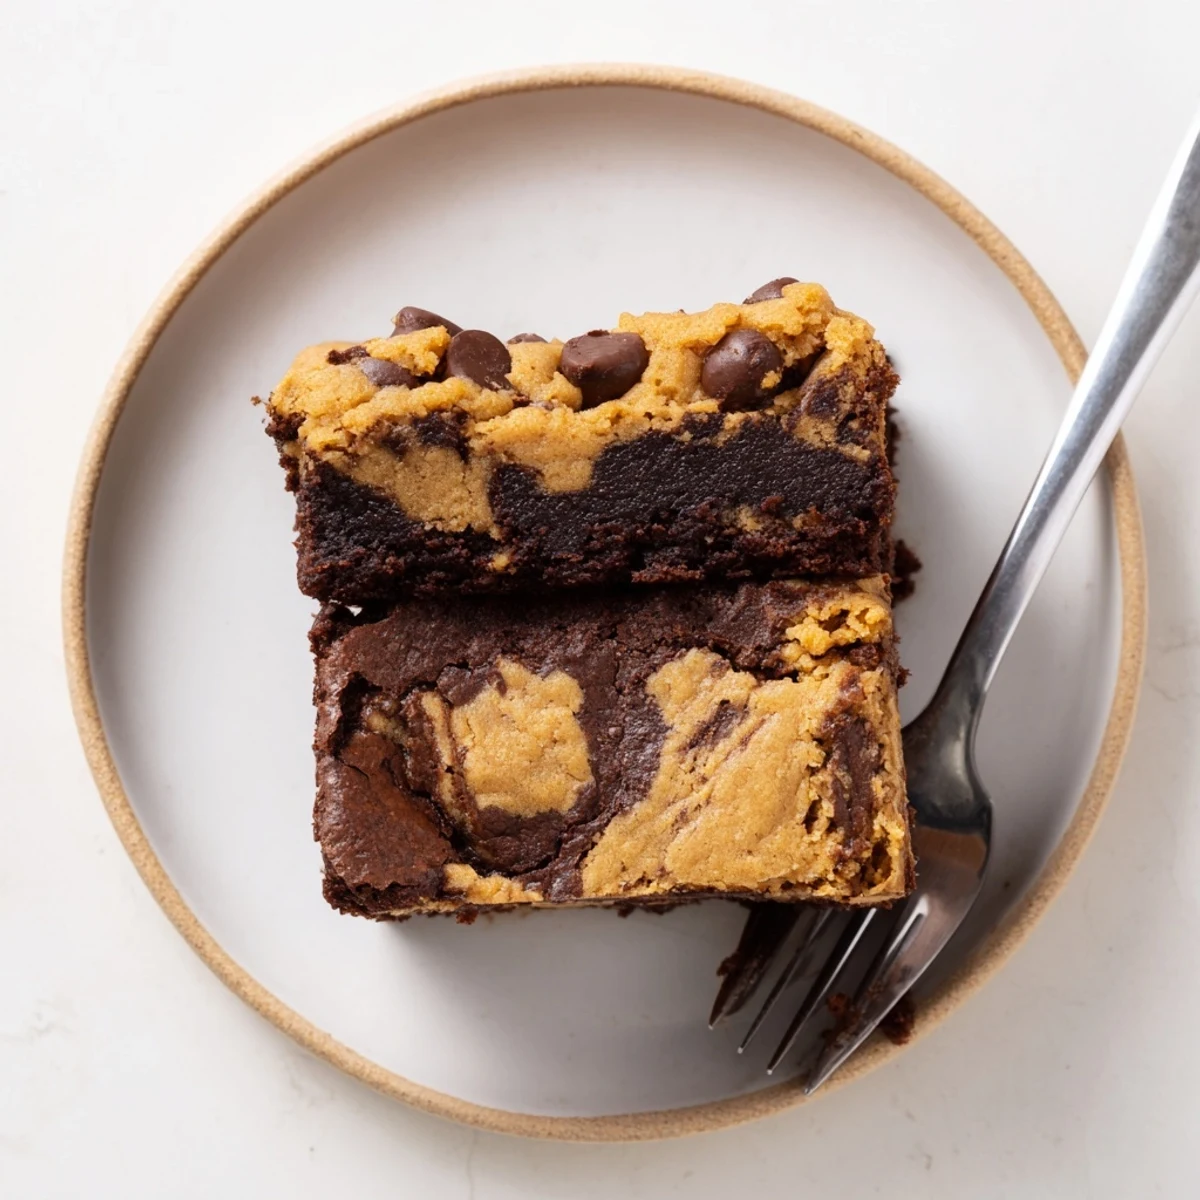
- Marble the two worlds:
- Drop spoonfuls of cookie dough over the brownie batter like you are placing clouds in a chocolate sky. Use your spatula to gently swirl and marble them together, or leave them as distinct islands if you prefer clear layers in every slice.
- Bake until barely done:
- Slide your pan into that preheated oven and set your timer. The top should turn golden and a toothpick should come out with moist crumbs, not raw batter. This is the moment when underbaking slightly pays off in fudgy dividends.
- Patience makes perfect:
- Let the entire pan cool completely on a wire rack, or better yet, refrigerate overnight. Cold browkies cut into clean, sharp squares that look like they came from a bakery window.
 Save
Save My sister once ate half the pan before they even cooled completely, standing at the counter with a fork and zero regrets. These have become the thing I bake when words fail and chocolate needs to do the talking.
Getting the Swirl Right
Too much swirling muddies the distinct layers into something that tastes good but looks muddy. I learned to drag my spatula through just three or four times maximum, letting the two batters remain mostly separate with just enough blending to create those beautiful marbled bridges.
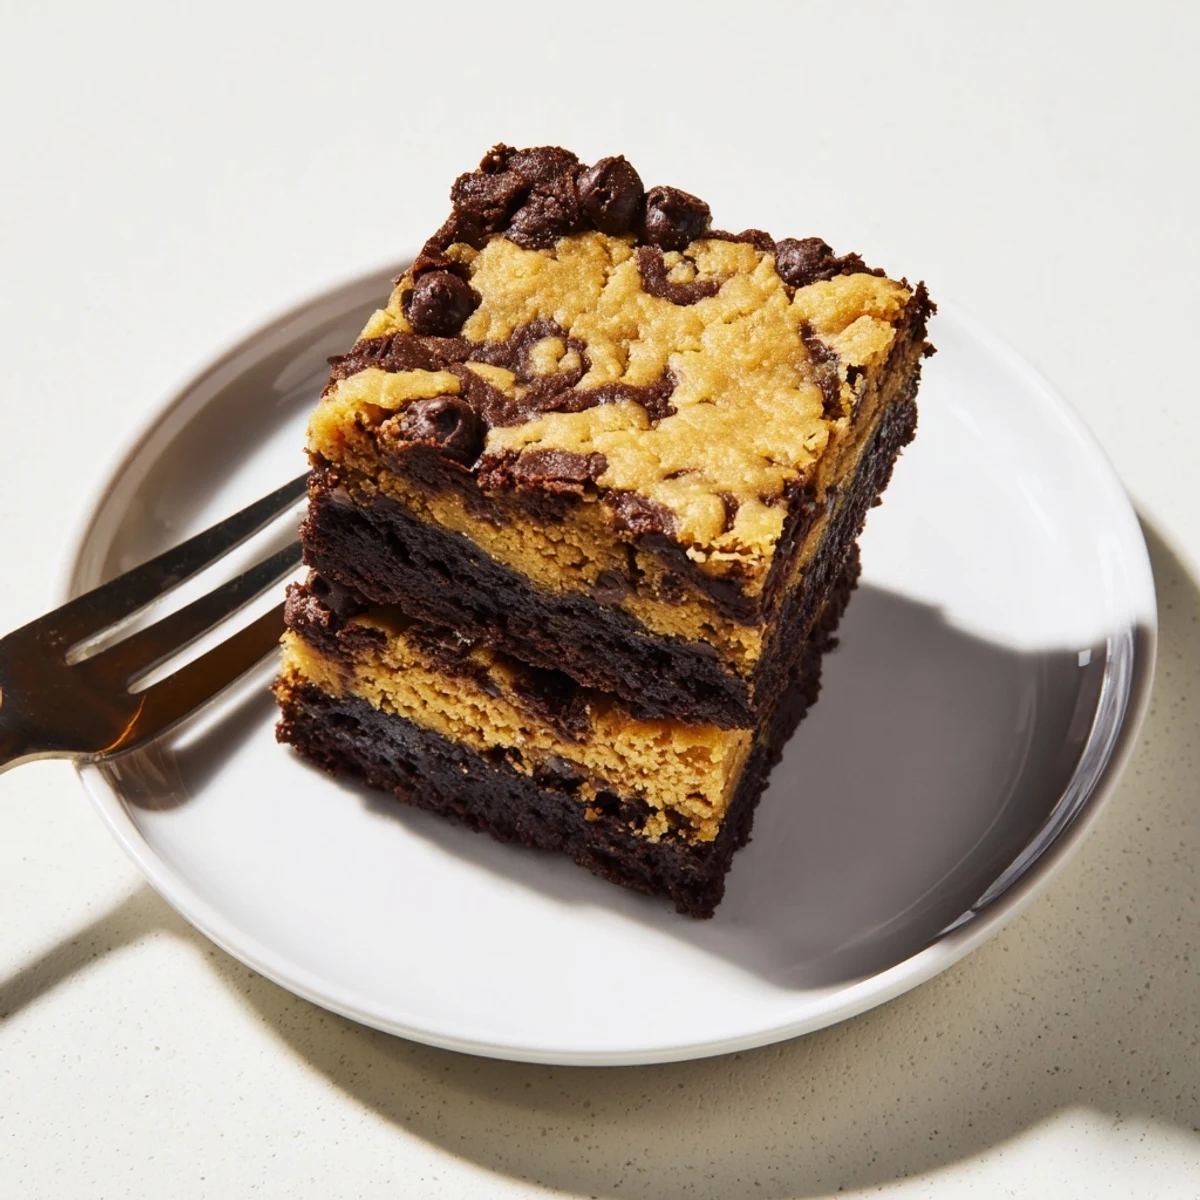
Pan Size Matters
An eight inch square pan gives you that perfect thick ratio where neither layer overwhelms the other. When I used a nine inch pan once, the browkies turned thin and sad, like they were trying too hard to be something they were not meant to be.
Storage Secrets
These actually improve after a night in the refrigerator, which is unheard of for most baked goods. The flavors deepen and the texture sets into something wonderfully dense and fudgy that holds its shape beautifully.
- Airtight container on the counter keeps them soft for three days
- Freeze individual squares wrapped tightly for up to two months
- Microwave each square for ten seconds to recreate that fresh baked gooeyness
 Save
Save Every time I pull a warm pan from the oven, that smell of chocolate and vanilla together makes the whole house feel like a hug. These are the brownies you make when regular brownies just are not enough celebration.
Recipe Questions & Answers
- → What exactly are browkies?
-
Browkies are a hybrid dessert combining the dense, fudgy characteristics of brownies with the chewy, buttery qualities of chocolate chip cookies. The two batters are layered together, creating a marbled bar with contrasting textures and rich chocolate flavor throughout.
- → Why do I need to cool them completely before cutting?
-
Allowing the bars to cool completely helps them set properly, making clean slices possible. For best results, let cool at room temperature in the pan, then refrigerate or even let rest overnight. This firms the texture, ensuring each square holds its shape beautifully when cut.
- → Can I make these ahead of time?
-
Absolutely! These bars actually improve with time. Store in an airtight container at room temperature for up to 3 days, or refrigerate for up to a week. They can also be frozen for up to 3 months—wrap individual squares in plastic wrap and place in a freezer-safe bag.
- → How do I know when they're done baking?
-
The edges should appear set and slightly golden, while the center may still look slightly soft. A toothpick inserted in the center should come out with moist crumbs rather than wet batter. Remember that residual heat continues cooking the bars as they cool, so slightly underbaking is preferable to overbaking.
- → Can I customize the mix-ins?
-
Certainly! Try adding chopped walnuts or pecans to either layer for crunch. Swap semi-sweet chips for white chocolate, butterscotch, or milk chocolate. You could also swirl in peanut butter or caramel sauce between the layers for extra indulgence. Just maintain the base batter ratios for best results.
- → What's the best way to layer the batters?
-
Spread the brownie batter evenly first as your base. Then drop spoonfuls of cookie dough over the top rather than spreading it smoothly—this creates the signature marbled look. Gently swirl with a spatula if you want more mixing between layers, or leave distinct for clear texture contrast in each bite.
