 Save
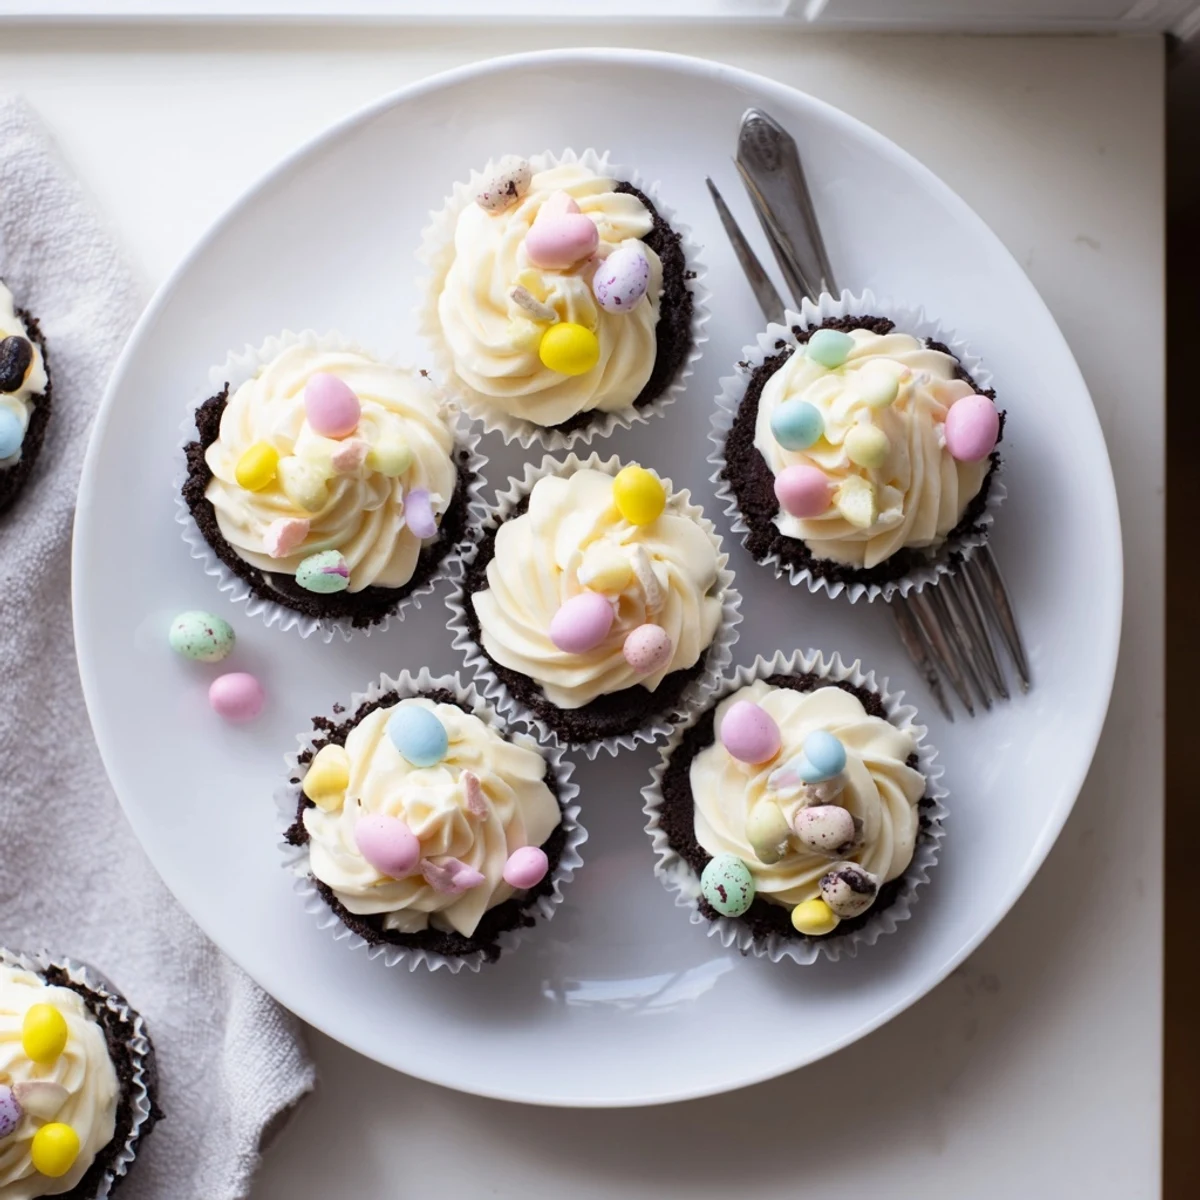
Save These festive Easter mini cheesecakes feature a rich chocolate cookie crust topped with smooth cream cheese filling and finished with fluffy whipped cream and colorful Cadbury Mini Eggs. Each bite-sized treat delivers the perfect balance of creamy texture and crunchy chocolate candy.
The individual portions make them ideal for spring gatherings, Easter brunch, or holiday dessert tables. With just 20 minutes of prep time and a simple baking process, you can create impressive-looking treats that taste bakery-made.
My kitchen counter became a pastel wonderland the first time I attempted these tiny cheesecakes. Mini Eggs scattered everywhere during prep, my daughter wearing her Easter dress two weeks early just to taste test, the whole house smelling like chocolate bakery. I've never seen dessert disappear so quickly at a family gathering.
Last Easter, I made three batches because they kept vanishing. My cousin hovered by the serving platter the entire afternoon, claiming she was just admiring how pretty they looked. By dinner time, only pastel sprinkles remained on the serving tray.
Ingredients
- Chocolate sandwich cookies: The chocolate cookie base adds depth that graham crackers simply cannot achieve
- Unsalted butter: Melted butter binds the crumbs perfectly for a crust that holds together when you bite
- Cream cheese: Bring to room temperature for silkiest filling without those frustrating lumps
- Granulated sugar: Sweetens the filling just enough without overpowering the tangy cream cheese
- Large egg: Structure builder that transforms creamy filling into something sliceable
- Vanilla extract: Pure vanilla bean extract makes everything taste more expensive
- Sour cream: This secret ingredient adds tang and keeps the cheesecake incredibly creamy
- Heavy cream: Cold heavy cream whips into clouds that crown each little cheesecake
- Powdered sugar: Sweetens the whipped cream without adding grittiness
- Cadbury Mini Eggs: The star of the show, their speckled shells make these instantly festive
Instructions
- Prepare your muffin tin:
- Preheat your oven to 160°C and line a 12-cup muffin tin with paper liners. This step prevents sticking and makes serving effortless.
- Make the chocolate crust:
- Crush those chocolate sandwich cookies until fine crumbs remain. Stir in melted butter until every crumb is coated, then press about one tablespoon into each liner firmly.
- Blend the cheesecake filling:
- Beat softened cream cheese and sugar until completely smooth. Add the egg, vanilla, and sour cream, mixing just until combined.
- Fill and bake:
- Spoon the creamy filling over each crust, about two tablespoons per cup. Bake for 16 to 18 minutes until centers are barely set.
- Chill thoroughly:
- Cool in the muffin tin for 30 minutes, then refrigerate for at least two hours. This patience step yields perfectly textured cheesecakes.
- Add the grand finale:
- Whip cold heavy cream with powdered sugar until stiff peaks form. Mound or pipe onto each chilled cheesecake, then crown with Mini Eggs and sprinkles.
 Save
Save These became my daughter's most requested birthday treat after that Easter success. Now she requests them for every school celebration, spring or not. Something about bite sized desserts makes people feel like they can indulge just a little more.
Making The Perfect Cookie Crust
I learned through many failed attempts that the crust must be pressed firmly into each liner. Use the back of a measuring spoon or your thumb to compact the crumbs. A loose crust crumbles apart when you try to remove the paper liner.
Room Temperature Ingredients Matter
Cold cream cheese creates stubborn lumps in your filling that no amount of mixing can fix. Set it out on the counter an hour before you begin baking. The same goes for your egg and sour cream.
Getting The Whipped Cream Just Right
Chill your mixing bowl and beaters in the freezer for ten minutes before whipping cream. This simple trick makes stiff peaks form much faster.
- Stop whipping when you see stiff peaks or you might end up with butter
- Pipe the whipped cream just before serving for the freshest presentation
- Keep the whipped cream covered if making these more than a few hours ahead
 Save
Save Watch these disappear at your next spring gathering. Happy baking.
Recipe Questions & Answers
- → Can I make these ahead of time?
-
Yes, these cheesecakes actually improve when made ahead. They can be prepared up to 2 days in advance and stored in the refrigerator. Add the whipped cream topping just before serving for the freshest presentation.
- → What can I use instead of Cadbury Mini Eggs?
-
You can substitute any colorful Easter candy, such as M&M's, chopped chocolate bunnies, or pastel-colored sprinkles. For a non-candy alternative, fresh berries or shaved chocolate work beautifully too.
- → How do I know when the cheesecakes are done baking?
-
The centers should be just set with a slight jiggle when gently shaken. They will continue to firm up as they cool. Avoid overbaking, as this can cause cracking.
- → Can I freeze these mini cheesecakes?
-
Yes, freeze the cheesecakes without the whipped cream topping for up to 1 month. Wrap each individually in plastic wrap, then place in an airtight container. Thaw overnight in the refrigerator before adding the whipped cream.
- → Why did my cheesecakes crack on top?
-
Cracking usually occurs from overmixing the filling or overbaking. Mix only until just combined and remove from the oven when the centers still have a slight wobble. Cooling them gradually in the tin before refrigerating also helps prevent cracks.
