 Save
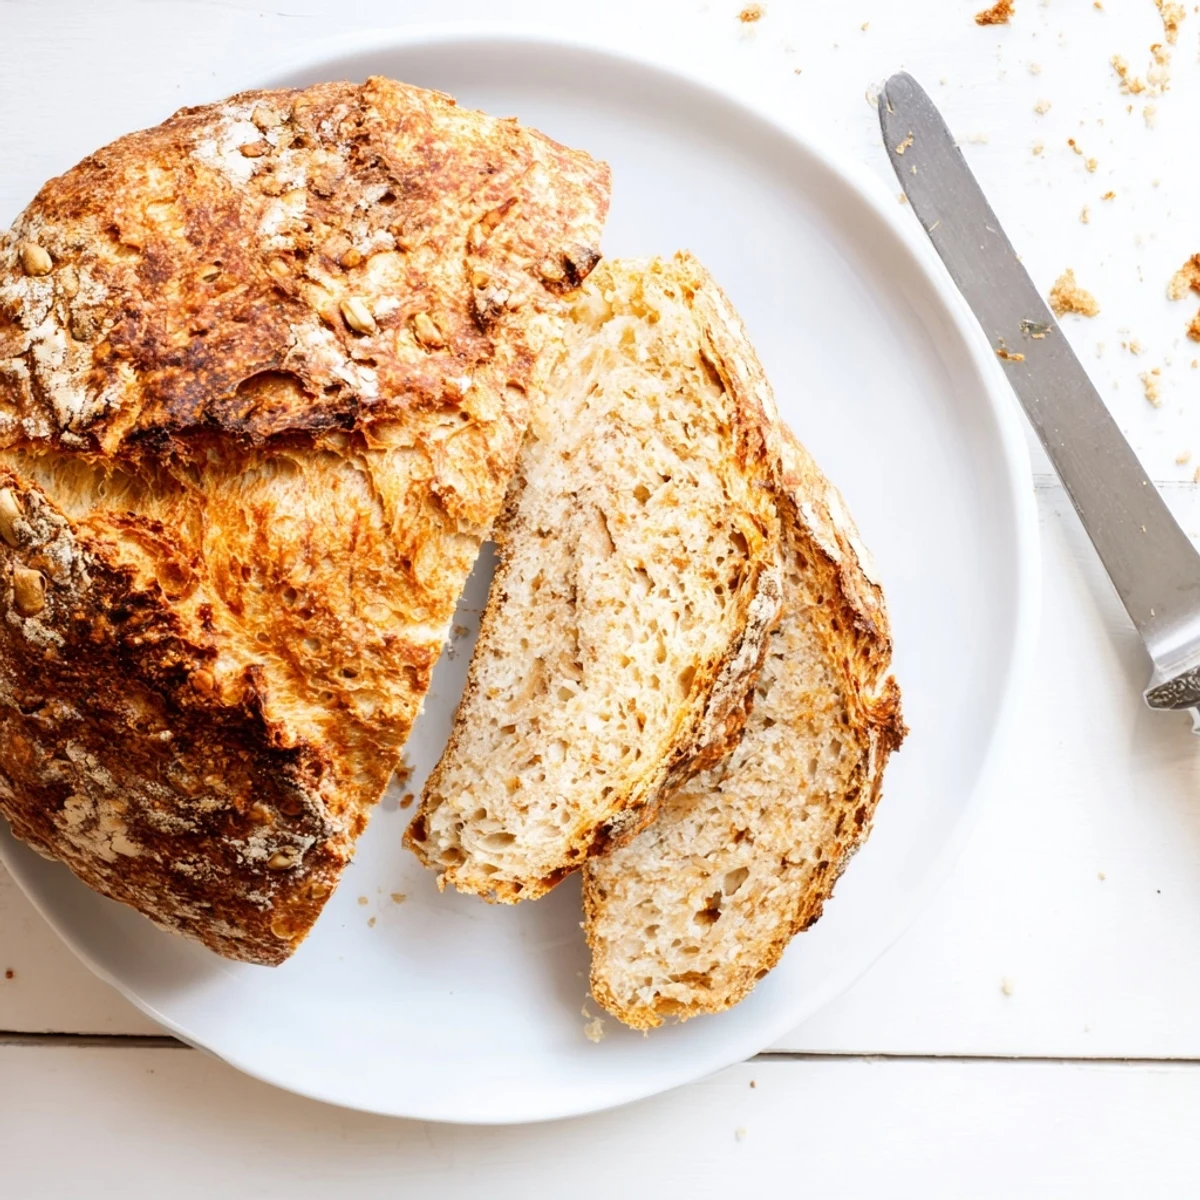
Save Create bakery-worthy crusty bread with minimal effort through overnight fermentation. This no-knead method develops complex flavors and signature crackling crust using just four basic ingredients. The extended rise time creates that sought-after chewy, open crumb structure while a preheated Dutch oven generates steam for the perfect golden exterior. Ideal for beginners and experienced bakers alike, this versatile loaf adapts beautifully to additions like olives, herbs, or roasted garlic.
The morning I discovered no-knead bread was supposed to be quick, but I ended up staring at that shaggy dough for hours, convinced something so simple couldn't possibly work. My tiny apartment filled with the most incredible yeasty aroma while I slept, and waking up to find it had actually transformed into something alive and bubbling felt like kitchen magic I never wanted to forget.
I brought this loaf to a friend's dinner party once, fresh from the oven and still warm, and watched people abandon the carefully planned appetizers to tear into it with their hands. Something about tearing into homemade bread together makes people forget table manners and just connect over food.
Ingredients
- All purpose flour: Three cups create the perfect structure, though you can experiment with whole wheat or bread flour up to fifty percent
- Salt: One and a half teaspoons might seem like a lot, but this is what develops real flavor since we are not adding sugar or fat
- Instant yeast: Half a teaspoon works miracles over the long fermentation period, and instant yeast eliminates any need to proof it first
- Lukewarm water: One and a half cups should feel like bath temperature, activating the yeast without killing it
Instructions
- Mix the dough:
- Combine flour, salt, and yeast in a large bowl, then pour in the water and stir until everything comes together into a rough, shaggy mass that looks more like a mess than dough.
- Let it rest:
- Cover your bowl with plastic wrap or a clean towel and leave it alone at room temperature for twelve to eighteen hours while time and fermentation do all the work.
- Shape the loaf:
- Turn the bubbly dough onto a floured surface, fold the edges toward the center a few times, then gently shape it into a round ball.
- Second rise:
- Set your dough on parchment paper, cover it loosely, and let it rest for thirty to forty five minutes while you preheat your oven.
- Preheat with your pot:
- Place your Dutch oven inside the oven and heat everything to four hundred fifty degrees for at least thirty minutes, getting both pot and lid screaming hot.
- Bake covered:
- Carefully lift the dough with the parchment paper into the hot pot, cover with the lid, and bake for thirty minutes to create steam for that incredible crust.
- Finish baking:
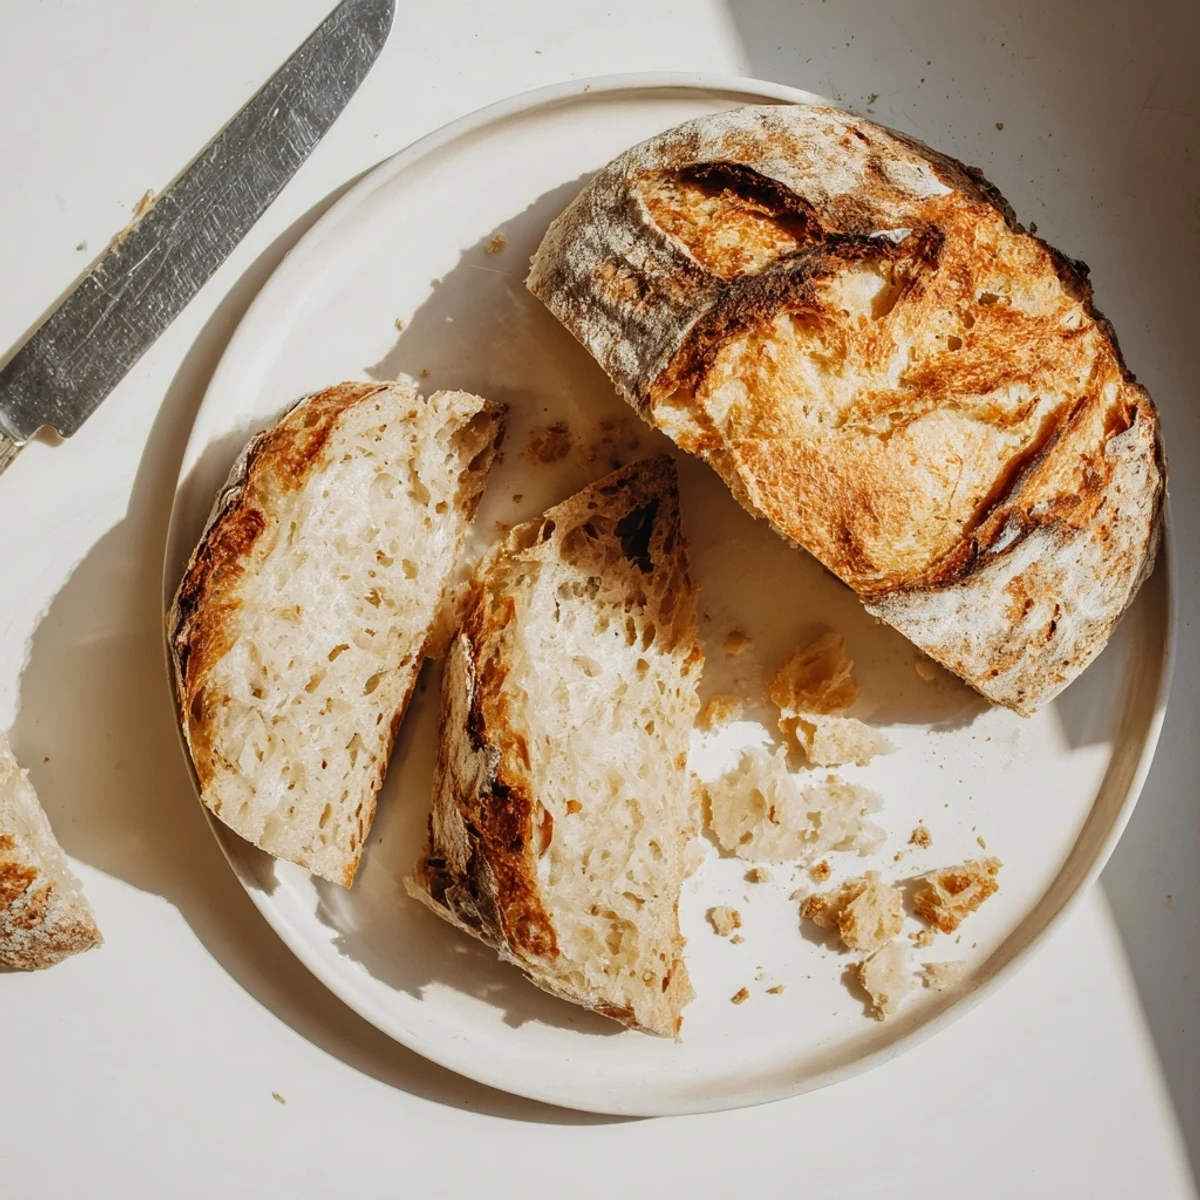
- Remove the lid and continue baking for ten to fifteen more minutes until the crust turns a deep golden brown and the loaf sounds hollow when tapped.
 Save
Save My grandmother would have laughed at how little hands on work this requires, but I think she would have loved that we are still making bread the way people have for centuries, using just four ingredients and patience.
Getting That Crackling Crust
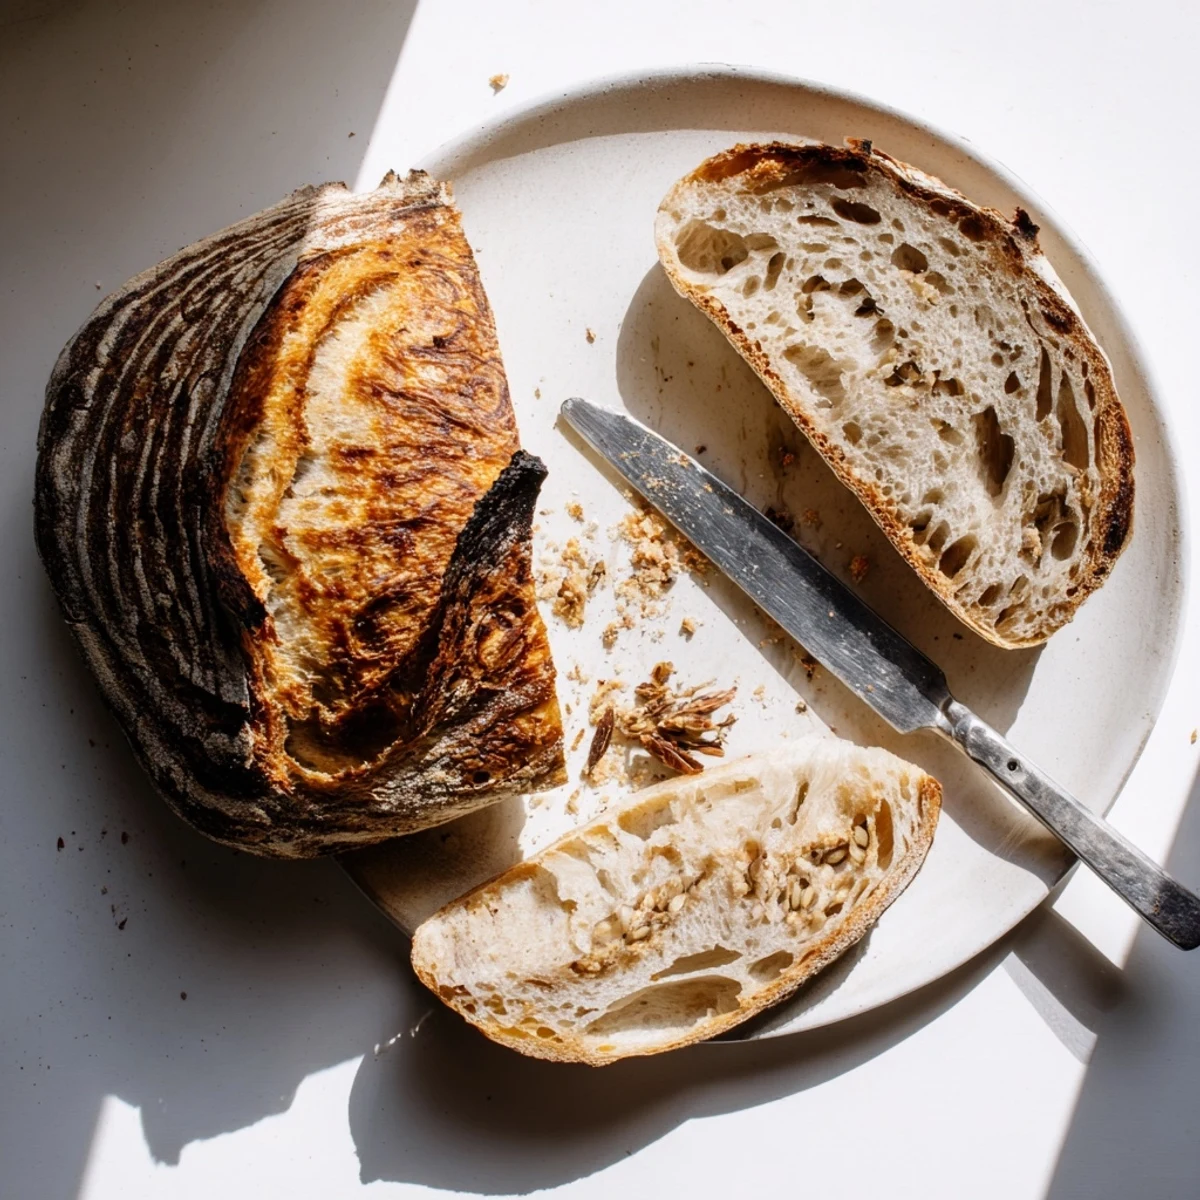
The Dutch oven creates a mini steam oven in your regular oven, trapping moisture that keeps the crust soft initially while the bread expands, then that same steam evaporates to create the shattering exterior that makes this bread so special. Do not skip preheating your pot because that initial burst of heat hitting the cold dough is what creates oven spring.
Customizing Your Loaf
Once you have mastered the basic recipe, the variations become endless because the sturdy dough structure handles additions beautifully. Mix in chopped olives, roasted garlic cloves, fresh rosemary, or even grated cheese right at the beginning with your flour.
Timing Your Bake
The long fermentation window actually works in your favor once you realize you can start the dough before bed and bake fresh bread the next evening. Mix the dough in the morning, let it rise while you are at work, then shape and bake when you get home.
- Set a timer for the end of the initial rise so you do not accidentally overproof the dough
- The dough is ready when it is dotted with bubbles and has doubled in size
- If your schedule does not work for the timing, you can refrigerate the dough after the first rise for up to two days
 Save
Save There is something deeply satisfying about making something so beautiful from almost nothing, watching time transform flour and water into something that nourishes both body and soul.
Recipe Questions & Answers
- → Why does the dough need to rise for 12-18 hours?
-
The extended fermentation allows natural enzymes to break down starches and develop complex flavor. This slow rise also creates the bread's signature airy texture and chewy crumb without requiring kneading.
- → Can I use regular yeast instead of instant yeast?
-
Yes, active dry yeast works perfectly. Just dissolve it in the lukewarm water first for about 5 minutes before mixing with the flour and other ingredients.
- → What if I don't have a Dutch oven?
-
Any heavy oven-safe pot with a tight-fitting lid works well. Alternatively, bake on a preheated baking stone and create steam by placing a tray of ice cubes on the bottom rack.
- → How do I know when the bread is done baking?
-
The crust should be deep golden brown and sound hollow when tapped on the bottom. An instant thermometer inserted into the center should read 200-205°F (93-96°C).
- → Why must the bread cool before slicing?
-
Slicing while hot releases steam and creates a gummy texture. Cooling for at least 30 minutes allows the internal structure to set, ensuring that characteristic chewy crumb.
