 Save
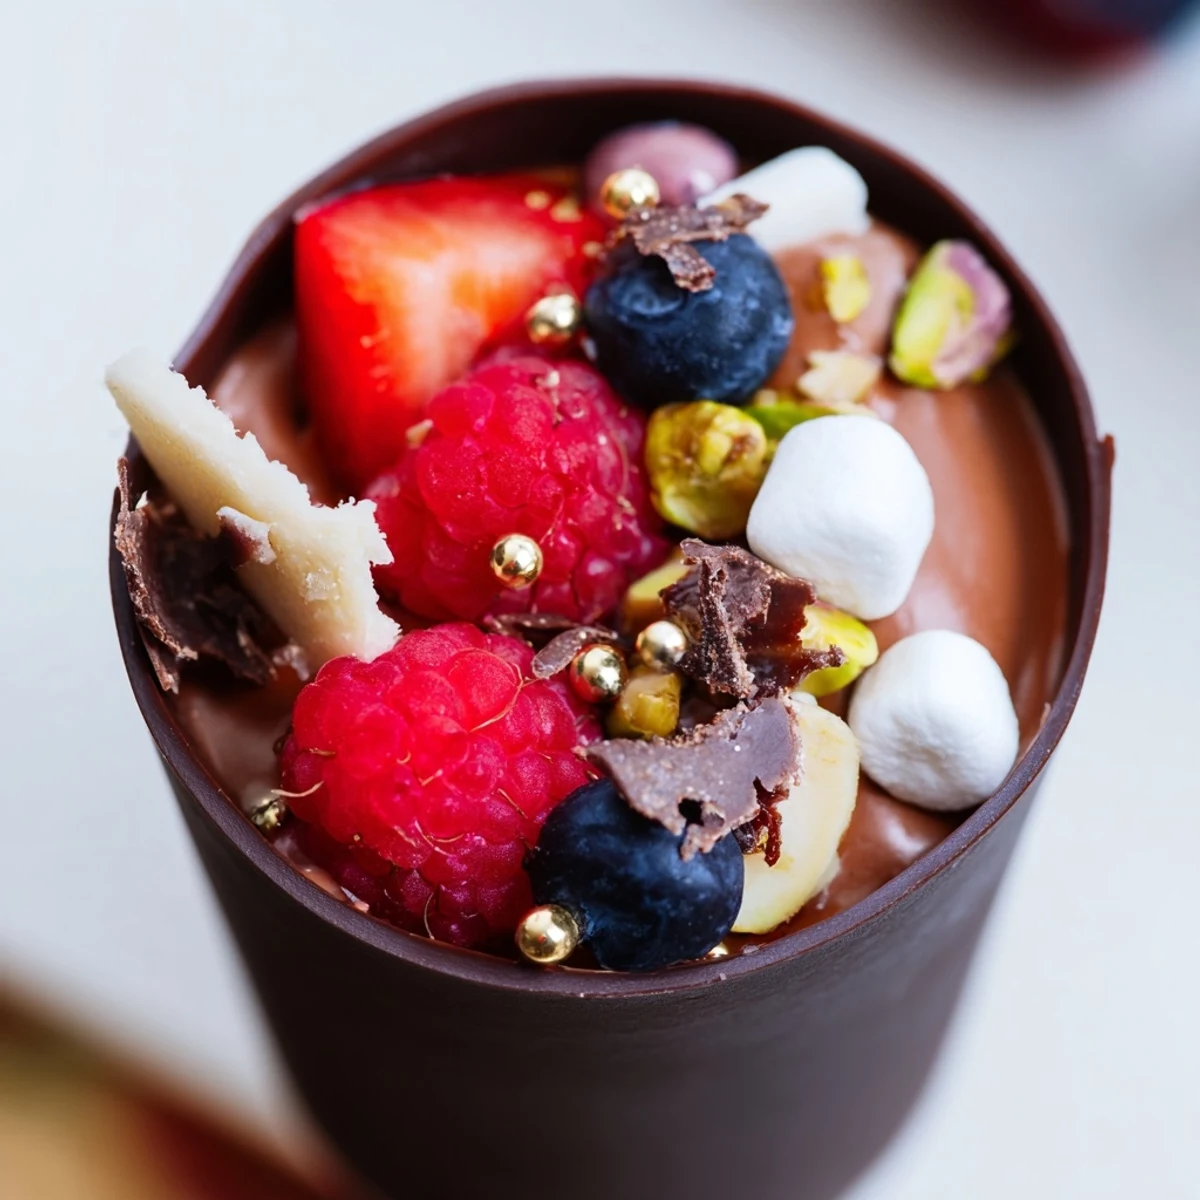
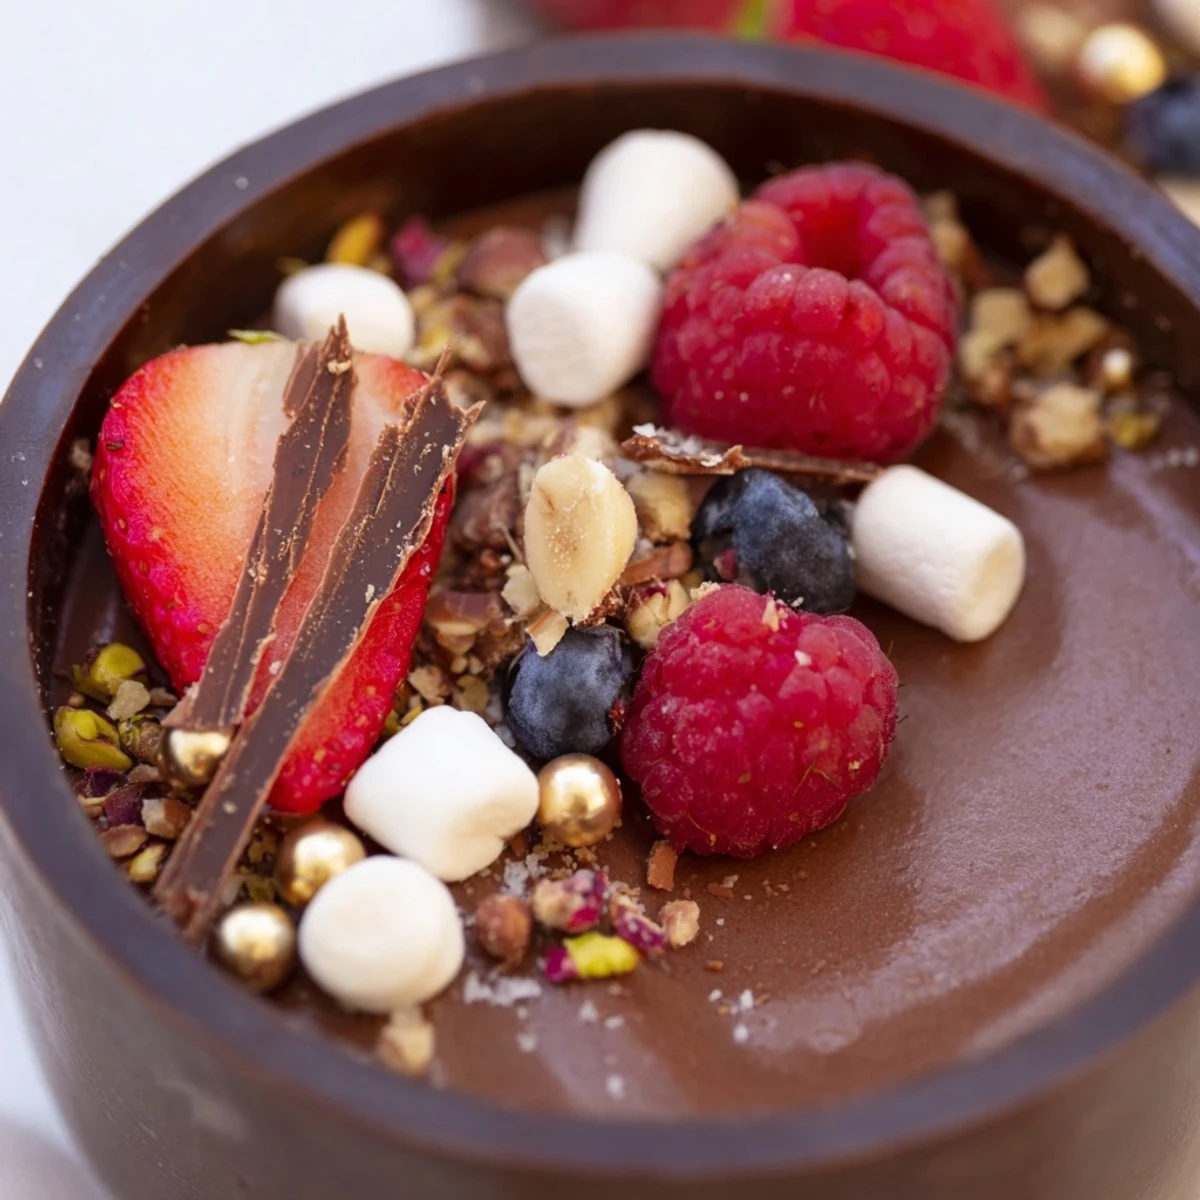
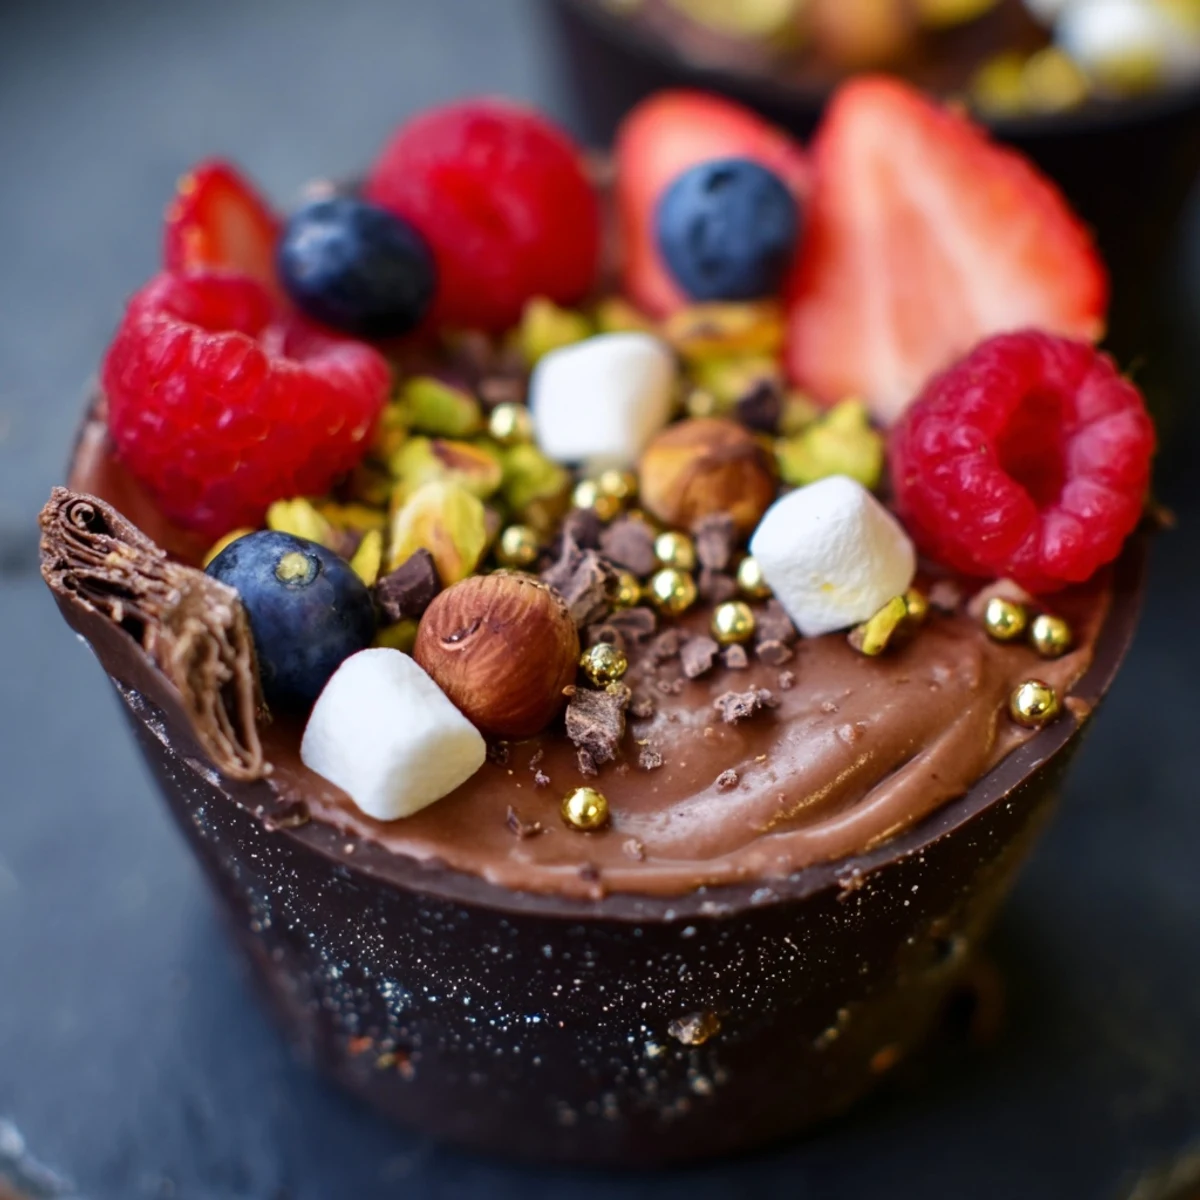
Save Transform your dessert table with these elegant chocolate grazing cups featuring silky dark chocolate mousse, vibrant fresh berries, and irresistible crunchy toppings. Each cup begins with handcrafted chocolate vessels made from melted dark chocolate, filled with light and creamy mousse whipped to perfection. The finished treats get crowned with colorful berries, toasted nuts, fluffy marshmallows, and delicate chocolate curls for visual appeal that matches the exquisite taste.
Ready in just over an hour with most time spent chilling, these indulgent cups come together easily despite their sophisticated appearance. The combination of velvety smooth mousse, fresh fruit brightness, and varied textures creates an unforgettable dessert experience. Perfect for dinner parties, celebrations, or whenever you want to serve something truly memorable and impressive to guests.
The first time I made chocolate cups, I accidentally touched the inside before they fully set and left a perfect thumbprint in the chocolate. My friends thought it was an artistic choice and started asking for the 'designer edition' at every dinner party afterward. These little cups have become my secret weapon for dinner parties, looking incredibly fancy while being surprisingly simple to make.
Last Valentine's Day, I set up a whole grazing table with these cups and watched my usually reserved friend's eyes light up like a kid in a candy store. Something about having your own personal chocolate cup makes people feel special and cared for. They're interactive desserts that let everyone customize their perfect bite.
Ingredients
- Dark chocolate: I use 60% cocoa for the perfect balance between sweet and intense, and it sets firm enough to hold its shape
- Heavy cream: Cold cream whips up beautifully, creating that airy mousse texture that feels lighter than it actually is
- Powdered sugar: This dissolves instantly into the cream without any gritty texture that regular sugar might leave behind
- Vanilla extract: Pure vanilla extract rounds out the chocolate flavor and makes it taste more complex and finished
- Fresh berries: The tartness cuts through all that rich chocolate and adds gorgeous pops of color throughout
- Chopped nuts: I love hazelnuts with dark chocolate, but pistachios add this beautiful green contrast that looks stunning
- Mini marshmallows: These bring back childhood memories and add the softest, fluffiest texture surprise
- Chocolate curls: They catch the light and make these cups look like they came from a professional chocolate shop
- Edible gold: Optional, but those little touches make people gasp when you bring them out
Instructions
- Melt and coat the chocolate cups:
- Melt your dark chocolate until it's completely smooth and glossy, then use a pastry brush to paint it up the sides of your liners, creating a nice thick layer that won't crack when you remove them later.
- Chill until set:
- Pop those coated liners into the fridge for at least 20 minutes until the chocolate is completely firm and makes a satisfying click when you tap it with your fingernail.
- Unmold the cups:
- Gently peel away the liners starting from the top edge, working slowly and patiently so the chocolate cups release intact and ready to fill.
- Prepare the mousse base:
- Melt your second batch of chocolate and let it cool slightly while you whip the cold heavy cream with powdered sugar and vanilla until soft peaks just begin to form.
- Combine into mousse:
- Stir a spoonful of whipped cream into the melted chocolate first to lighten it up, then gently fold that mixture back into the rest of the whipped cream until no streaks remain.
- Fill the cups:
- Pipe or spoon that silky mousse into each chocolate cup, stopping about two-thirds up the sides so you have room for all those beautiful toppings.
- Garnish like a pro:
- Pile on the berries, nuts, marshmallows, and chocolate curls in whatever pattern makes you happy, then add that edible gold if you're feeling extra fancy.
- Final chill:
- Let the assembled cups rest in the refrigerator for at least 20 more minutes so everything firms up perfectly and the flavors have time to get acquainted.
 Save
Save These became my go-to birthday dessert after my daughter requested them instead of a cake three years in a row. There's something intimate about having your own little cup of indulgence that feels more personal than slicing from a shared cake.
Making Ahead
You can make the chocolate cups up to three days ahead and store them between layers of parchment paper in an airtight container. The mousse holds up beautifully for 24 hours in the fridge, though I recommend adding the fresh berries and soft toppings right before serving for the best texture and presentation.
Flavor Variations
Sometimes I swap in white chocolate for the cups and keep a dark chocolate mousse for stunning contrast. You can also infuse your cream with lavender or earl grey before whipping it, adding this sophisticated floral note that makes people pause and try to identify the secret ingredient. A tablespoon of espresso powder dissolved in the melted chocolate creates this mocha version that coffee lovers absolutely rave about.
Presentation Ideas
I arrange these on a long wooden board with extra bowls of toppings so guests can customize their cups even more. Fresh mint tucked between the cups adds such a lovely aroma and another pop of green. Small name tags on cocktail sticks make people feel extra special at formal events.
- Place each cup on a small doily or individual plate for easy serving
- Keep extra berries on hand for guests who want more fruit
- Have a small bowl of extra chocolate curls available for the chocolate lovers
 Save
Save Every time I serve these, someone asks for the recipe, and I love watching their disbelief when I explain how simple they actually are to make.
Recipe Questions & Answers
- → How far in advance can I make these chocolate cups?
-
Prepare the chocolate cups up to 2 days ahead and store in an airtight container. Fill with mousse and toppings 4-6 hours before serving to maintain optimal texture and freshness.
- → Can I use white chocolate instead of dark?
-
Absolutely. White chocolate works beautifully for both cups and mousse. Keep in mind white chocolate melts faster, so reduce heating time and watch closely to prevent seizing.
- → What other toppings work well with these cups?
-
Consider crushed cookies, toasted coconut, candied citrus peel, fresh mint leaves, caramelized nuts, sea salt flakes, or fresh pomegranate seeds for color and crunch variations.
- → How do I prevent the chocolate cups from cracking when removing liners?
-
Ensure chocolate is completely set before attempting removal. Gently peel from the top edge downward, working slowly. If stubborn, let chill 10 more minutes before trying again.
- → Can I make these without silicone liners?
-
Use small paper cupcake liners or create free-form cups by spreading melted chocolate on parchment paper in circles, then drape over inverted bowls to shape while cooling.
- → What's the best way to melt chocolate without burning it?
-
Use 30-second intervals in the microwave, stirring between each, or place chopped chocolate in a heatproof bowl over simmering water. Avoid any moisture contact which causes seizing.
