 Save
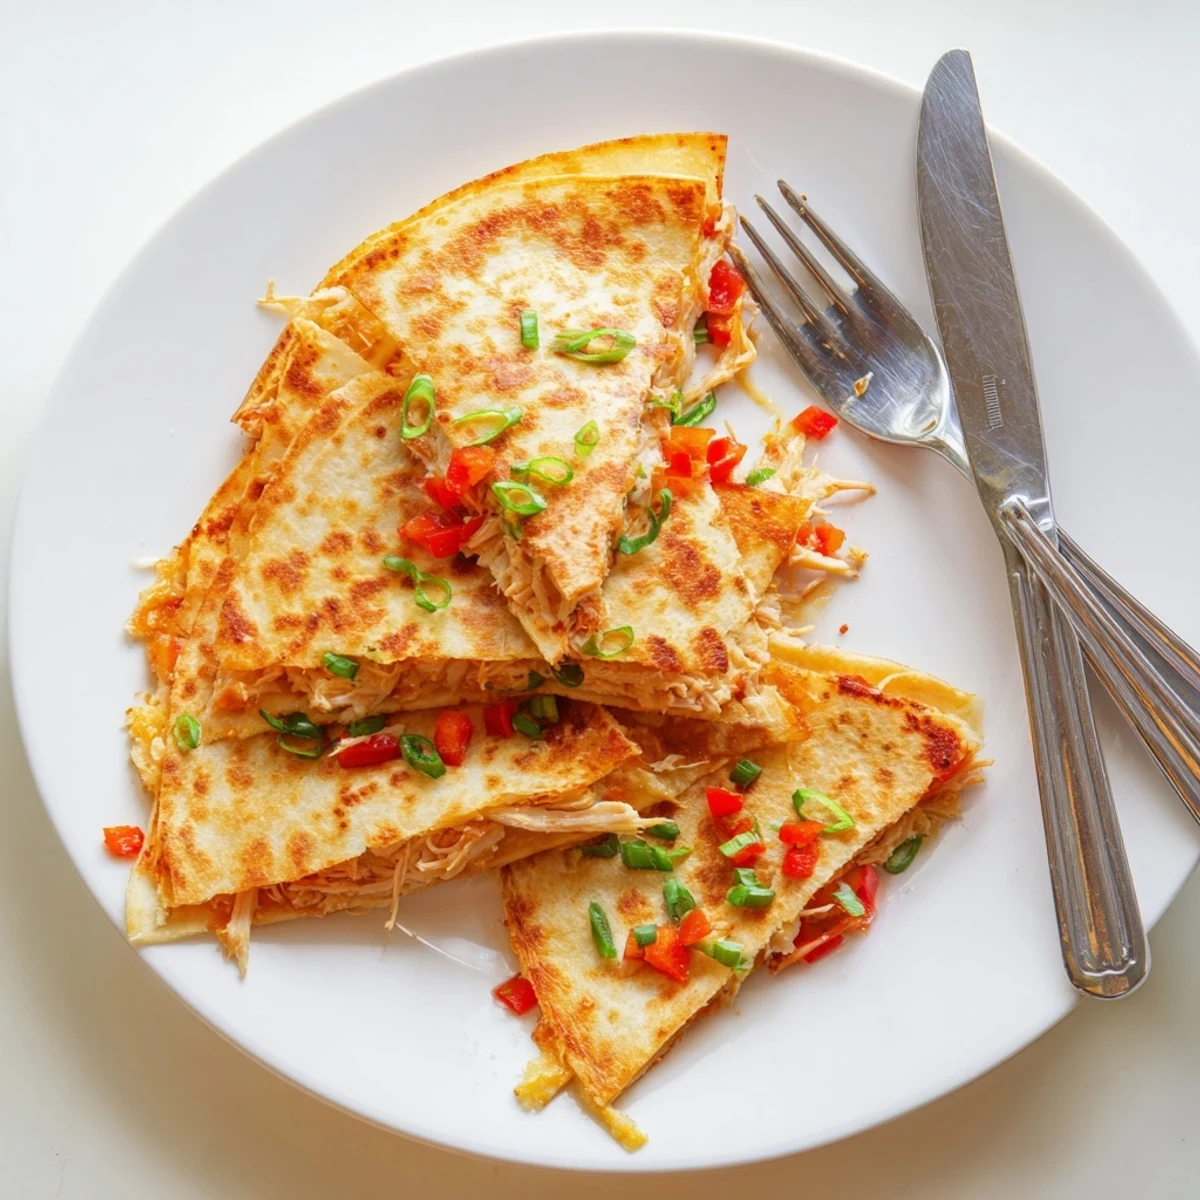
Save These baked quesadillas feature tender shredded chicken seasoned with chili powder, cumin, and garlic, layered with Mexican blend cheese, red bell peppers, and green onions. The oven-baking method creates perfectly golden, crispy tortillas without standing at the stove. Each quesadilla gets brushed with butter or olive oil for extra crunch and flavor. Ready in just 35 minutes, they make an ideal weeknight meal or party appetizer.
The first time I made baked quesadillas instead of frying them, my kitchen stayed so much cleaner and I wondered why I had not thought of this sooner. My oldest actually asked if we could have them every Tuesday night, which pretty much sealed the deal for me. Something about that cheese pulling apart in golden sheets just makes everyone happy.
Last winter when my sister came over with her kids after soccer practice, I threw these together using a rotisserie chicken I had picked up earlier that day. The way the house smelled while they baked made everyone drift into the kitchen asking what time dinner was ready. Those six quesadillas disappeared before I could even sit down myself.
Ingredients
- 2 cups cooked chicken breast, shredded: Rotisserie chicken works beautifully here, or use leftover roast chicken from earlier in the week
- 1 teaspoon chili powder: This gives just enough warmth without making it too spicy for kids
- 1/2 teaspoon ground cumin: The earthy base note that makes everything taste properly Tex Mex
- 1/2 teaspoon garlic powder: Distributes more evenly than fresh garlic would in this quick assembly
- 1/4 teaspoon salt: Just enough to enhance the other flavors
- 1/4 teaspoon black pepper: Adds a gentle background heat
- 2 cups shredded Mexican blend cheese: Cheddar and Monterey Jack melt beautifully together, or use whatever shredded cheese you have on hand
- 1/2 cup finely chopped red bell pepper: Adds little sweet crunches and beautiful color throughout
- 1/4 cup chopped green onions: Their mild onion flavor brightens up the rich cheese and chicken
- 8 medium flour tortillas: Standard 8 inch size works best for even baking
- 2 tablespoons melted butter or olive oil: This is what creates that gorgeous golden crisp exterior
Instructions
- Preheat and prepare your baking sheets:
- Heat your oven to 425°F and line two baking sheets with parchment paper for easy cleanup later.
- Season the chicken:
- Toss your shredded chicken in a large bowl with the chili powder, cumin, garlic powder, salt, and pepper until every piece is coated.
- Build the first layer:
- Lay four tortillas on your counter and divide the seasoned chicken, cheese, bell pepper, and green onions among them, leaving a small border around the edges.
- Top and press:
- Place the remaining tortillas on top and press gently so the fillings stay in place during baking.
- Brush with oil:
- Use a pastry brush to coat both sides of each quesadilla with melted butter or olive oil for that golden finish.
- Bake until golden:
- Bake for 8 to 10 minutes, flip carefully, then bake 7 to 8 more minutes until both sides are crispy and cheese is melted.
- Rest and serve:
- Let them cool for just 2 minutes so the cheese sets slightly, then cut into wedges and serve warm.
 Save
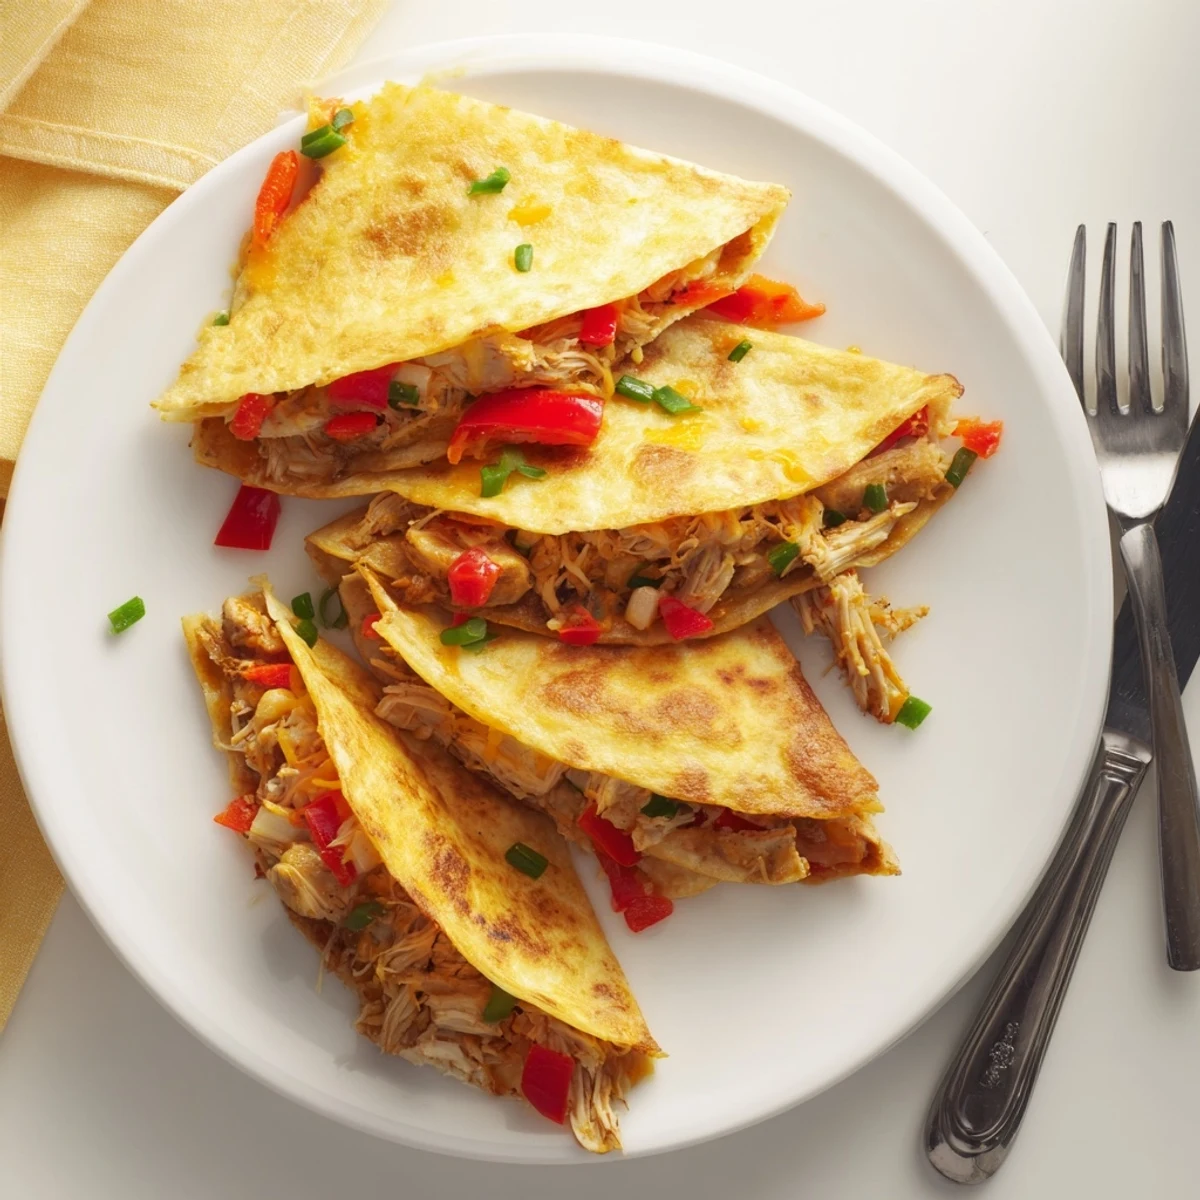
Save My husband now requests these for Sunday football watching, and I love that I can assemble everything during halftime and have a hot meal ready by the second quarter. The ritual of passing around warm wedges has become something we all look forward to.
Make Ahead Magic
You can season and shred the chicken up to two days in advance, keeping it in an airtight container in the refrigerator. The vegetables can also be chopped ahead and stored separately. This makes the actual assembly take about five minutes when you are ready to bake.
Serving Ideas
While these are perfectly satisfying on their own, a quick bowl of warmed pinto beans or Mexican rice on the side makes it feel like a complete dinner. Fresh pico de gallo, guacamole, or sour cream on the table lets everyone customize their own plate.
Freezing Instructions
Assemble the quesadillas completely and freeze them uncooked between layers of parchment paper in a freezer bag. When ready to bake, add about 5 extra minutes to the cooking time and bake from frozen. This has saved me more than once on busy weeknights.
- Wrap each frozen quesadilla individually if you prefer to bake just one or two at a time
- Let frozen quesadillas sit at room temperature for 10 minutes before brushing with oil to help it stick better
- The texture is nearly identical to fresh, which surprised me the first time I tried this method
 Save
Save These quesadillas have become my go to for everything from quick Tuesday dinners to casual Friday night gatherings with friends. Hope they find a regular spot in your rotation too.
Recipe Questions & Answers
- → Can I make these ahead of time?
-
Yes, assemble the quesadillas up to a day ahead and refrigerate. Brush with oil just before baking. You can also freeze assembled quesadillas between parchment paper for up to 3 months.
- → What cheese works best?
-
Mexican blend cheese melts beautifully, but cheddar, Monterey Jack, or pepper jack also work well. A mix of cheeses provides the best flavor and melting texture.
- → How do I get extra crispy quesadillas?
-
Brush both sides generously with butter or oil, and don't overcrowd the baking sheet. Bake until deeply golden on both sides—flipping halfway ensures even crisping.
- → Can I use corn tortillas?
-
Corn tortillas work but may crack when folded. Warm them first to increase pliability, or use smaller street-style corn tortillas and fold in half rather than stacking.
- → What toppings pair well?
-
Fresh guacamole, pico de gallo, sour cream, and salsa are classic choices. Try pickled red onions, jalapeños, or a squeeze of fresh lime juice for brightness.
- → How do I store leftovers?
-
Refrigerate cooled quesadillas in an airtight container for up to 3 days. Reheat in a 350°F oven or skillet to restore crispiness—microwaving makes them soggy.
